Settings » Advanced Settings
Link: https://support.brilliantdirectories.com/support/solutions/articles/12000047895
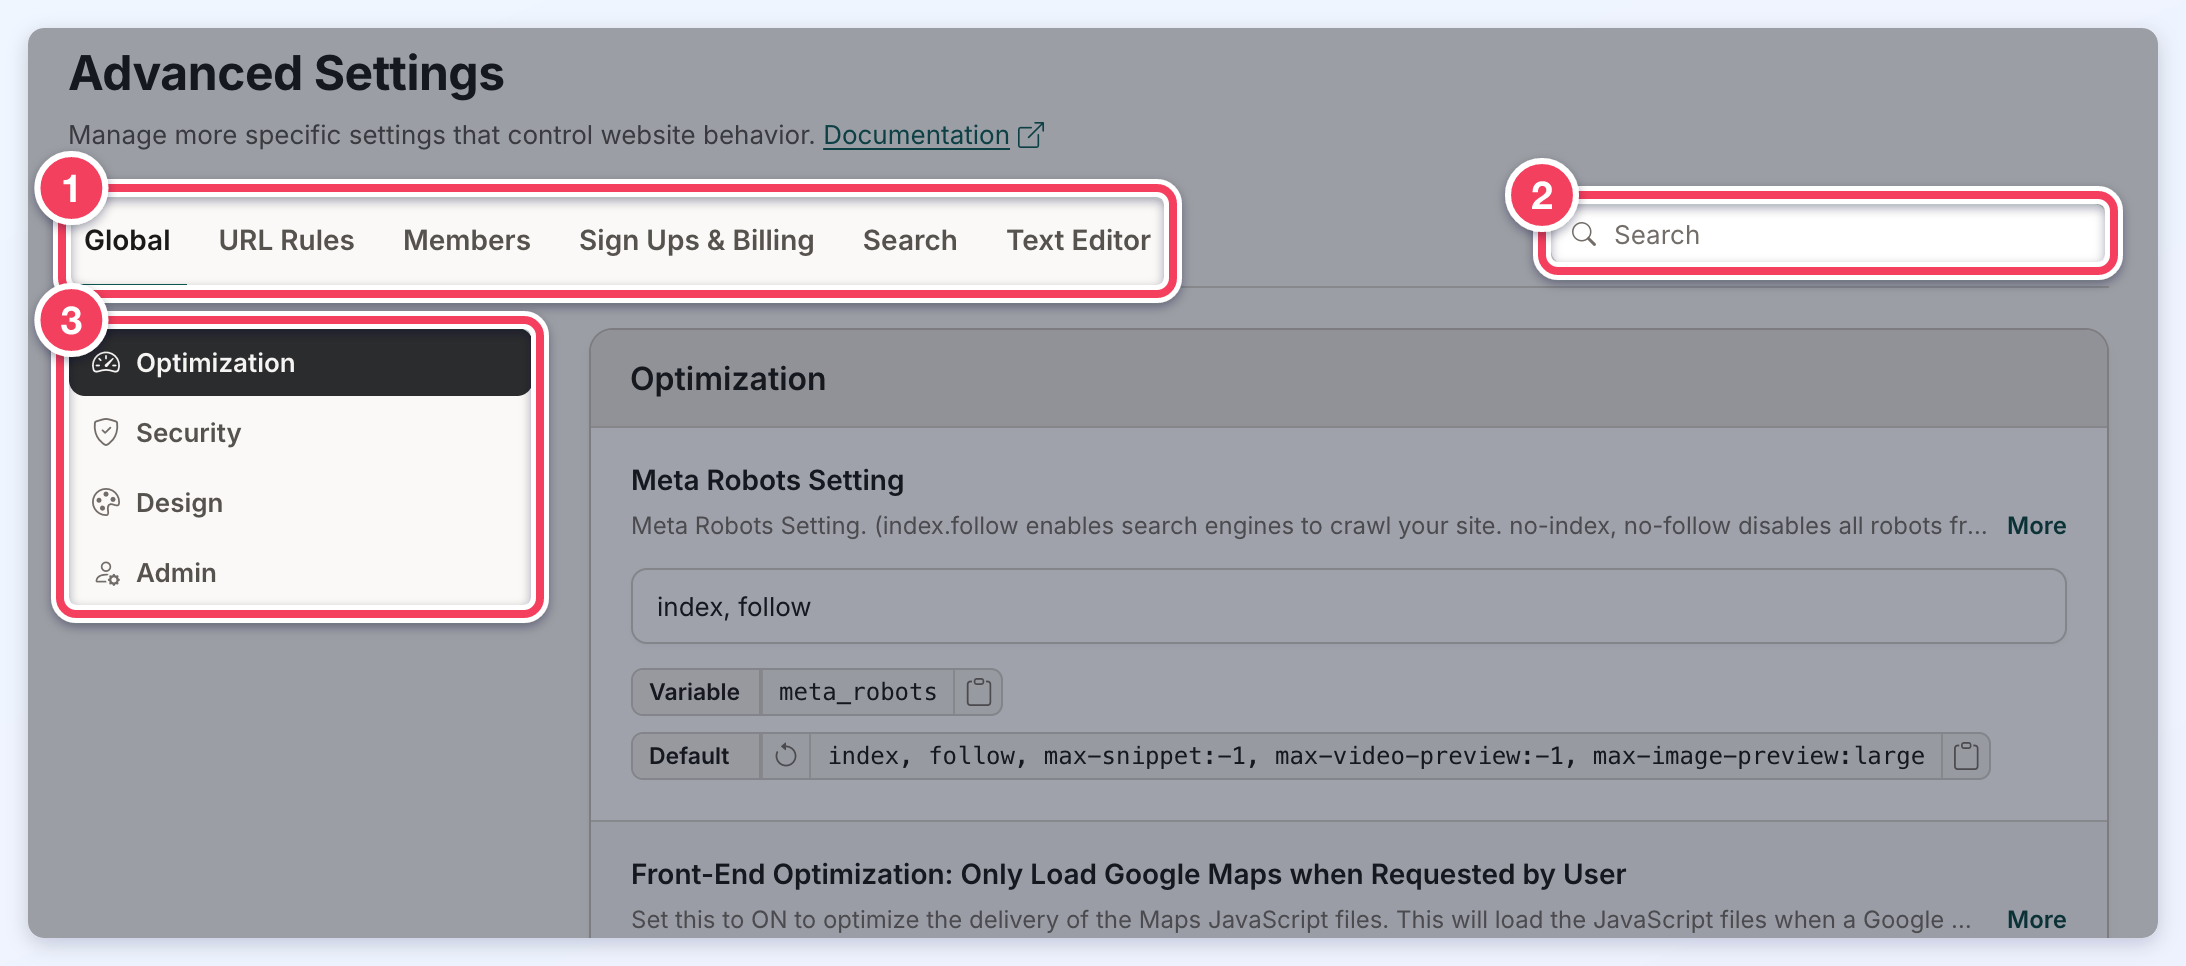
Settings » Advanced Settings holds the more specific settings that control website behavior. The settings are grouped into six tabs across the top of the page. Each tab has its own article, listed here with the sections it contains:
- Global: Optimization, Security, Design, Admin
- URL Rules: Website, Member Profile Pages, Member Dashboard, Post Publishing
- Members: Display, Permissions, Security
- Sign Ups & Billing: Member Sign Up / Login, Member Account Status, Billing, Notifications
- Search: Display, Search Modules, Search Logic
- Text Editor: Text Editors, Permissions, File Upload
Each tab is divided into sections. The section list on the left (3) jumps to a section within the open tab, and the Search box (2) at the right of the tabs (1) searches every tab at once:
Finding a Setting
Type in the Search box to find a setting. Search matches the text shown for each setting: its name, its help text, its system variable and its default value, plus the value currently entered in its field. Each tab with a match shows how many settings matched, the first tab with a match opens automatically, and the section list shows only the sections that contain a match. The clip below shows a search for country. Click the X in the search box, or press Escape, to clear the search. When nothing matches, the page shows No Matches Found with a Clear Search button.
Reading a Setting
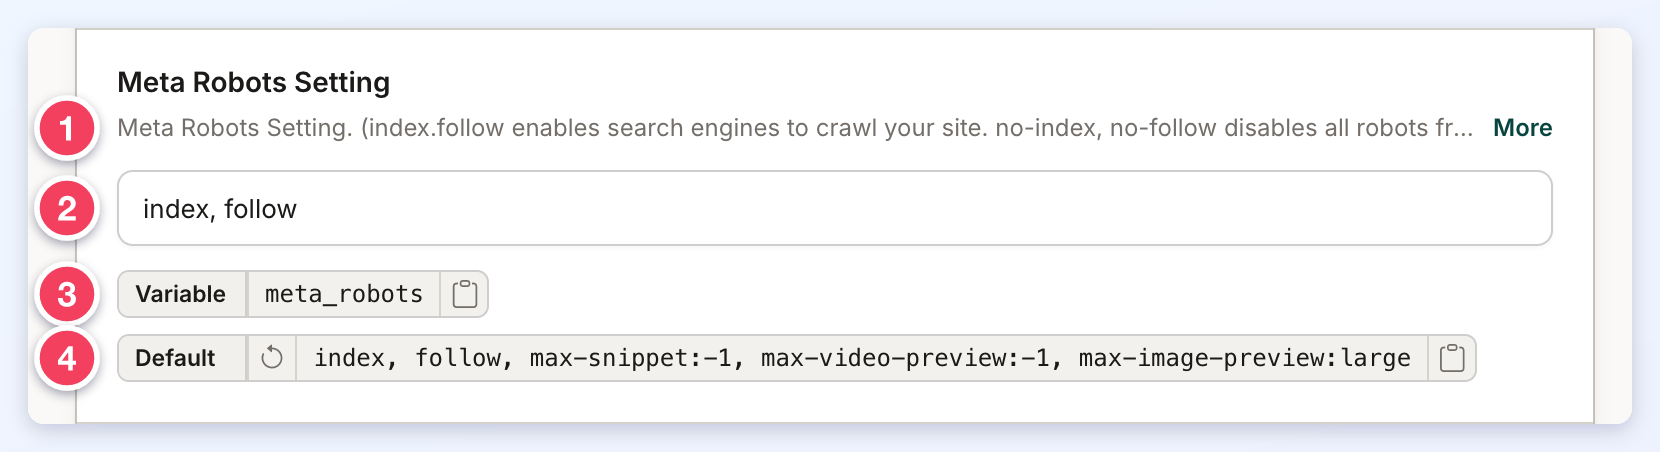
Every setting shows its name, then:
- One line of help text. Click More to read the full description (and Less to collapse it again). Some settings also include a Learn More link to related documentation.
- The setting itself: a switch, a text field, a dropdown, a list of checkboxes, or an order builder (see How to Activate the Settings below).
- Variable: the setting's system variable, with a button that copies it. Hover over the variable to see the full name when it is too long to display.
- Default: the setting's default value, with a button that copies it. The circular-arrow Restore Default Value button at the start of the chip is available only when the current value differs from the default; it fills the default into the field as an unsaved change, which Save applies and Discard or Ctrl+Z undoes. Settings without a default show only the Variable chip.
How to Activate the Settings
Advanced settings use five kinds of controls:
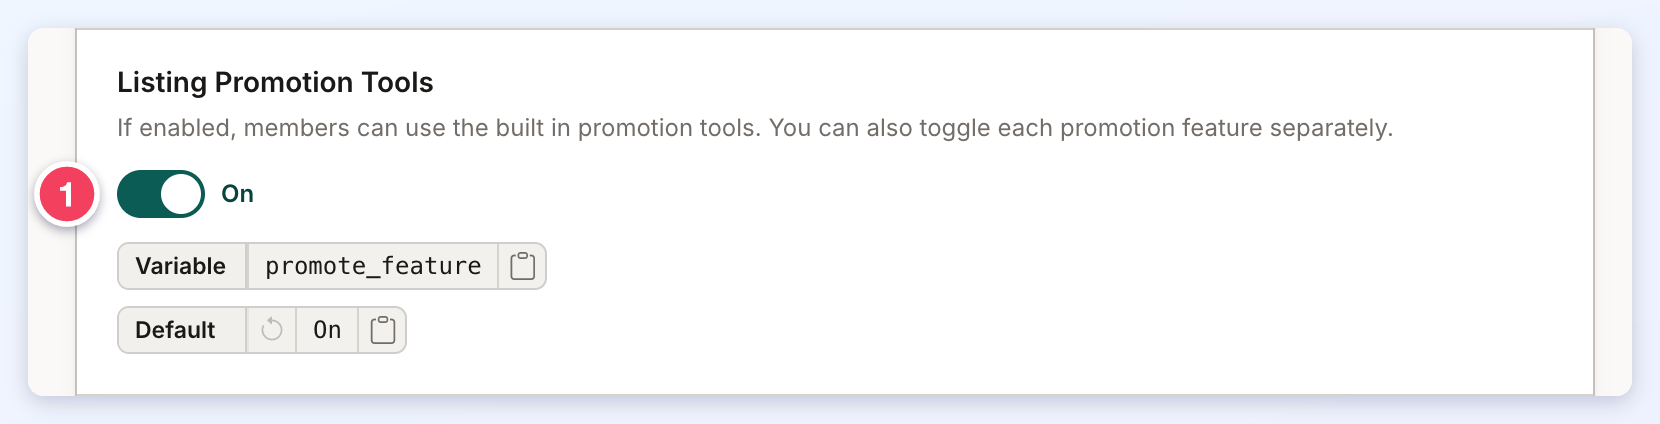
Switches: click the switch (1). The word beside it shows whether the setting is On or Off. Clicking the setting's name does not change the switch.
Text Inputs: type the new value in the field (1).
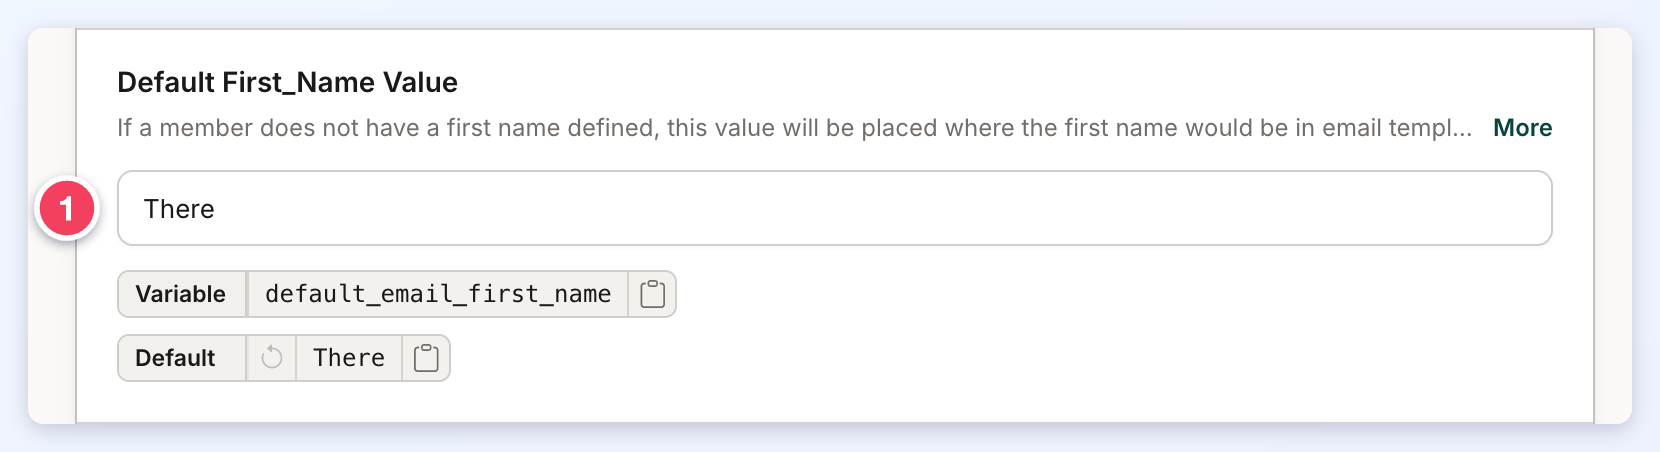
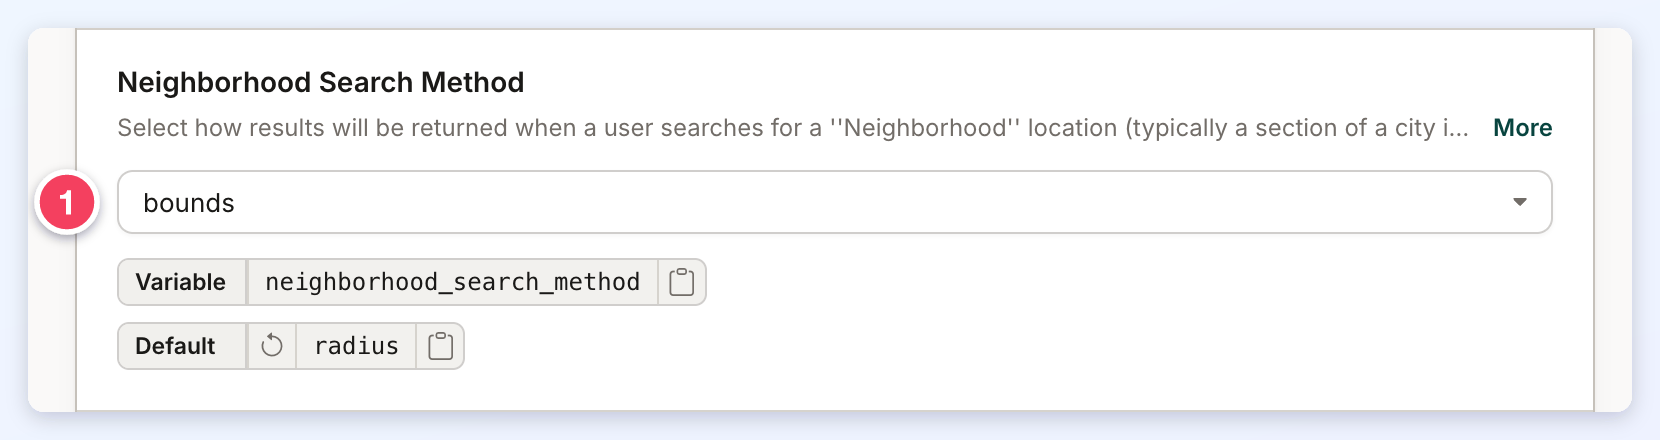
Dropdown Selects: click the field (1) and choose an option. Dropdowns with a long list of options can be searched by typing in them.
Checkbox Lists: some settings, such as Disable Screenshot Previews, list several options; tick each one that applies.
Order Builders: URL structure settings, such as Post URL Structure (in the Member Dashboard section of the URL Rules tab), and Phone Country Codes build their value from items. Drag the items in the URL order list to reorder them (or use the arrow keys), click an item's x to remove it, and click an item under Available URL elements to add it. The read-only Preview shows the resulting URL pattern.
Saving Changes
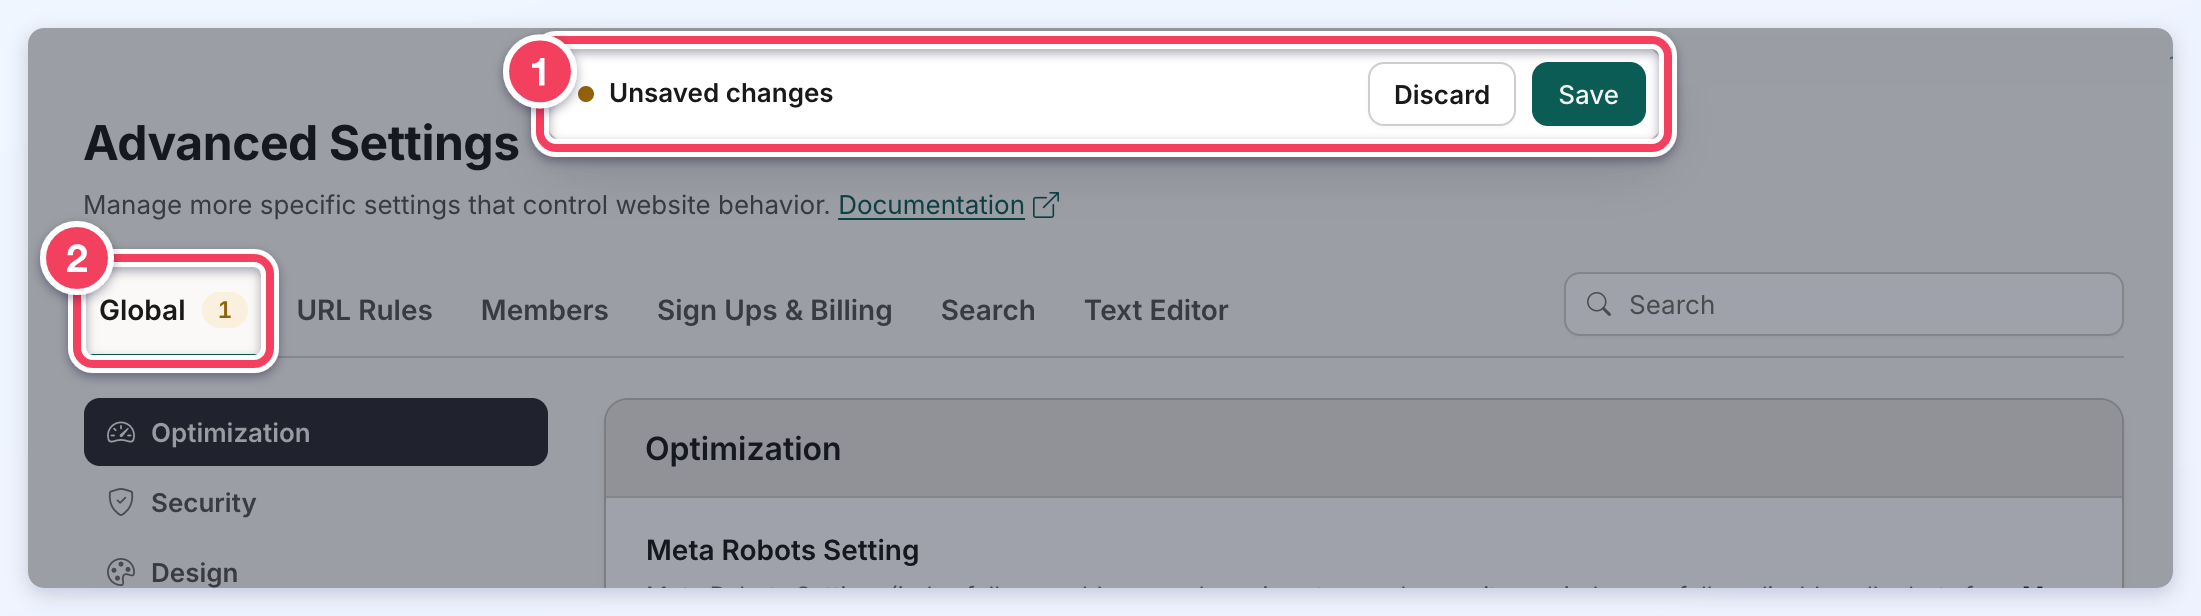
As soon as any setting changes, an Unsaved changes bar (1) appears at the top of the page, and each tab shows how many of its settings have changed (2). Changes can be made across several tabs before saving. Click Save to apply every change, or Discard to put all of them back.