How To Customize a Form
Link: https://support.brilliantdirectories.com/support/solutions/articles/12000078290
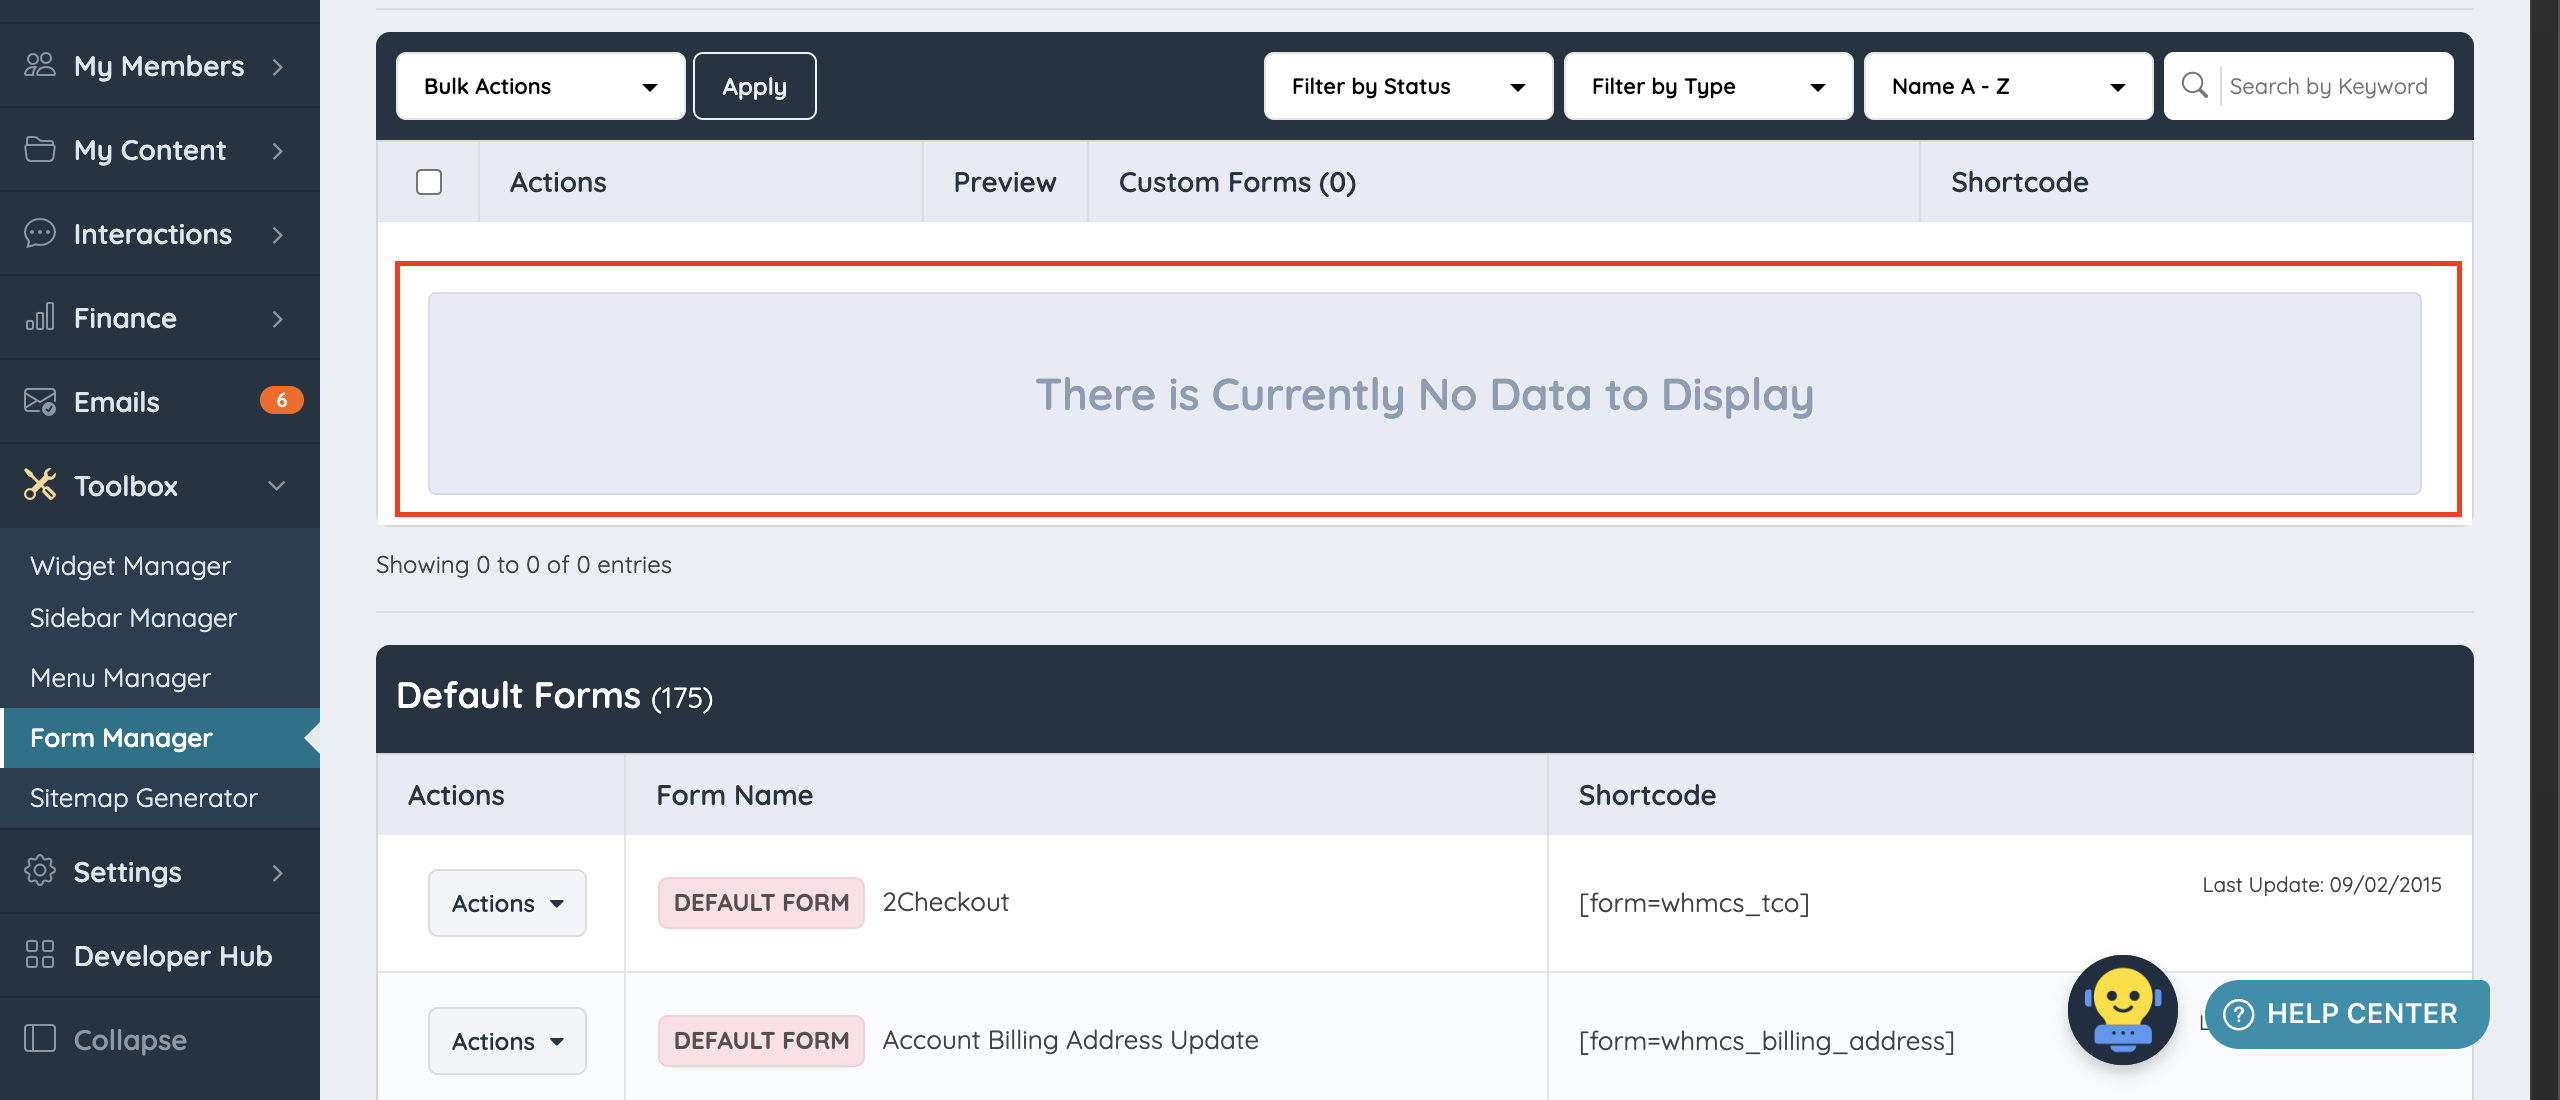
By default, new websites are launched without any customized forms:

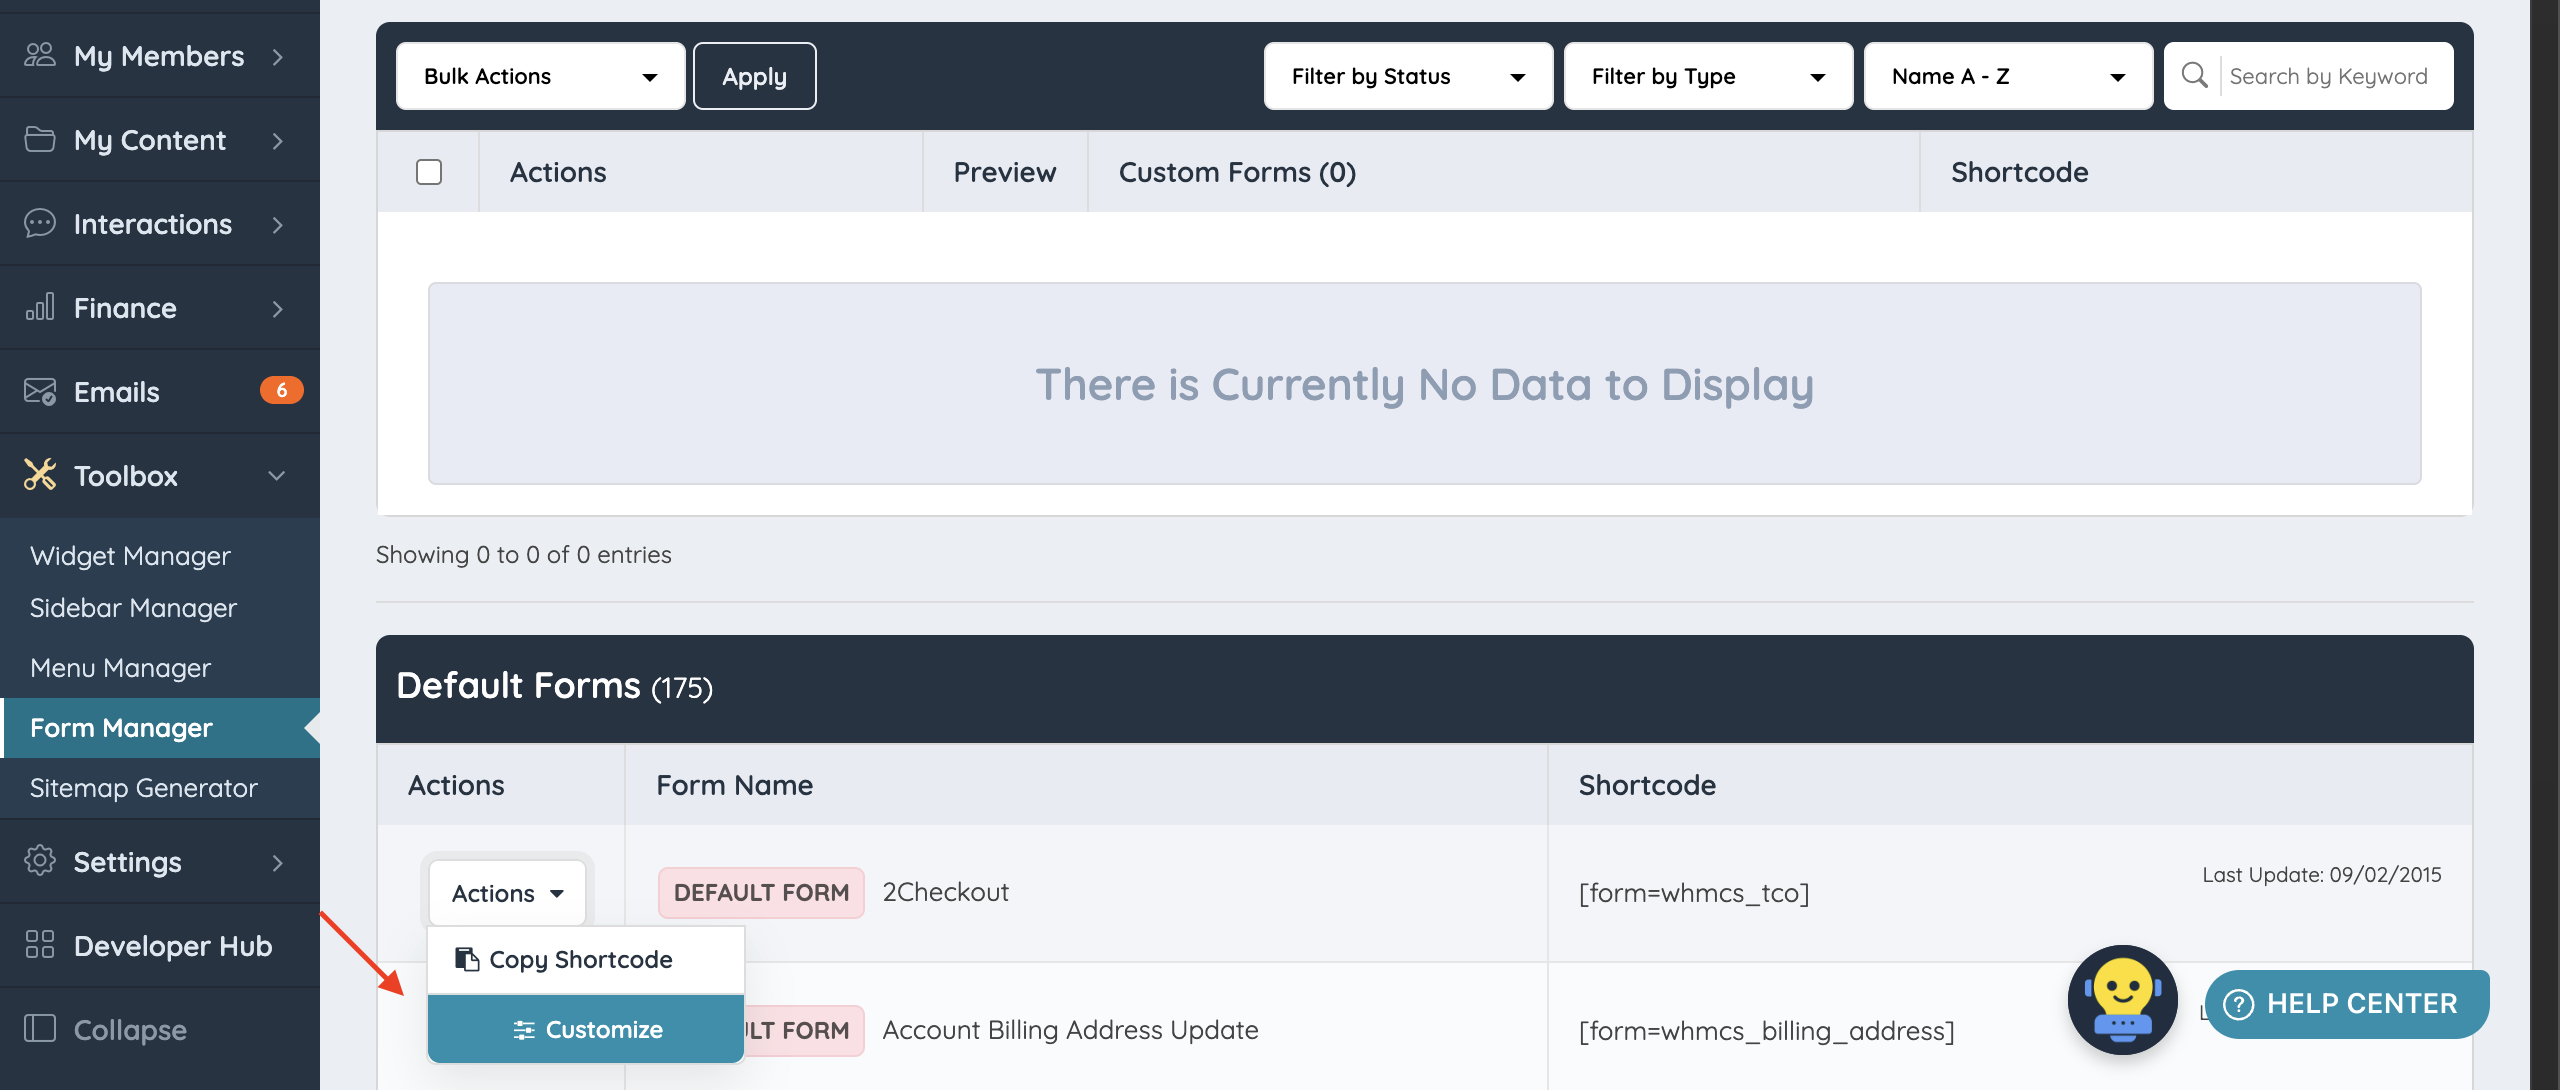
To customize a default form, click Customize under Actions:

This will open the Edit view of the preferred form:

Clicking on the Save Changes button without making any changes:

Will display an error message as there were no changes made to the default form:

For a form to be considered "Customized", there needs to be a change to at least one of these highlighted settings on a form field:

Additional Information: In-Depth Look Into Form Fields And Their Settings
After making preferred changes and clicking on Save Changes:

The system will display the changes made on Form Preview:

This newly customized form will start displaying under the Custom Forms section moving forward:

Important Note
We recommend changing the forms nickname and variable name if:
- This is a feature form for a cloned/newly created feature that is not a default feature (turning blog articles into website news for example while keeping the blog articles feature)
- This is a listing form to be utilized on member profiles that is on a new membership level created (having unique form names on each membership level will keep things organized / How To Assign Different Member Forms To Various Membership Levels)
- This is a website form that will be being called on a custom widget created (creating a second Contact Us page for example)
We do not recommend changing the forms nickname and variable name if:
- This is a feature form but for the existing default feature
- This is a listing form that is shared on all membership levels
- This is a website form that is being called on multiple widgets (changing the variable name of default Contact Us form, for example, will cause this form to not to display on the front end as this default form being called on a default widget with its system name)
