Unsubscribing from the Newsletter
Link: https://support.brilliantdirectories.com/support/solutions/articles/12000003210
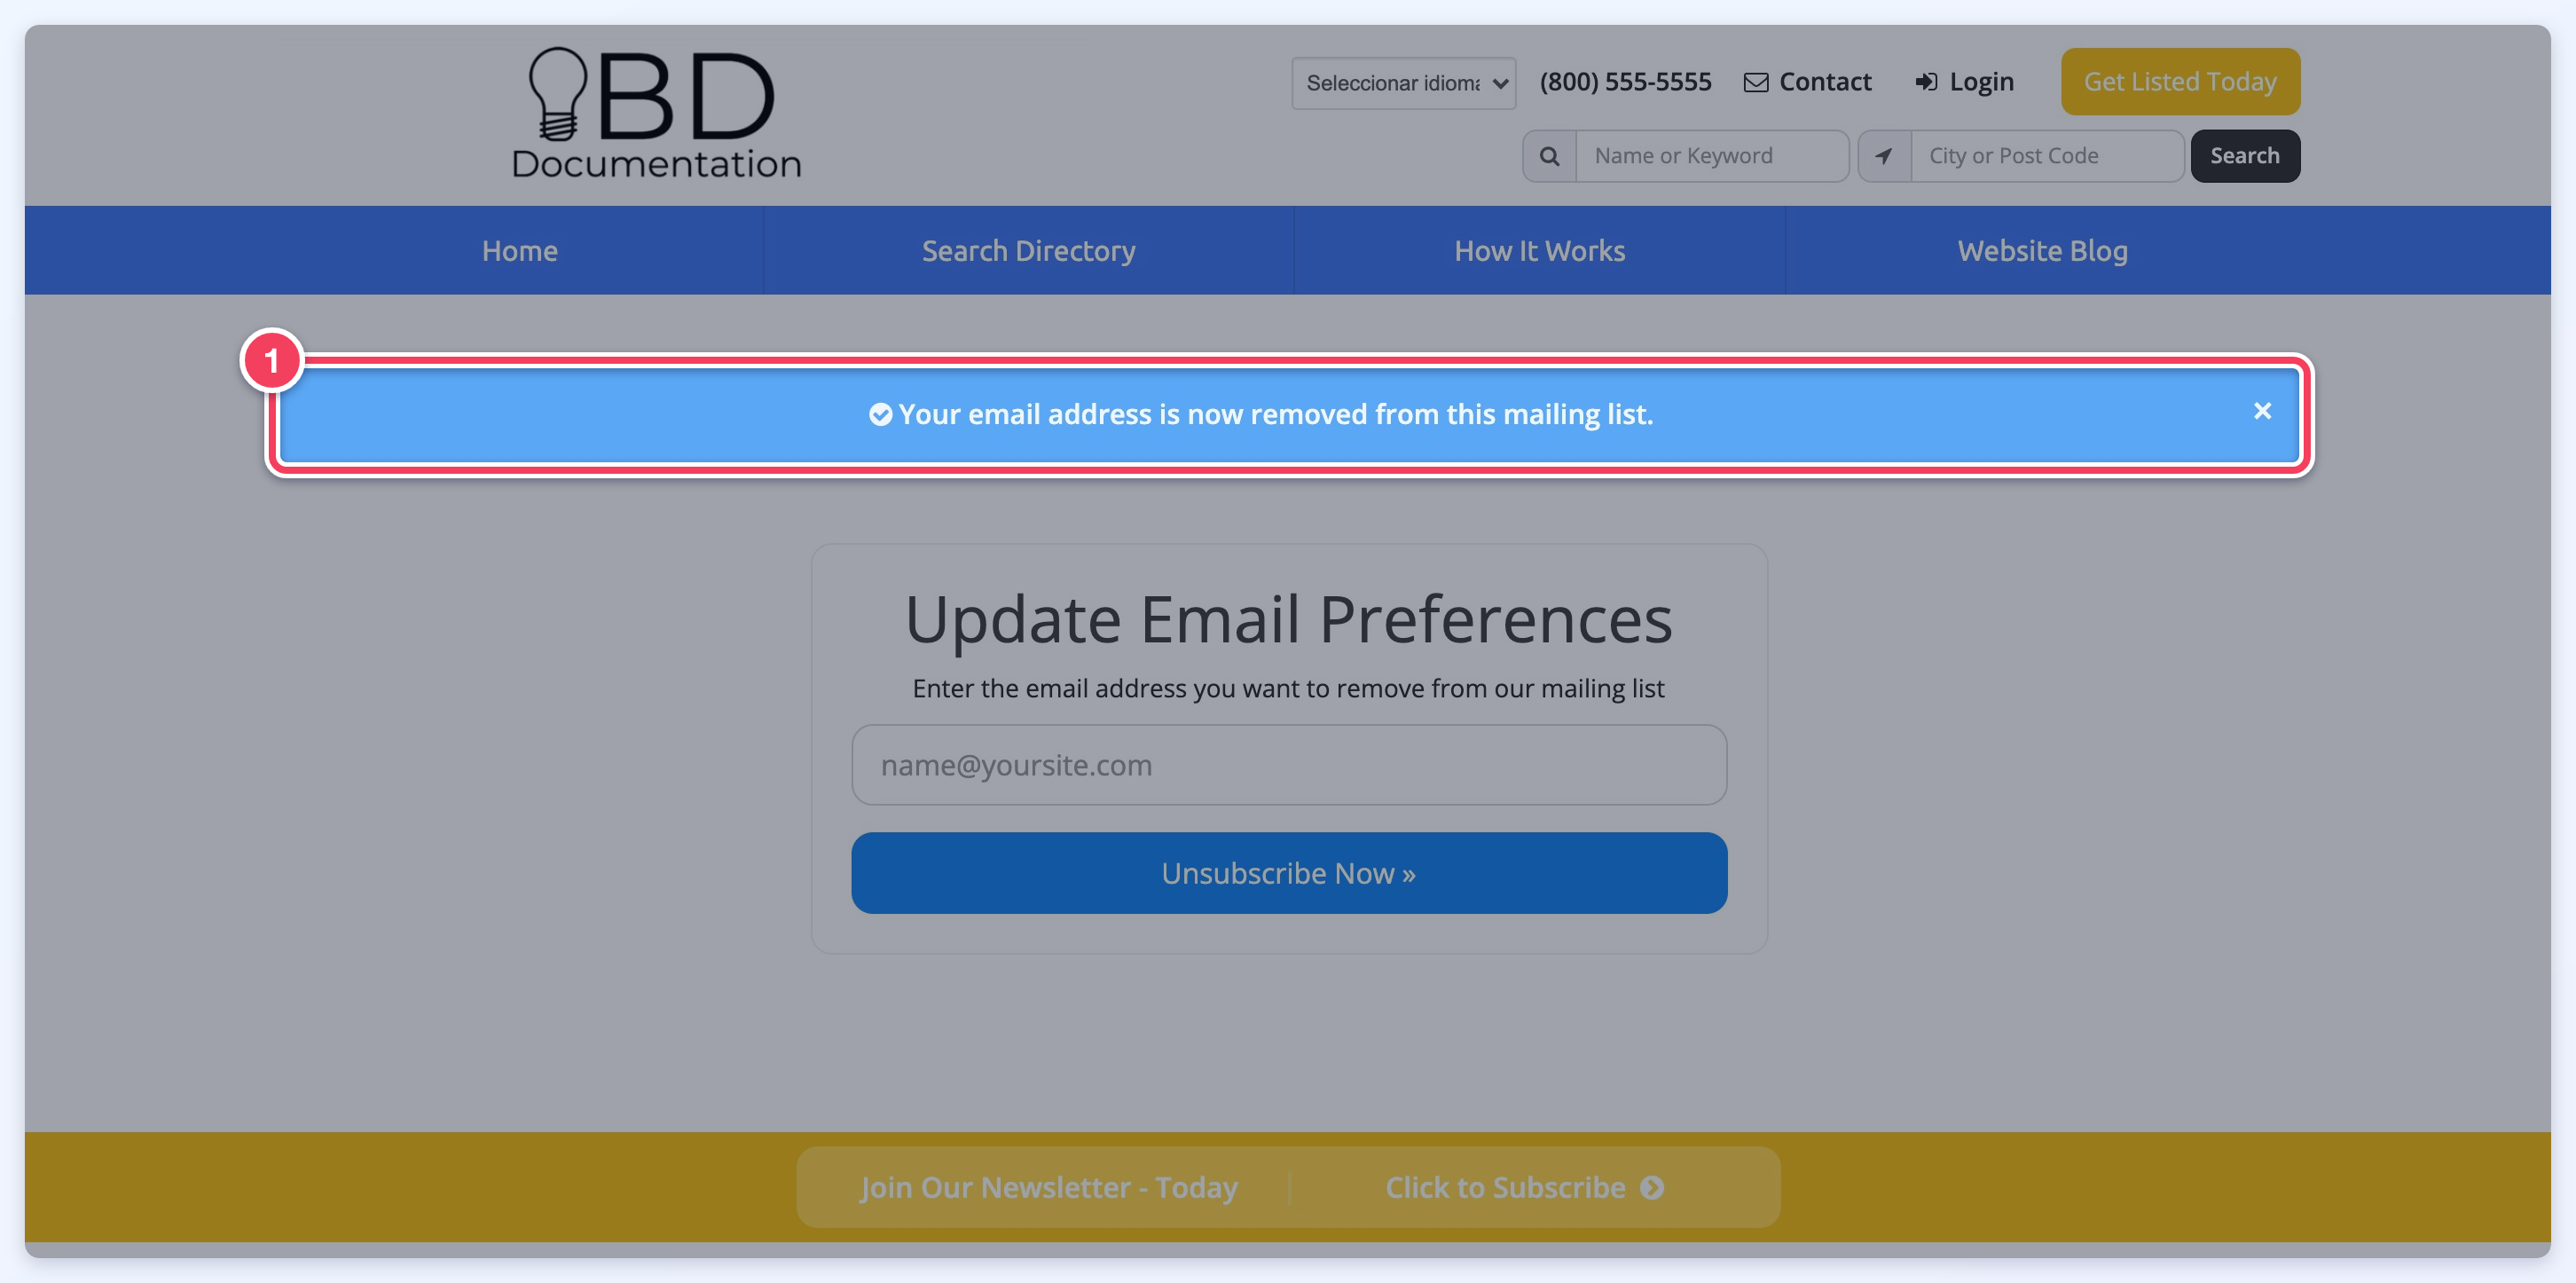
Every email sent through the Brilliant Directories platform must include a link that allows recipients to opt out of the website's mailing list. When this link is clicked, the email recipient will be directed to the website with the "/unsubscribed" extension appended to the URL.
For instance, find this link at https://www.demobootstrap.com/unsubscribed.

When the recipient clicks Unsubscribe Now, the address is added to the website's Unsubscribe List and stops receiving emails from the website.
Important Note
A parameter is added to the hashed version of the email address it was sent to. When the user clicks on the link and enters the email address into the unsubscribe form, it will only process the request if the parameter is in the URL of the page it is submitted from and matches the email address submitted in the unsubscribe form.
One-Click Unsubscribe From Mail Apps
Newsletters sent from the website also carry the standard one-click unsubscribe header. Mail apps such as Gmail and Apple Mail can use it to show an Unsubscribe button at the top of the message.
When the recipient clicks that button, the mail app sends the request straight to the website and the address is added to the website's Unsubscribe List automatically. The recipient does not open the Unsubscribed page or fill in a form, and the request does not arrive in the site owner's own mailbox.
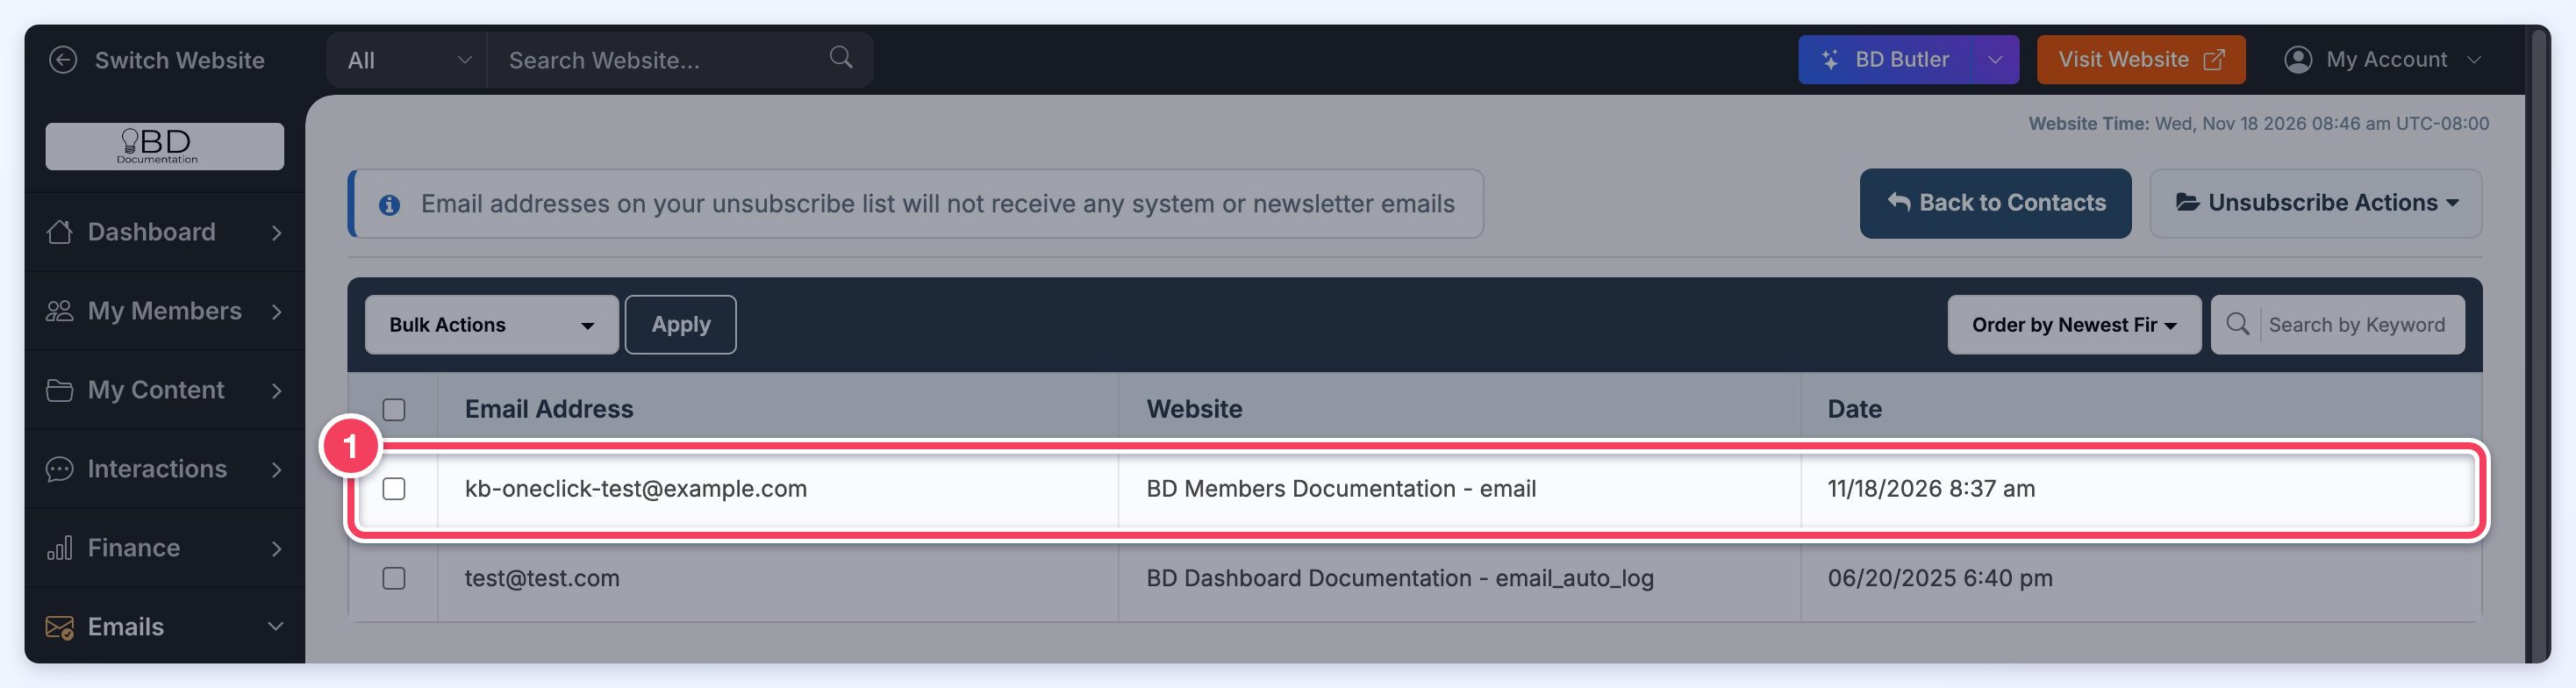
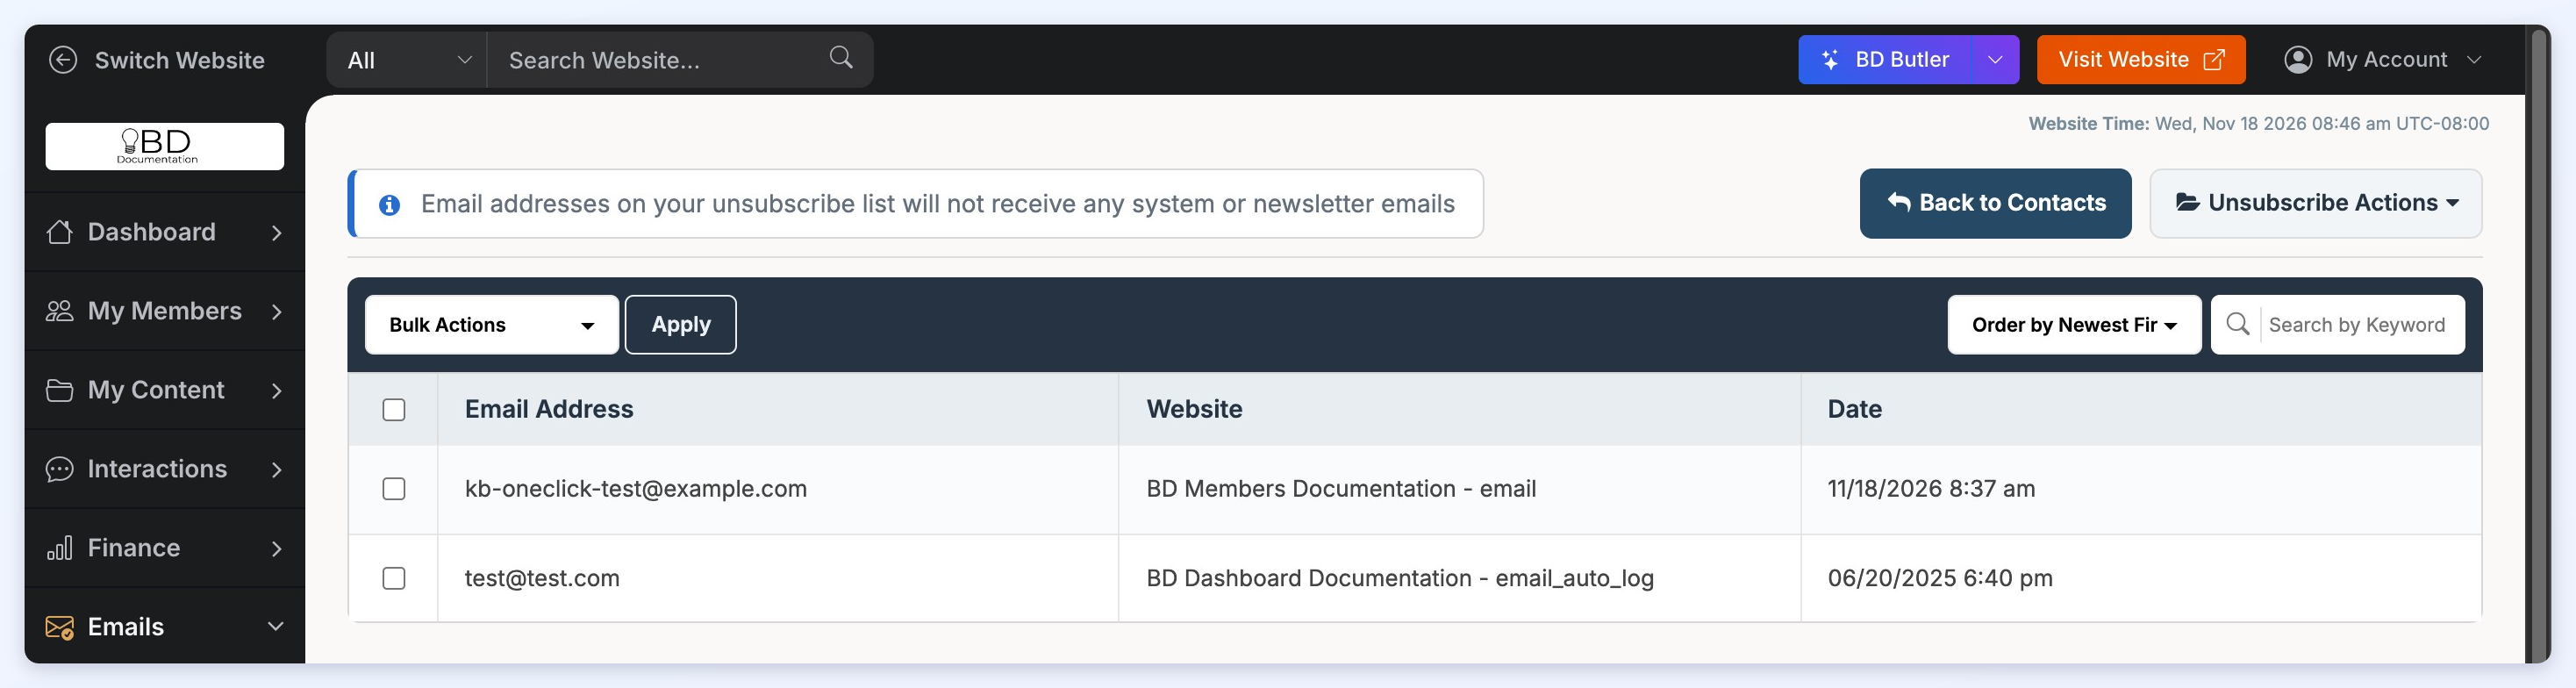
An address added this way appears in the Unsubscribe List like one added through the Unsubscribed page, with the website name followed by "email" in the Website column:
Unsubscribe List
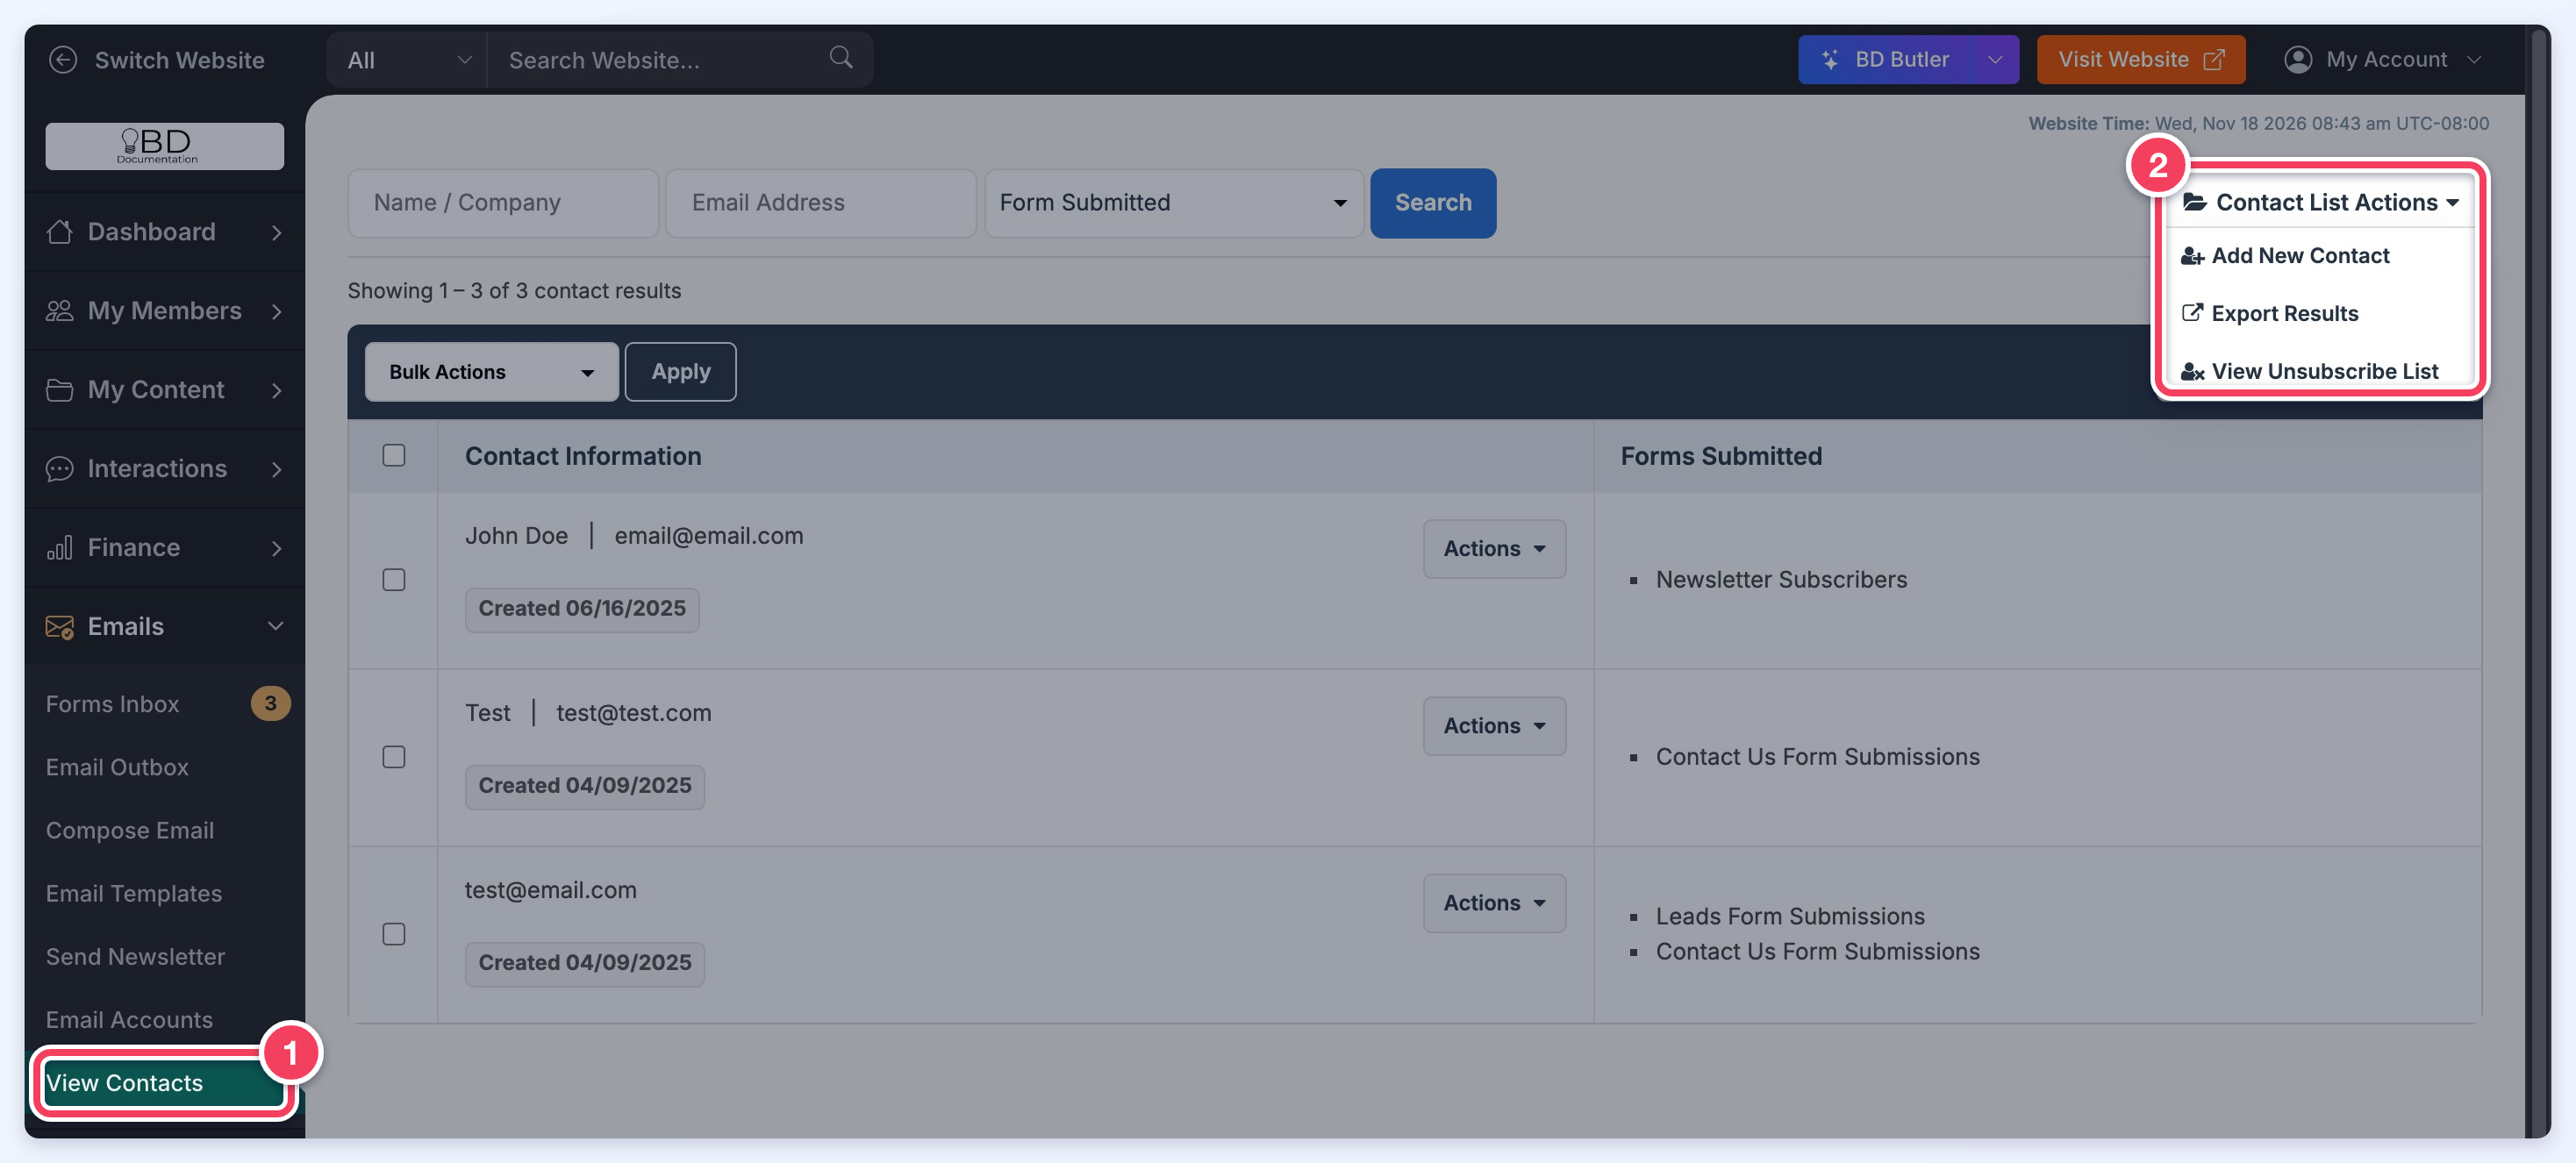
Each email that is added to the unsubscribe list will show in the View Contacts:
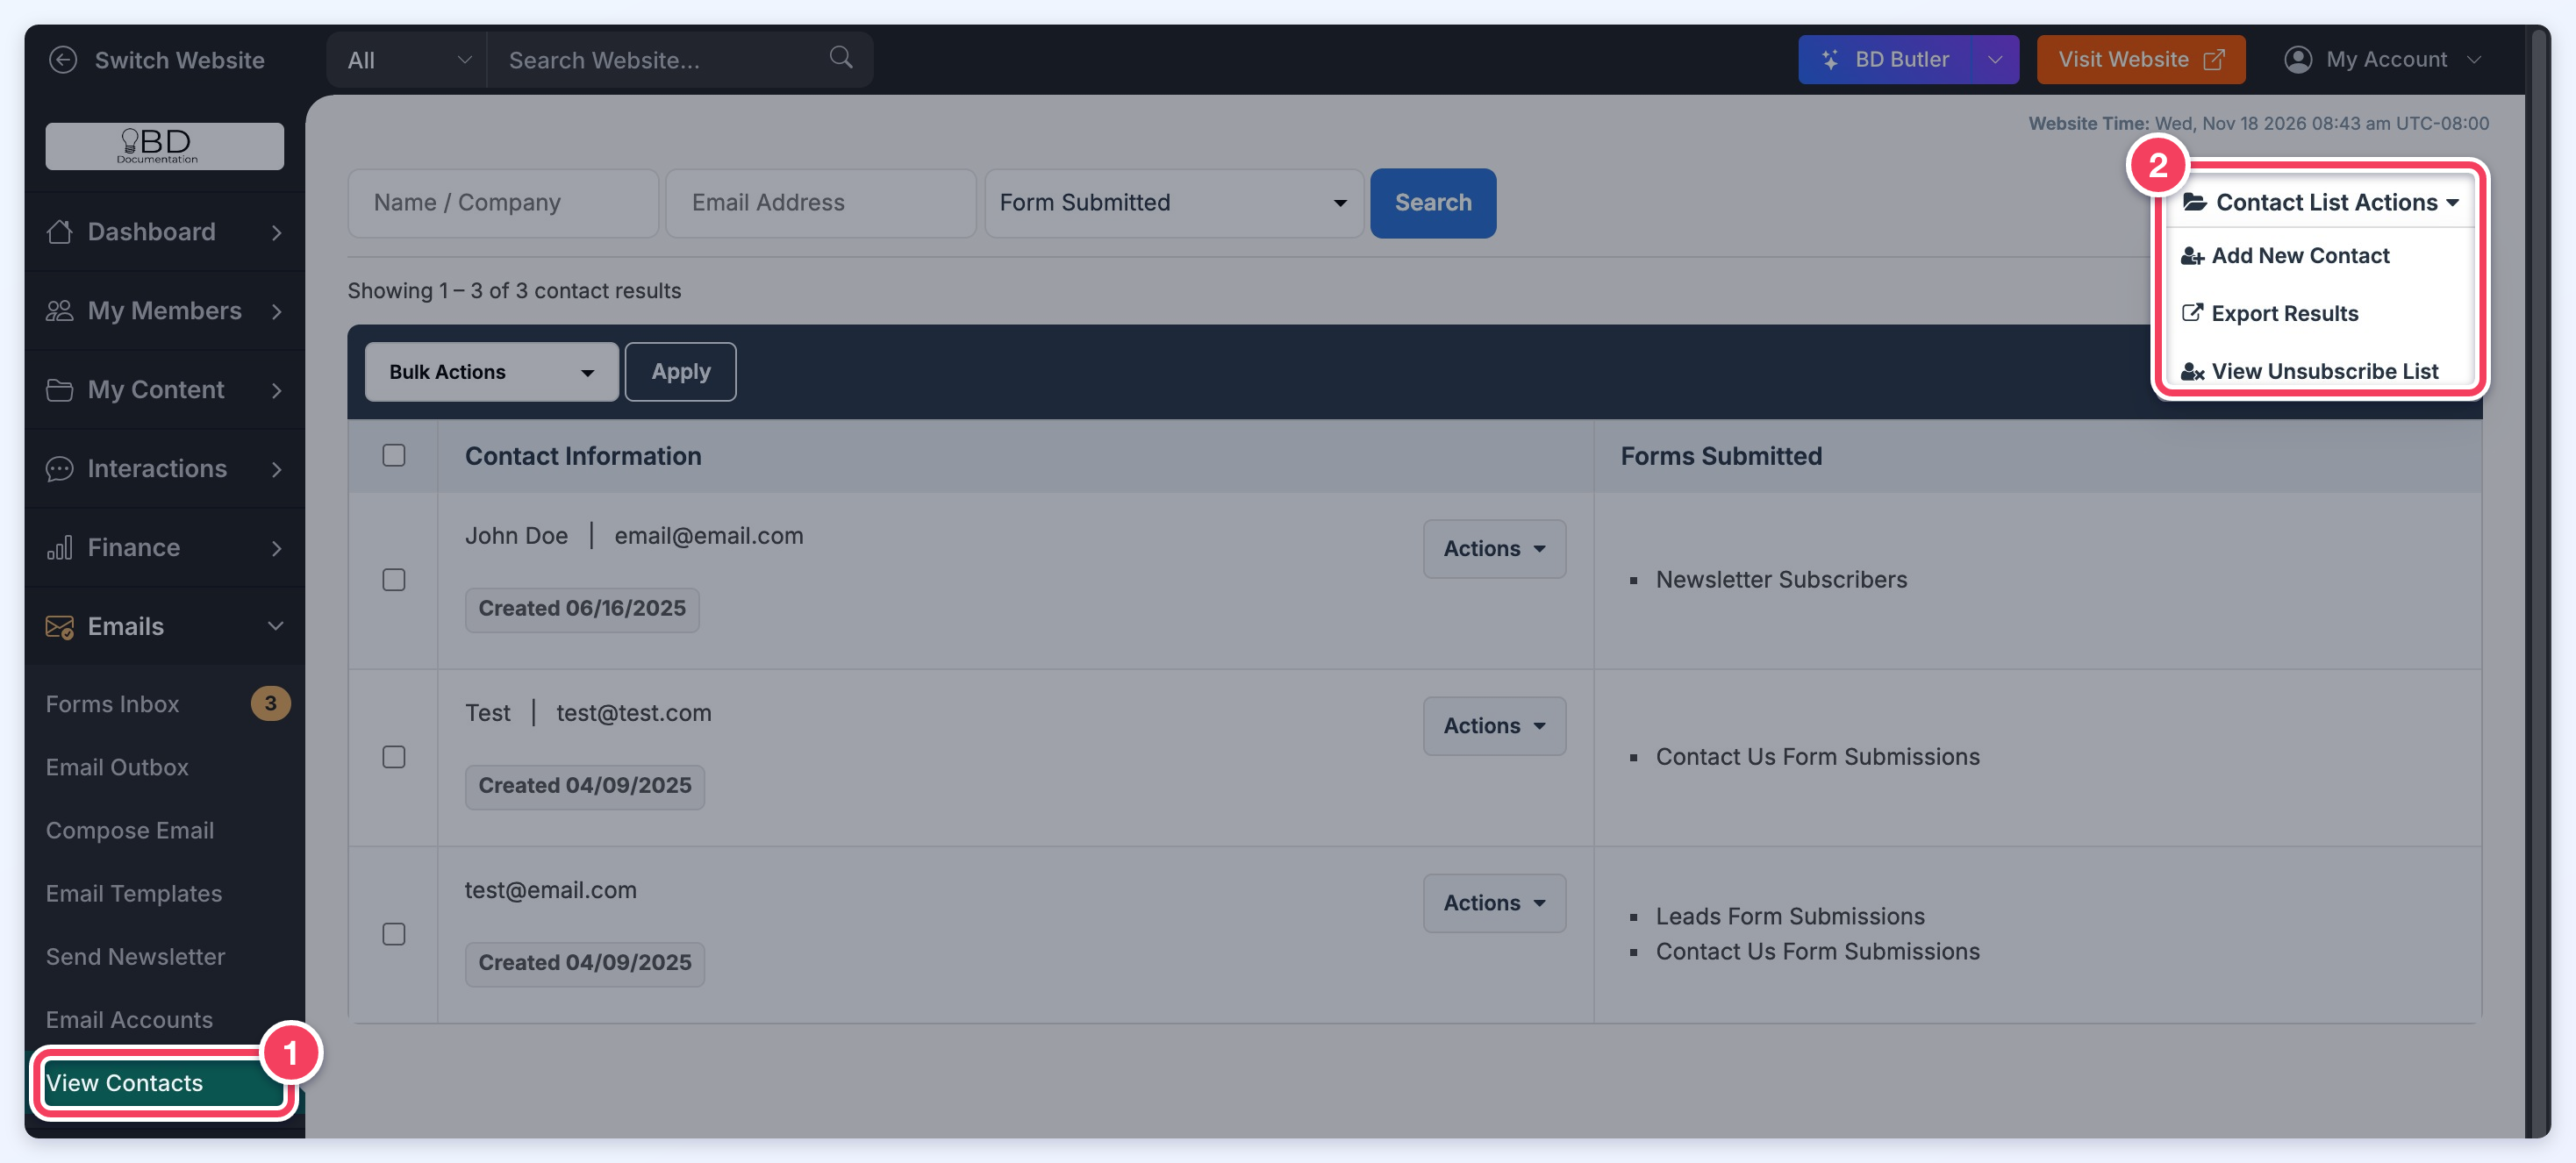
- Go to Emails
- Click on View Contacts
- Select View Unsubscribe List from the "Contact List Actions" dropdown
The View Unsubscribe List option is shown only to admins whose admin role includes the Unsubscribe List permission (in the Emails group of permissions).
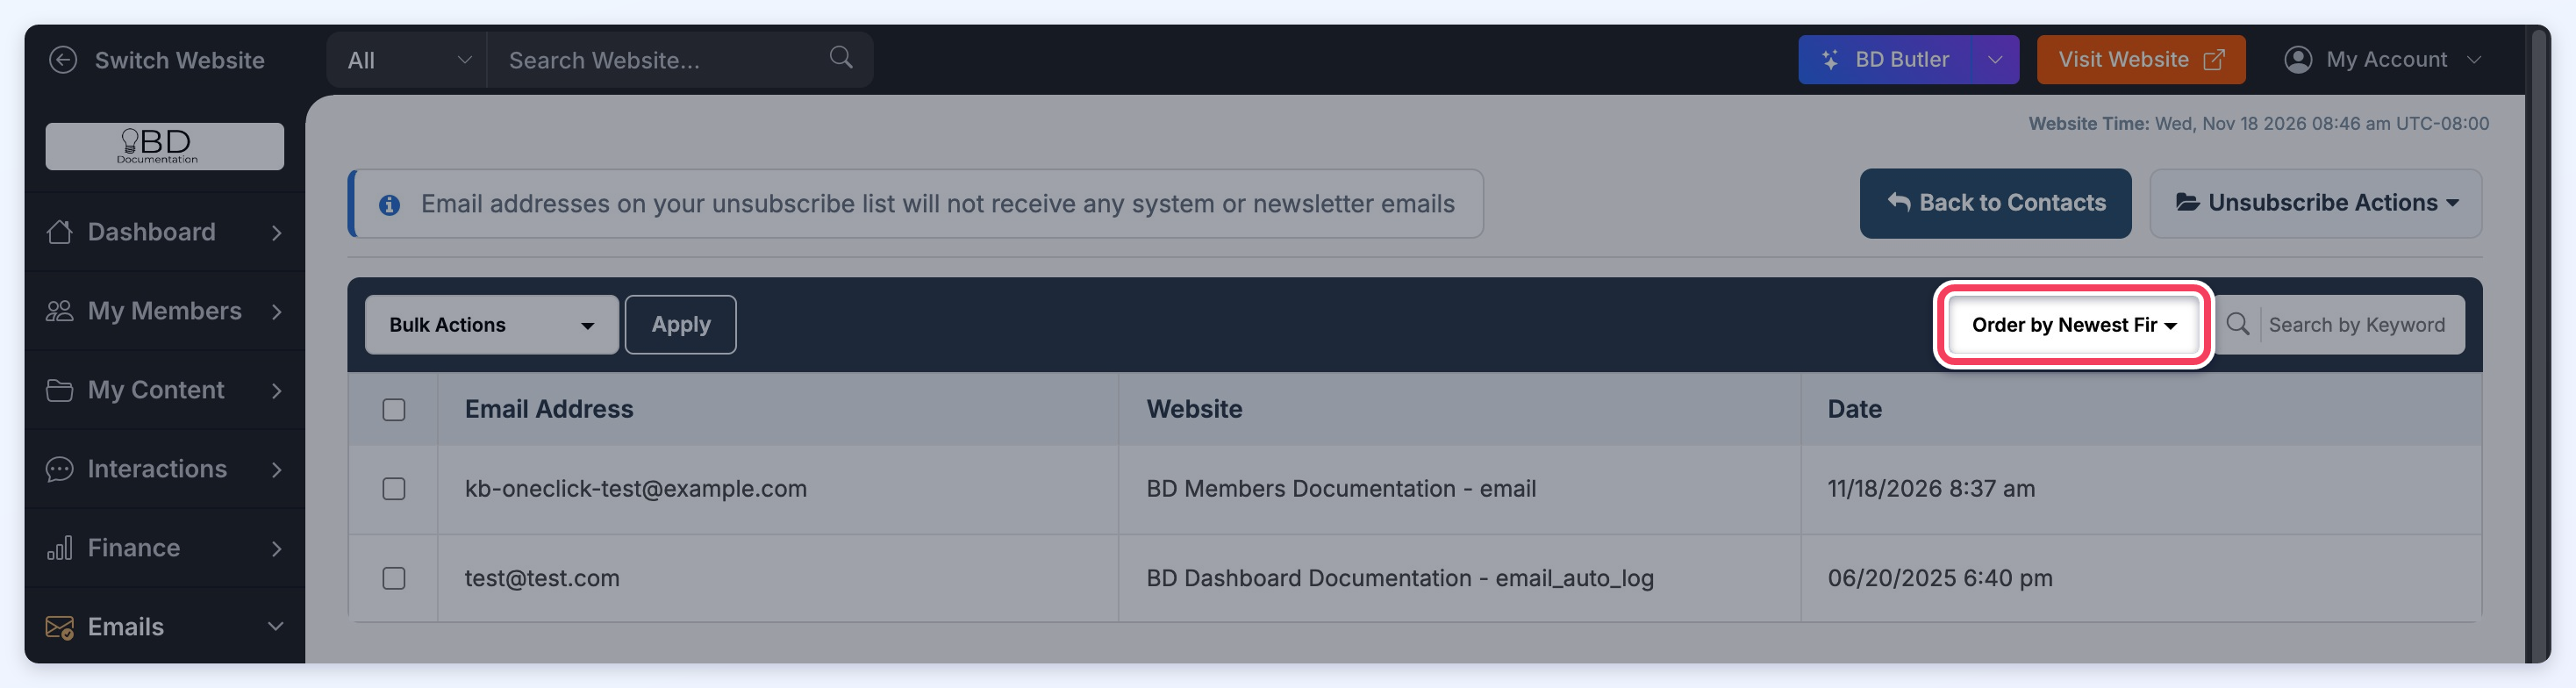
Sort Order Filters
It is possible to sort unsubscribes by using the Sort Order Filter, the options are:
- Order by Newest First
- Order by Oldest First
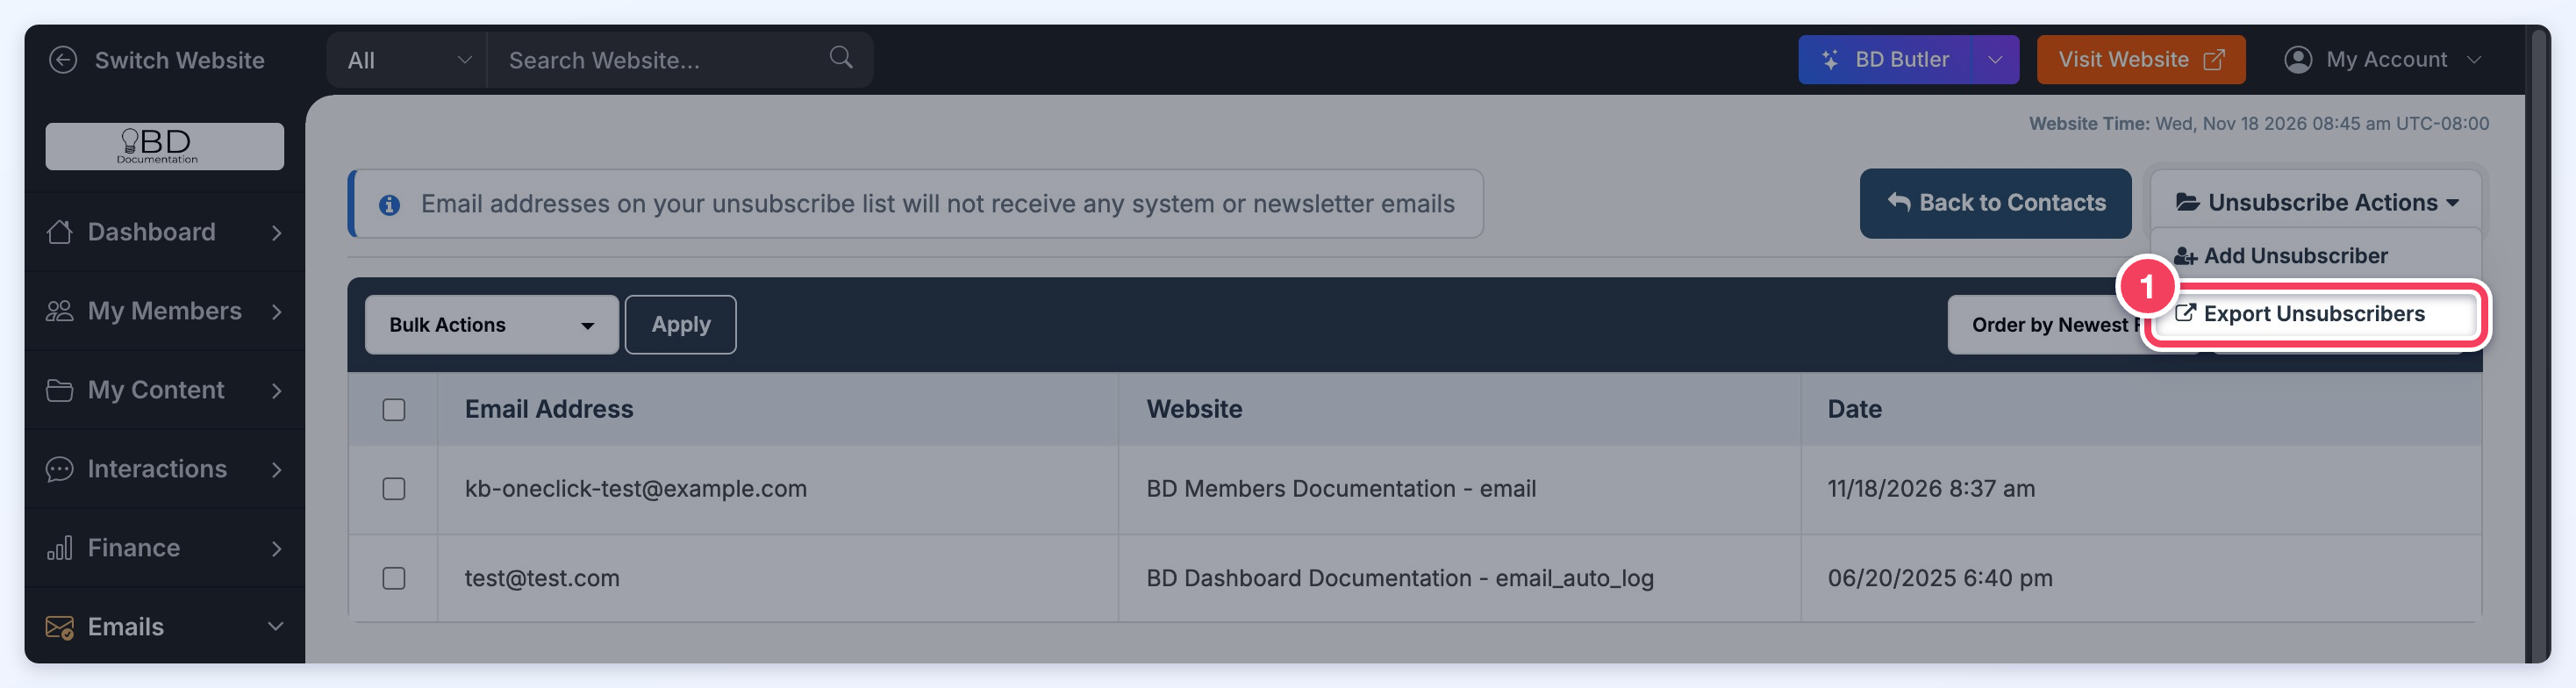
Export Unsubscribe Contacts
To export the Unsubscribe List, hover over Unsubscribe Actions and select Export Unsubscribers.
Important Note
This functionality is part of the Export Member Data add-on: Export Member Data
Manually Unsubscribe Emails
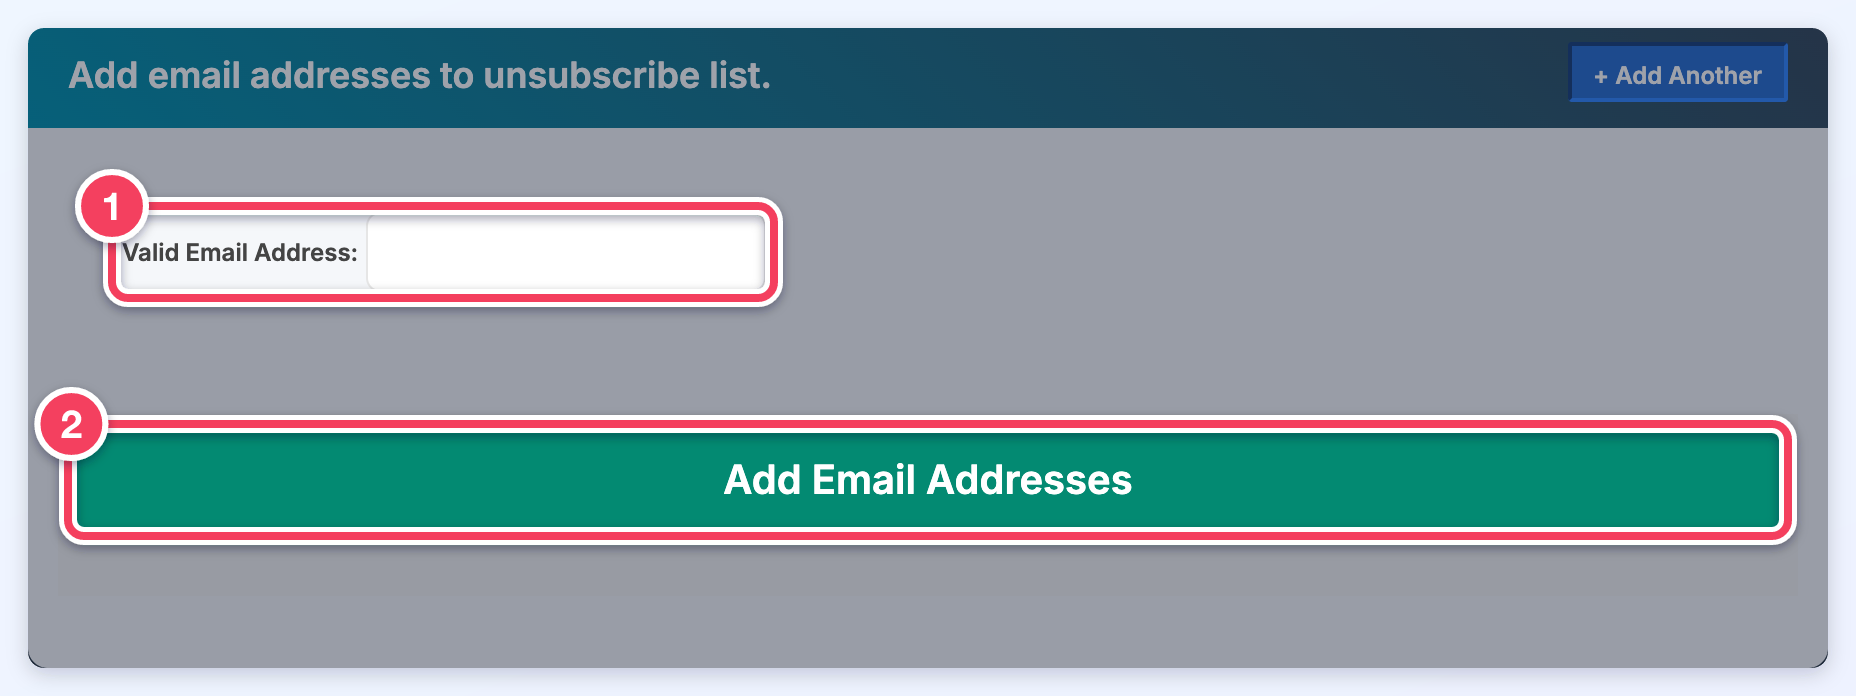
To manually add an email address to the Unsubscribe List, hover over Unsubscribe Actions and select Add Unsubscriber.
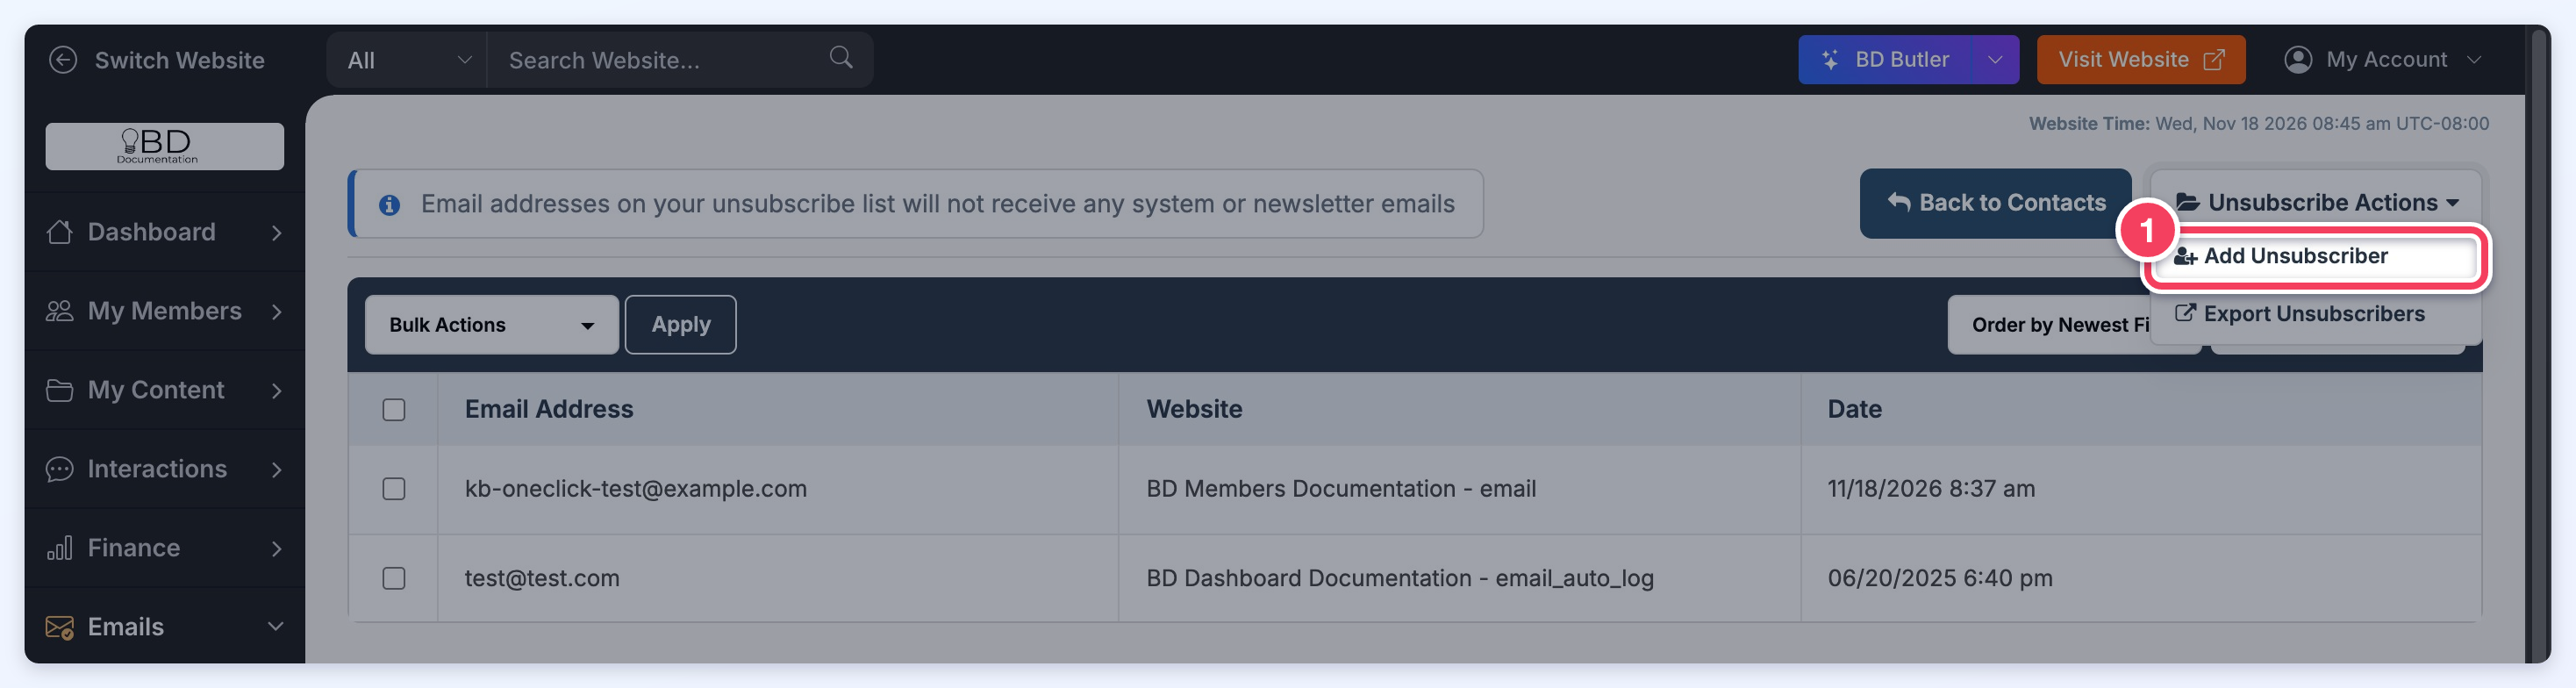
Insert the email address into the Valid Email Address field (click + Add Another to add more than one), then click the Add Email Addresses button.
Please note: This will not remove the email from the mailing list. If someone that is tagged as a silver member, they will still show on the silver member email list. By being added to the unsubscribe list, the newly unsubscribed member will be skipped at the time the email campaign gets sent out.
Resubscribe Members
If a user has previously unsubscribed but later wants to start receiving website updates again, follow these steps:
- Go to Emails
- Click on View Contacts
- Select View Unsubscribe List from the "Contact List Actions" dropdown
- Tick the box next to the email address
- Choose Delete Selected from the Bulk Actions dropdown and click Apply
- Click Yes, continue to confirm
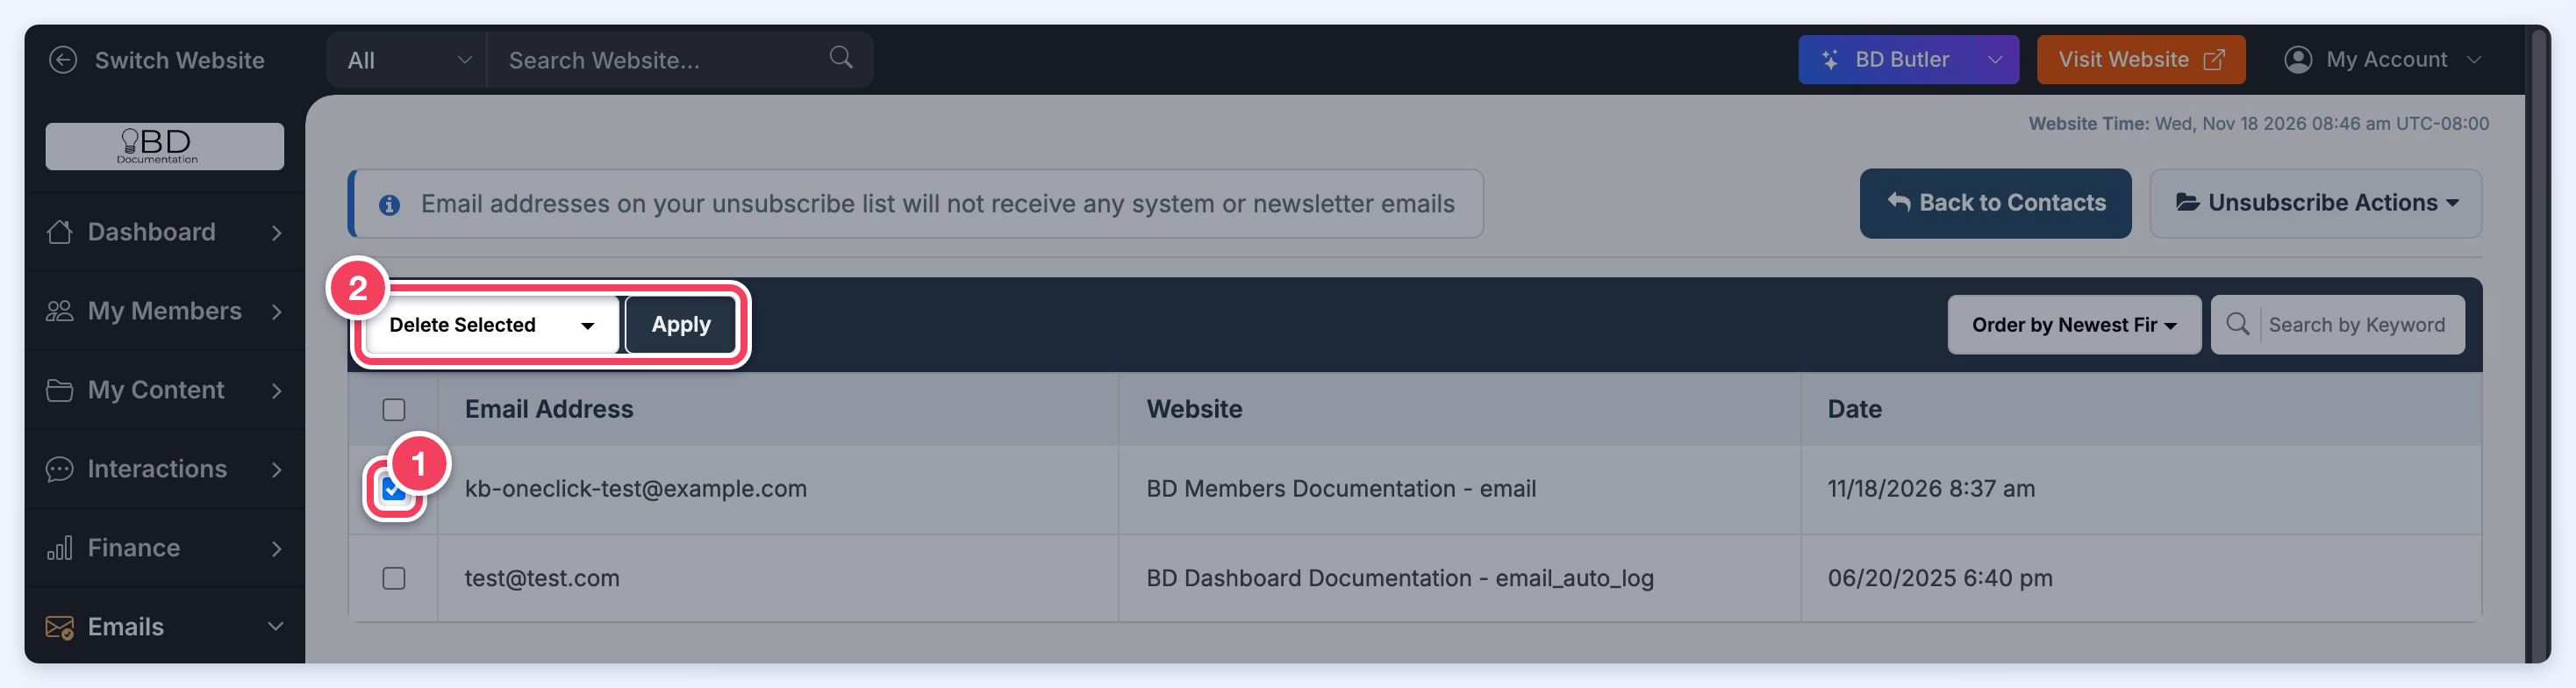
This will remove them from the unsubscribe list, allowing them to receive emails again if they're included in any active mailing lists.
Edit the Unsubscribed Webpage
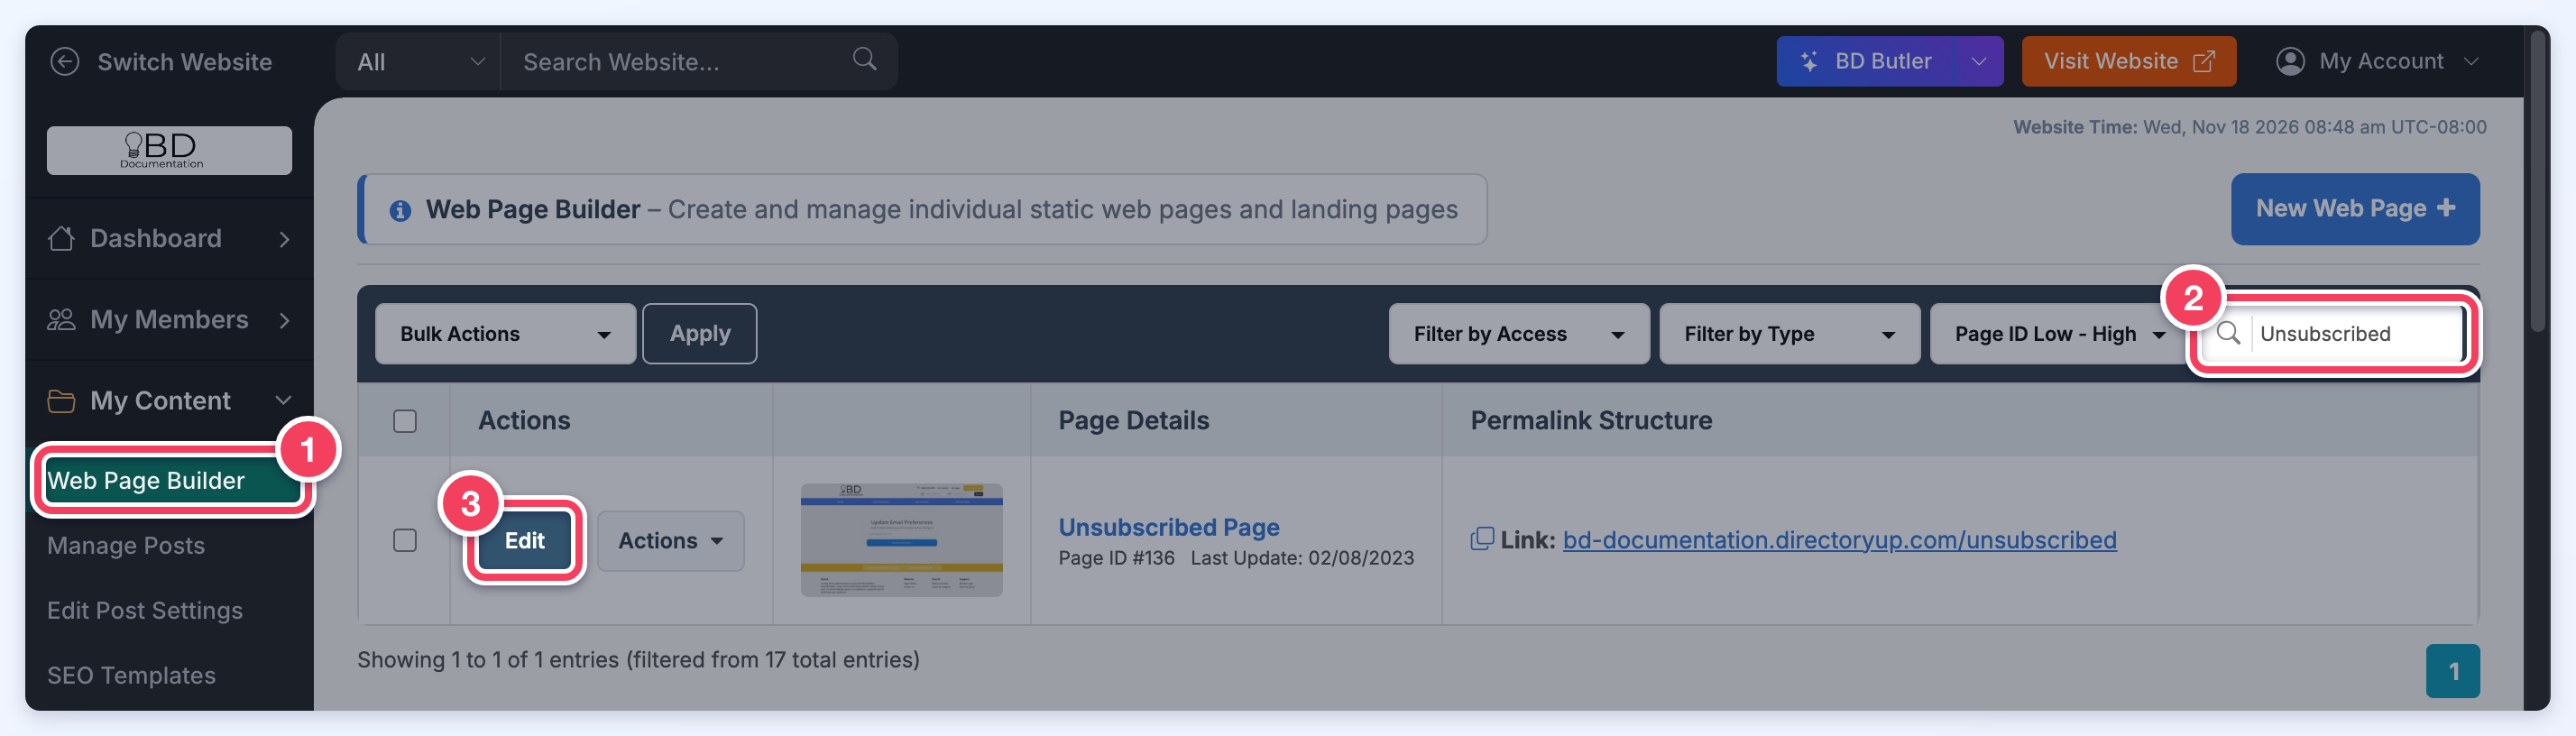
To make changes to the Unsubscribed Webpage, go to My Content >> Web Page Builder, search for "Unsubscribed" and click Edit on the Unsubscribed Page:
>> Everything About Froala WYSIWYG Text Editor
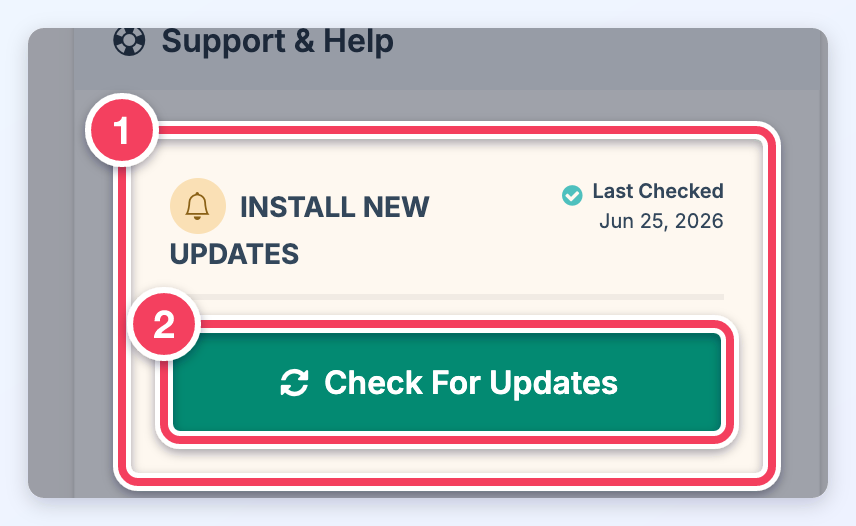
If the page is not available, navigate to the Dashboard and look for the INSTALL NEW UPDATES module in the Support & Help section.
Click on "Check For Updates" and locate the Email Unsubscribed Page Installer and click the "Install" button: