How To Create Testimonials Page
Link: https://support.brilliantdirectories.com/support/solutions/articles/12000078878
It is possible to create a testimonials page within the Brilliant Directories software by repurposing existing functionality. The simplest starting point is cloning the existing Contact Us form, since it already contains the basic fields and submission settings a testimonial form needs.
1) Cloning the Contact Us Form to Create a Testimonial Form
Navigate to Toolbox >> Form Manager and locate the Contact Us form in the list.
Click the Clone option for the Contact Us form. This creates a copy of the form, including its fields and settings, without affecting the original Contact Us form.
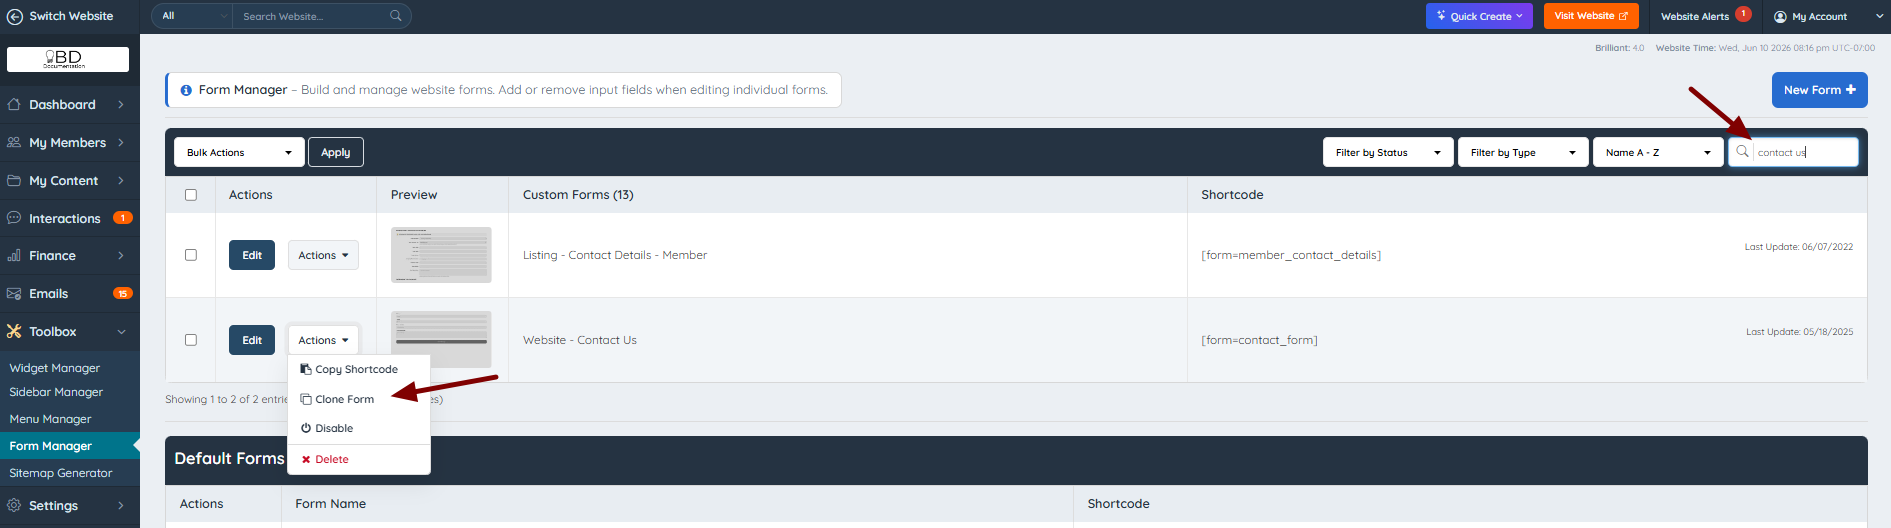
Rename the cloned form to something descriptive, such as "Testimonial Form." The clone receives its own system variable/shortcode, so it can be edited freely without interfering with the live Contact Us form.

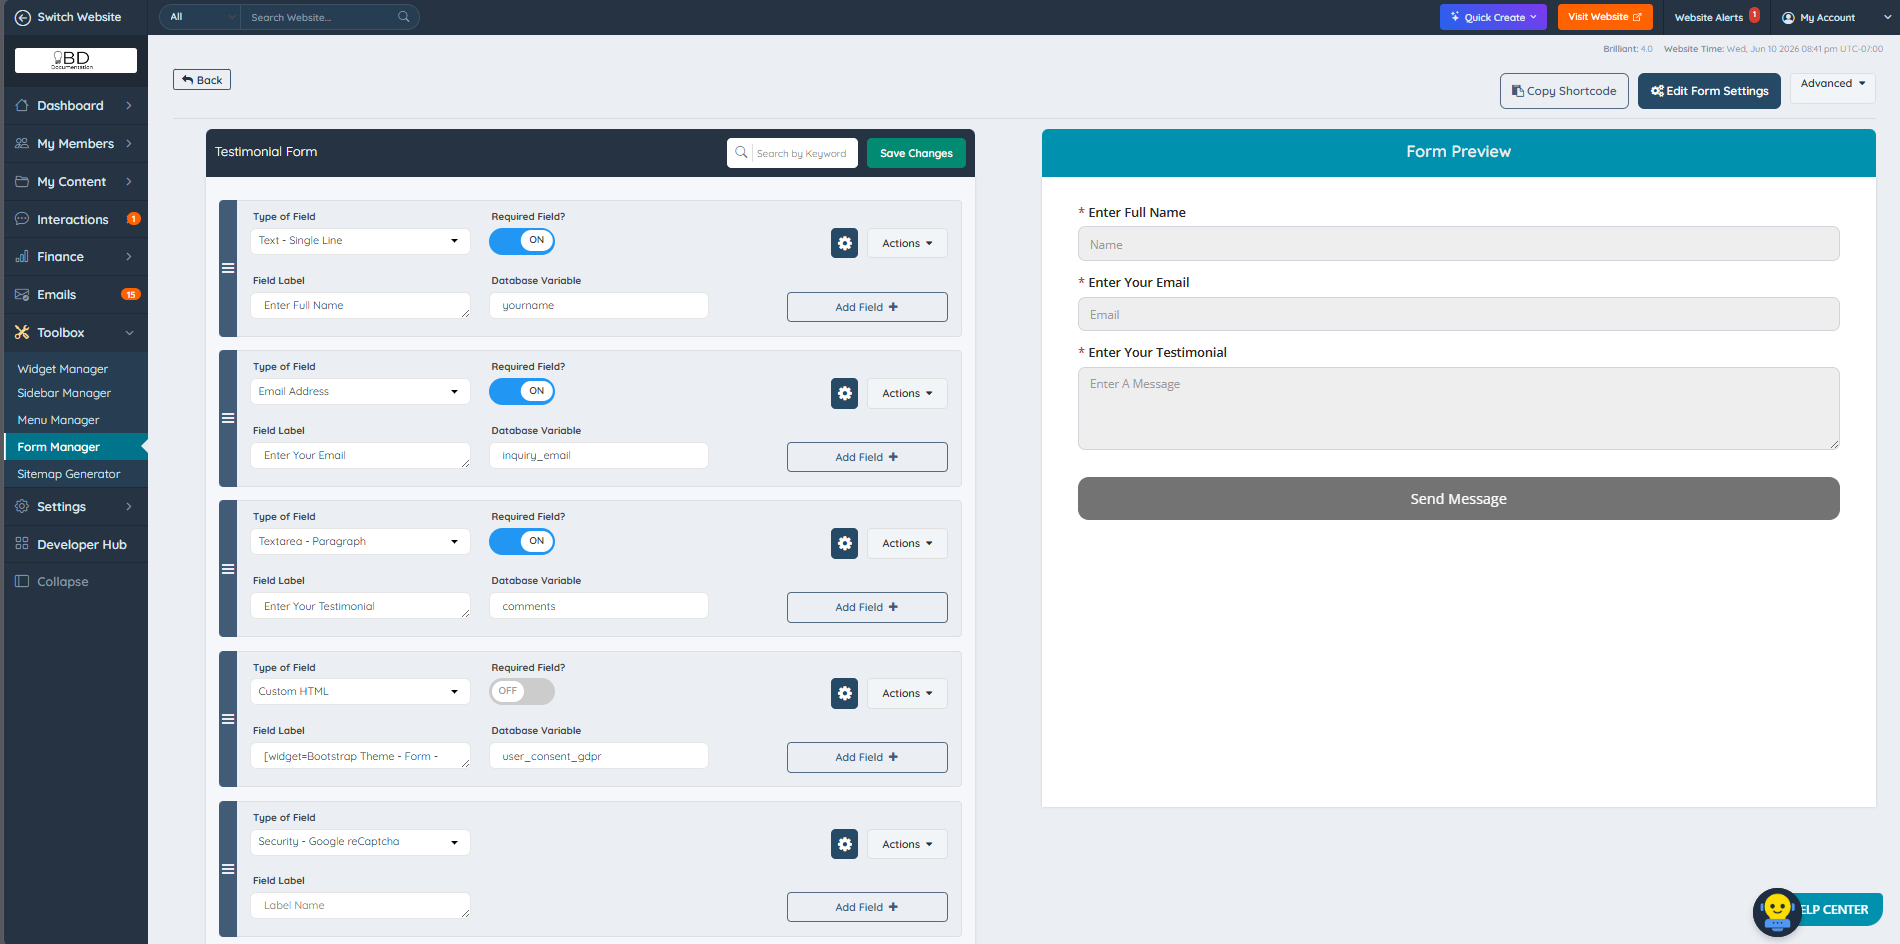
The cloned form comes with the Contact Us fields already in place. For this example, we re-named some of the form fields and removed the unnecessary ones:
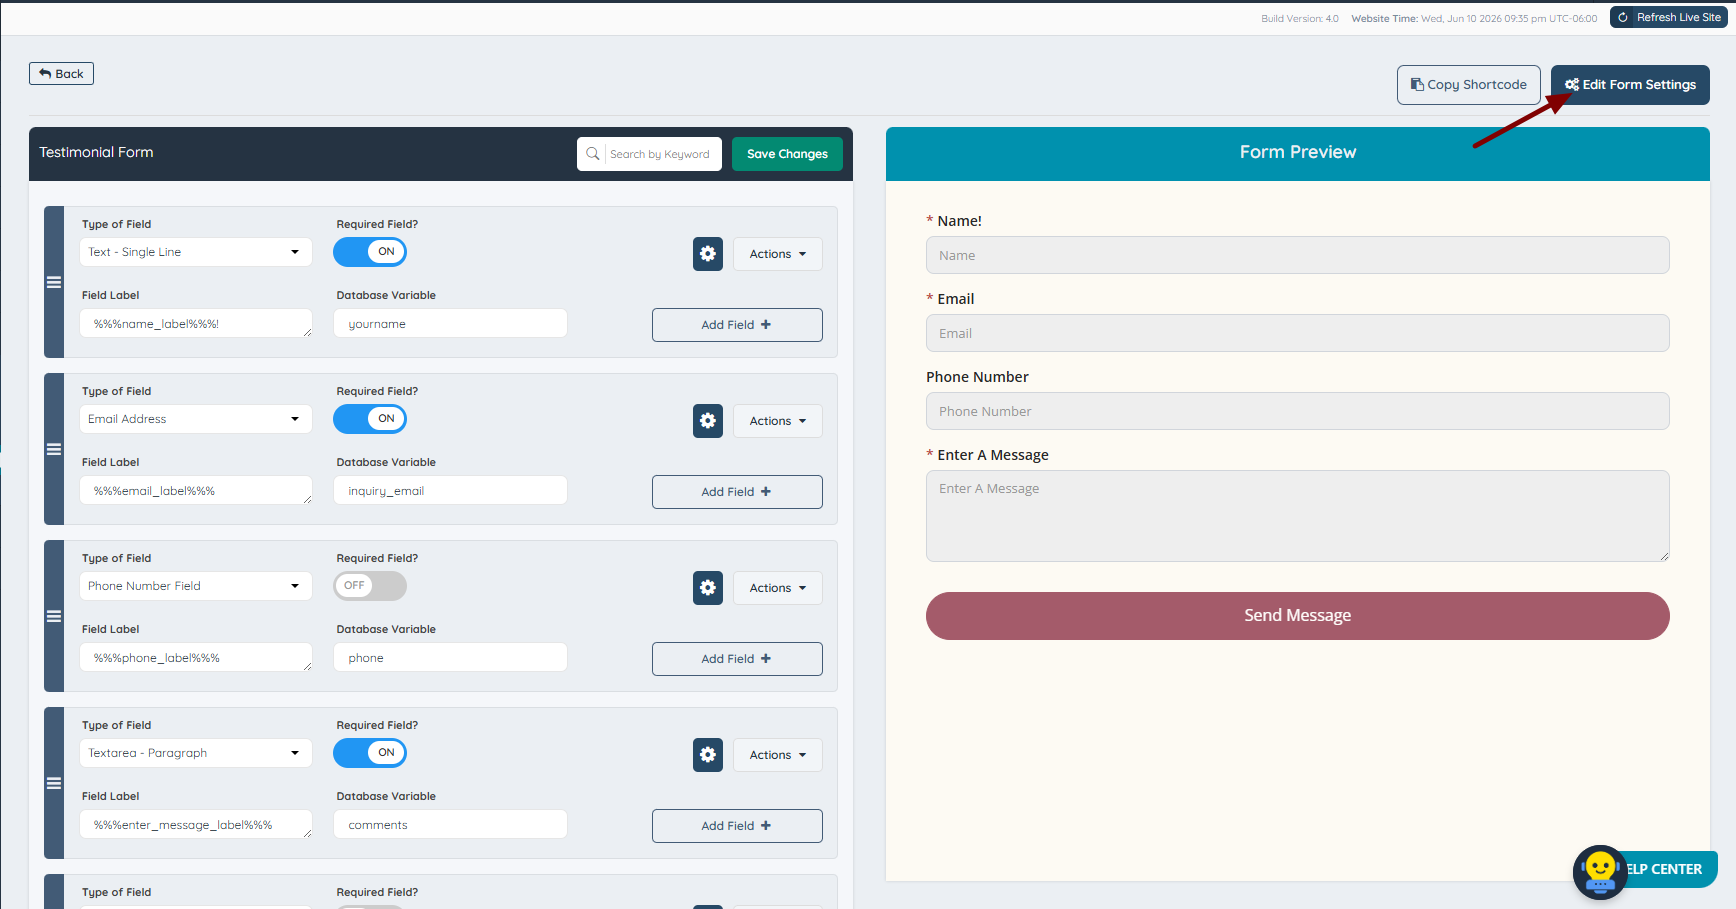
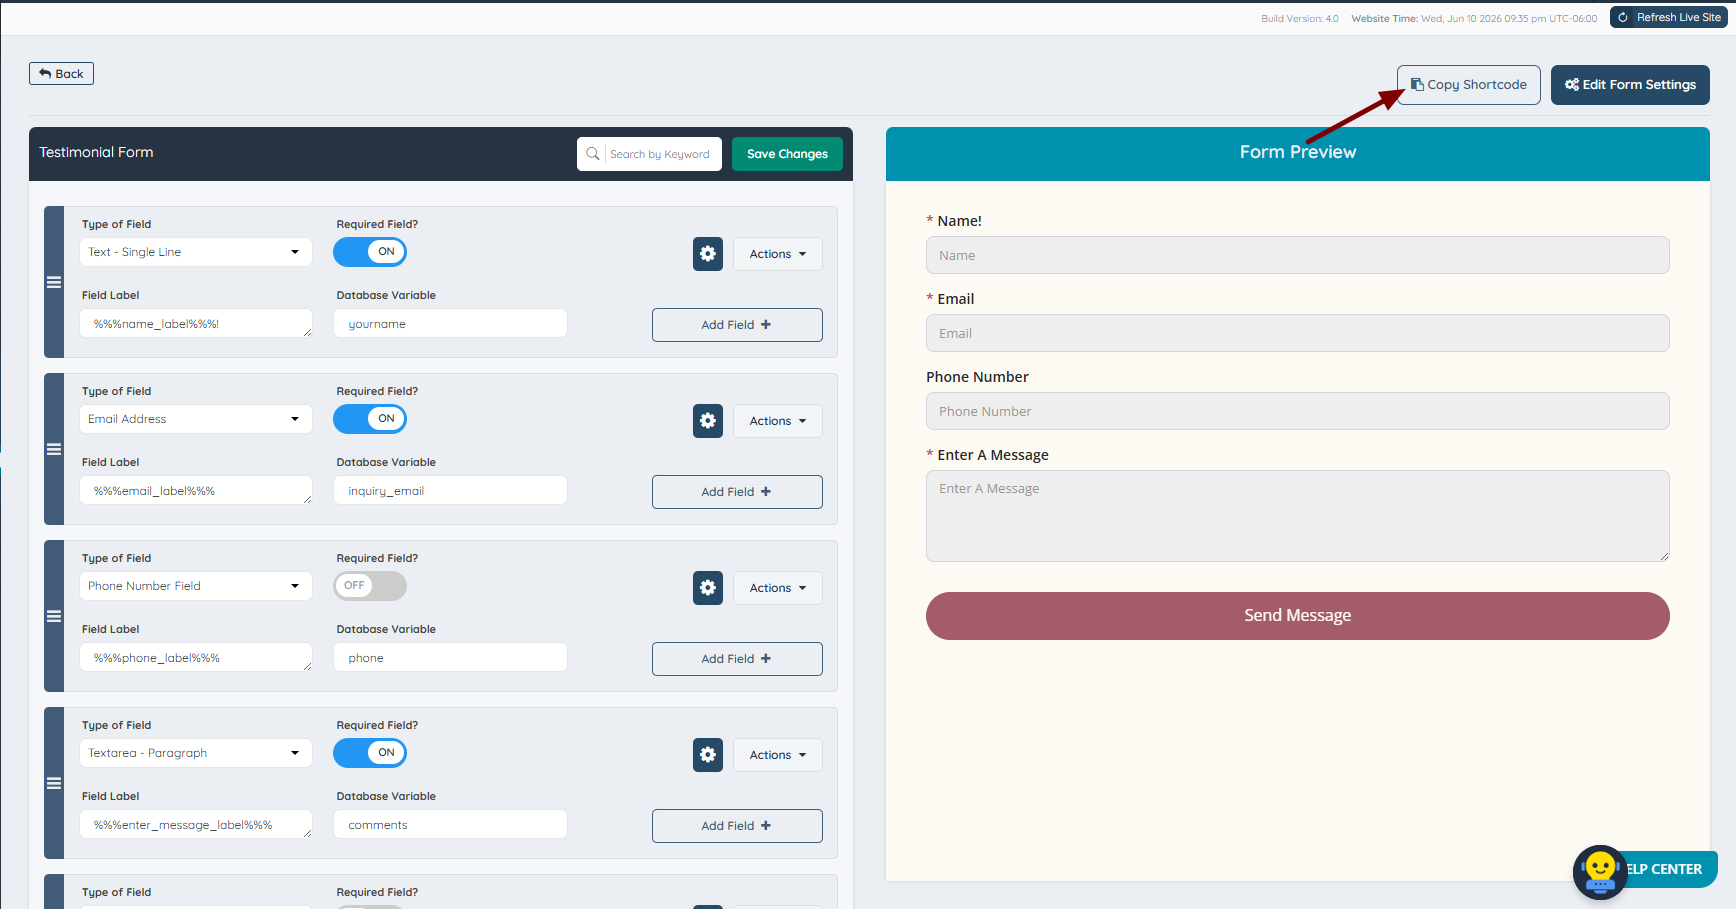
Once ready, the next step would be editing the form settings by clicking on Edit Form Settings button:
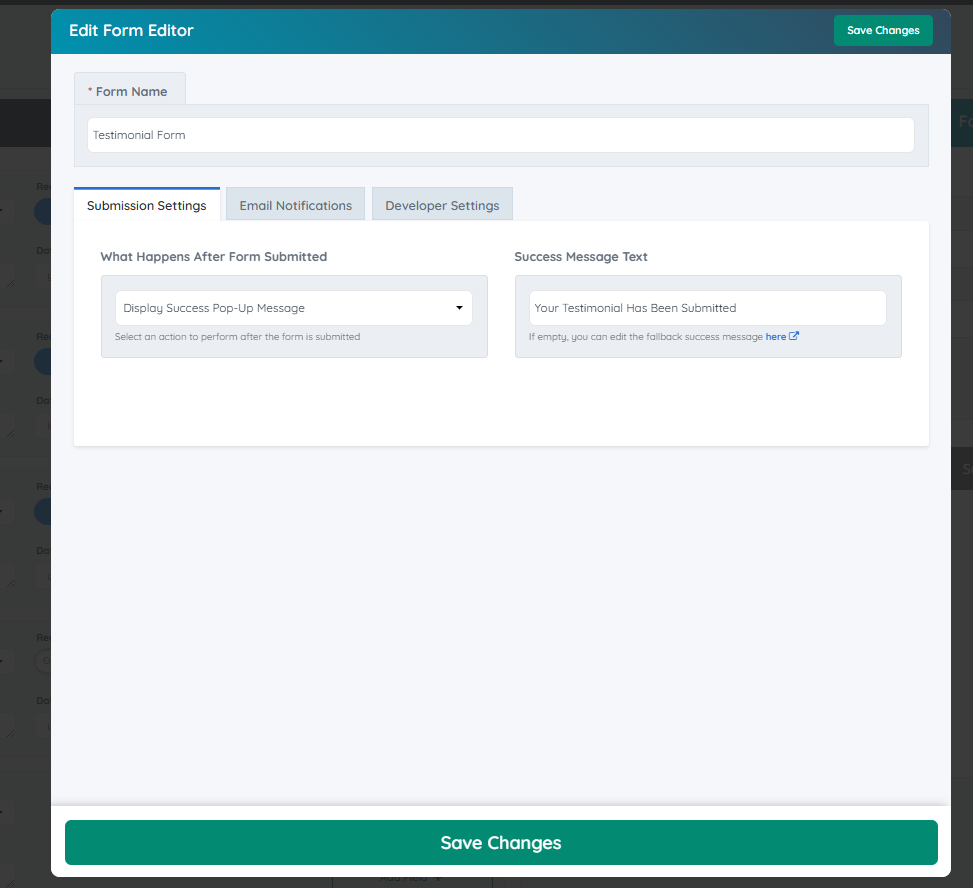
Under the Submission Settings tab, the site owner can choose the action after the form is submitted, for this example, we choose to display a unique pop-up message that will be displayed after the form is submitted:
2) Calling the Testimonial Form on a Webpage
Now that the Testimonial Form is ready, copy its shortcode by clicking Copy to Clipboard so it can be called on a web page:
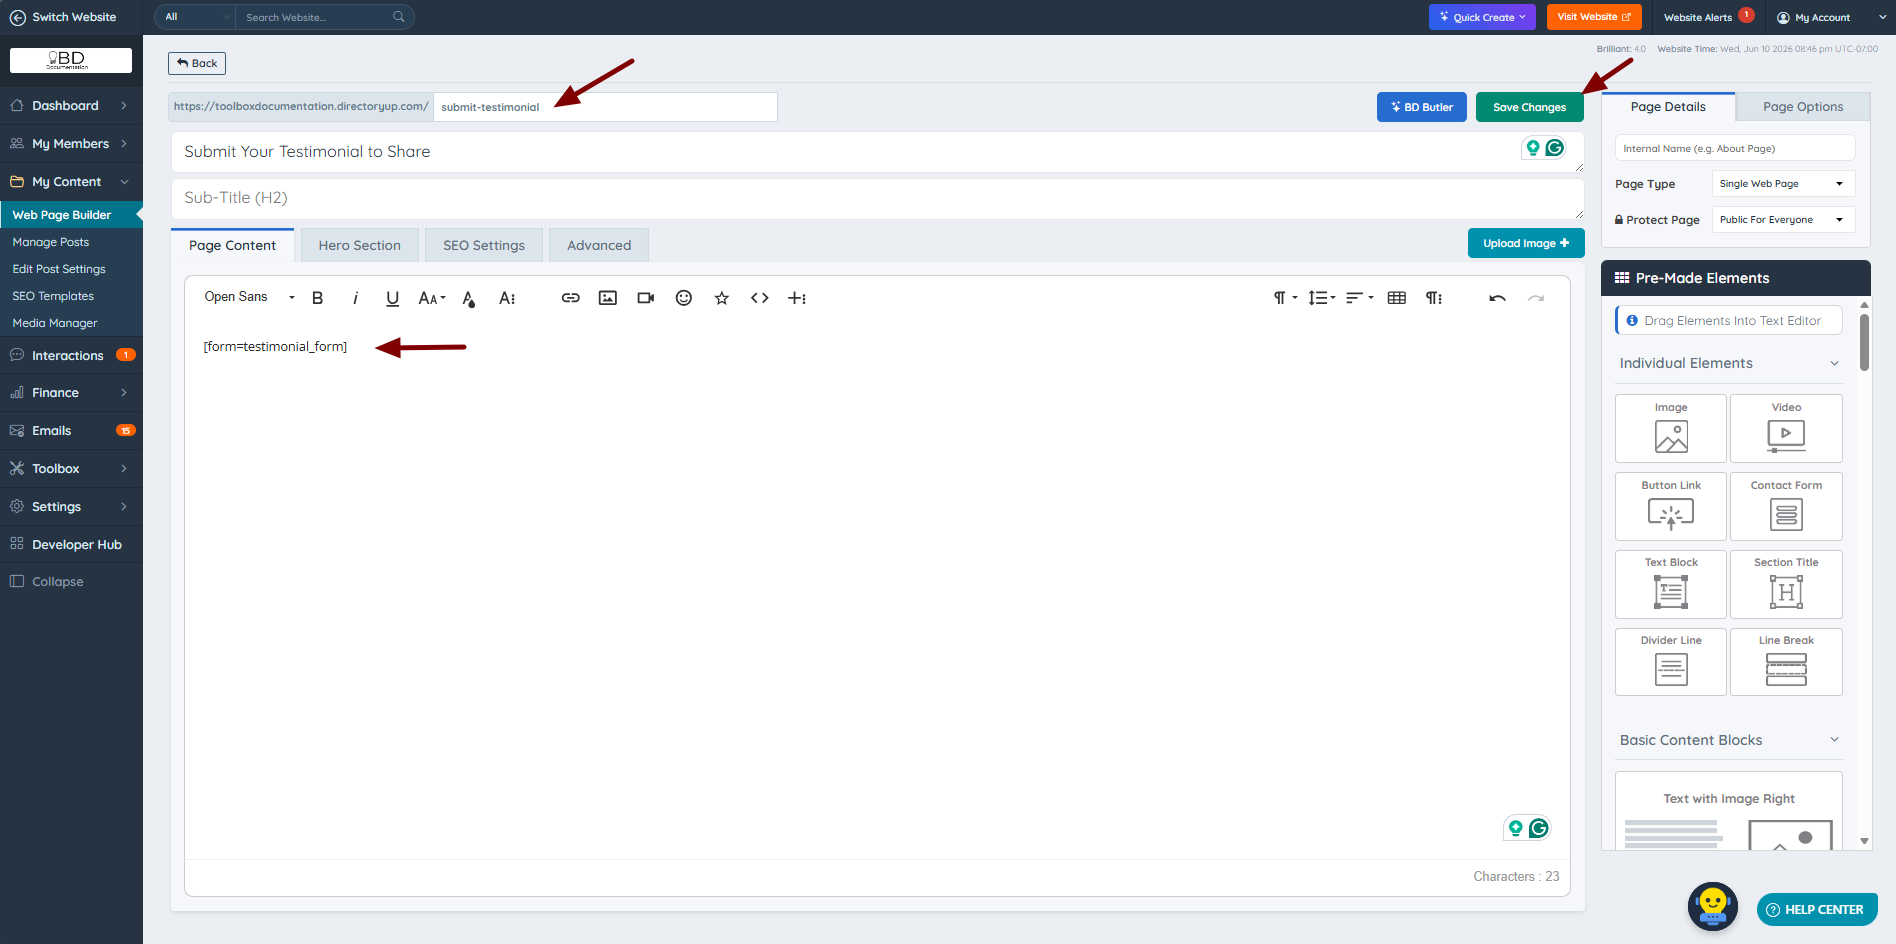
The next step would be navigating to My Content >> Web Page Builder >> New Web Page:

The minimum requirement to create this page is pasting the copied shortcode into the page's Froala Editor section and specifying a unique URL. There are many design options that can be implemented, like adding a hero image, but for this example, we kept it simple:
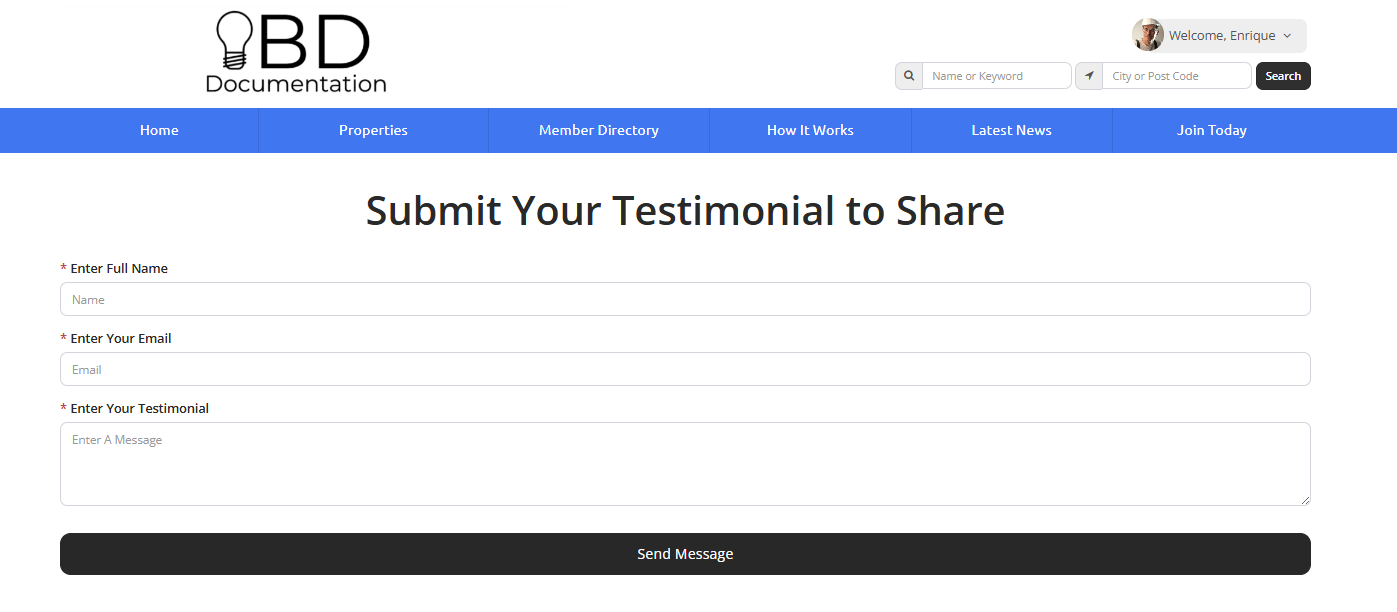
After clicking on Save Changes, the site owner can view the live page via the View Page button:

Our form is displaying as it should:
3) User Experience
Once the page is ready, this form can be utilized by the members or website visitors on the fly. Submitting the form will display a success message if it has been set up:

4) Where To Find The Submitted Testimonials
As we specified which table this form will be saved at the database at the end of step #2, this submission can be found under Emails >> Forms Inbox and can be sorted through using the Filter By Form:
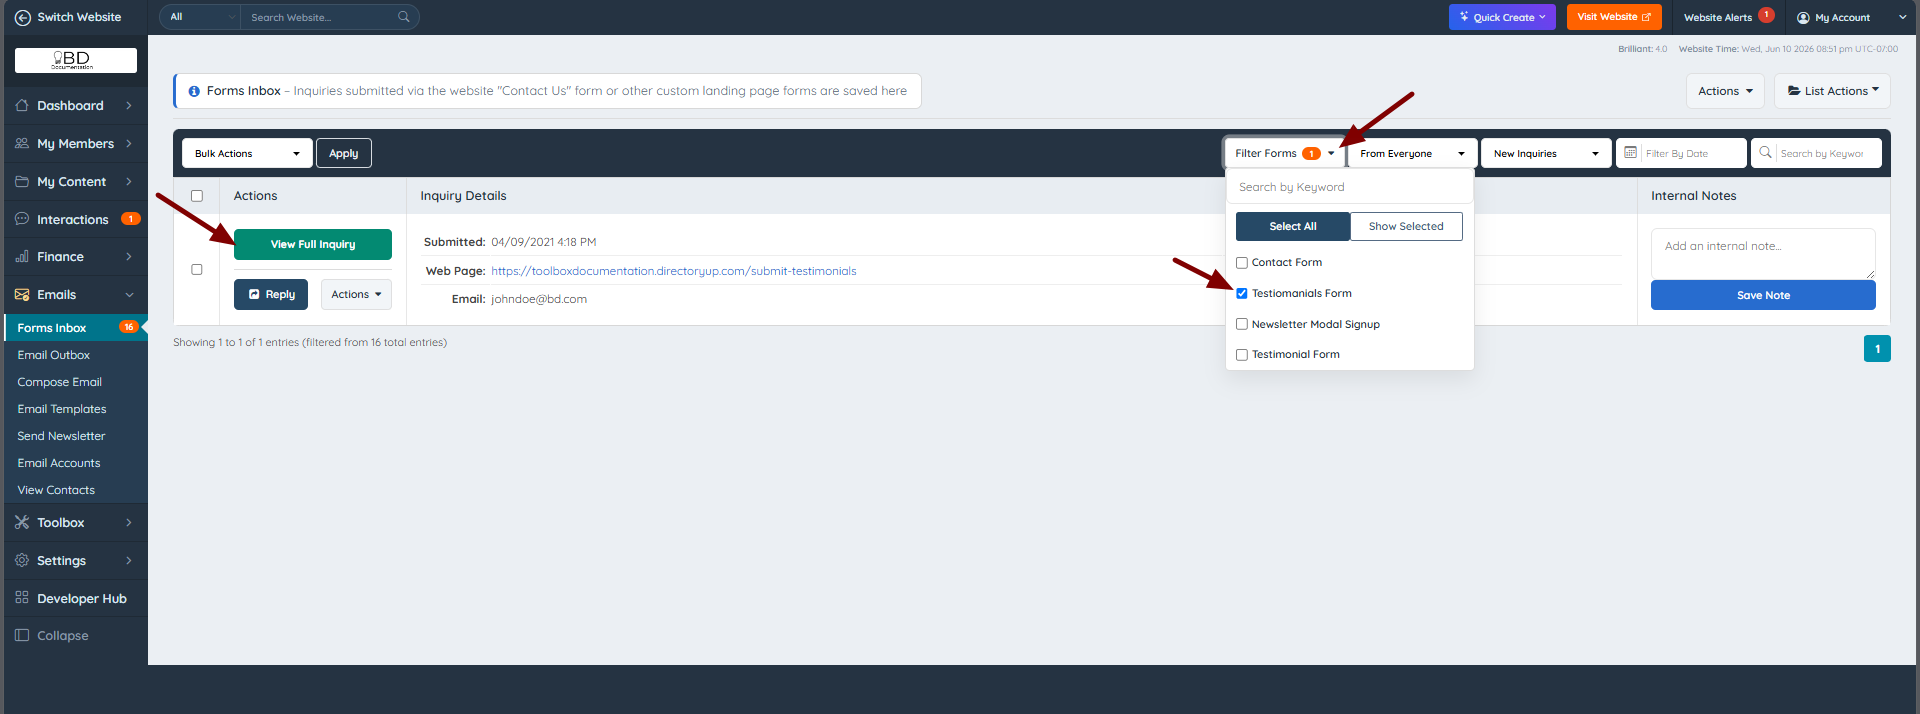
Clicking on View Full Inquiry will display the full message for future usage:

5) Where To Display The Submitted Testimonials
The submitted testimonial can be displayed on a new web page. To accomplish this, navigate to My Content >> Web Page Builder >> New Web Page:

Here, the site owner can utilize any of the pre-made draggable contents. For this example, we will be utilizing 3 Column Feature List:

Dragging and dropping this element will display some default information that can be edited further:

For this example, we went ahead and removed the buttons, added some member images, and utilized the titles as member names and paragraph as the testimonial itself:

Once clicked Save Changes, the live page can be review via the View Page button:

Our page is displaying as it should:

Some Useful Articles:
Edit Form Settings » Developer Settings
How To Embed A Form On A Web Page
How to Create a New Static Page
How To Add A Hero Section On Static Pages
