
Community Comments
Link: https://support.brilliantdirectories.com/support/solutions/articles/12000075521
This is a Free Add-On and Enabled on All Websites
Overview
The Community Comments Add-On adds native comments to Post Type detail pages. Logged-in, active members can leave comments on the website's content, reply to other members' comments, and (when enabled) like or dislike other members' comments.
This add-on removes the need for a third-party solution, such as Disqus, and keeps the whole experience on the website.
Enabling the Add-On
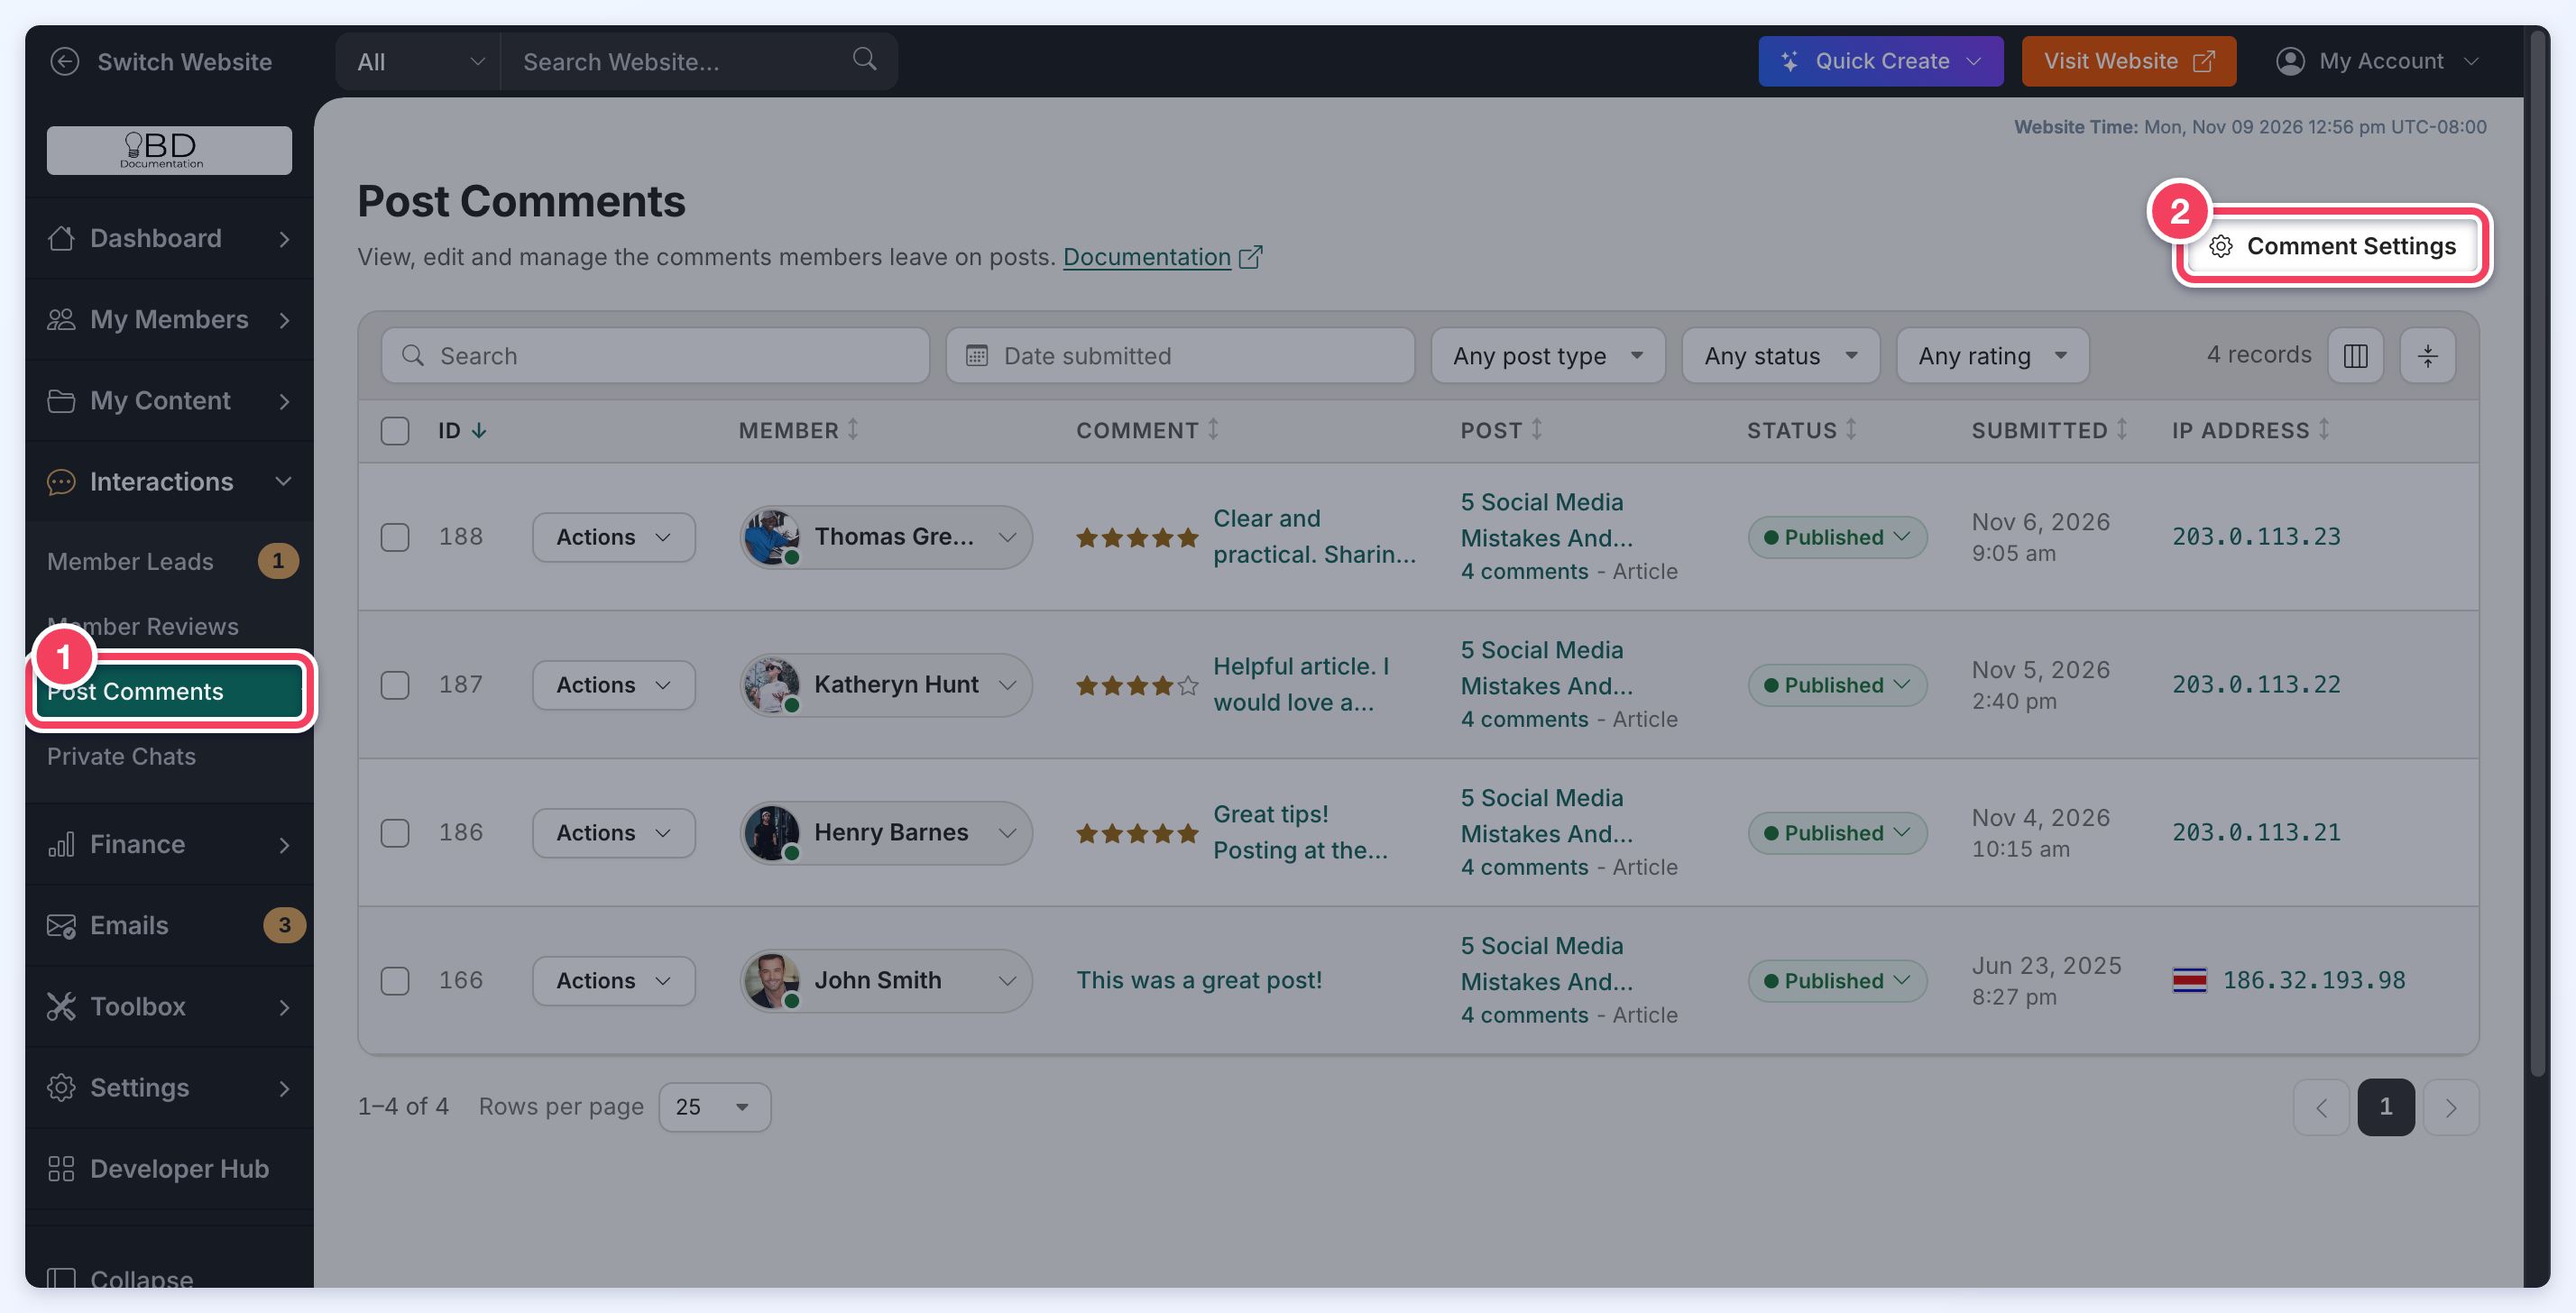
- Go to Interactions » Post Comments (1).
- Click Comment Settings (2) at the top right of the page.
The Comment Settings panel opens on General:
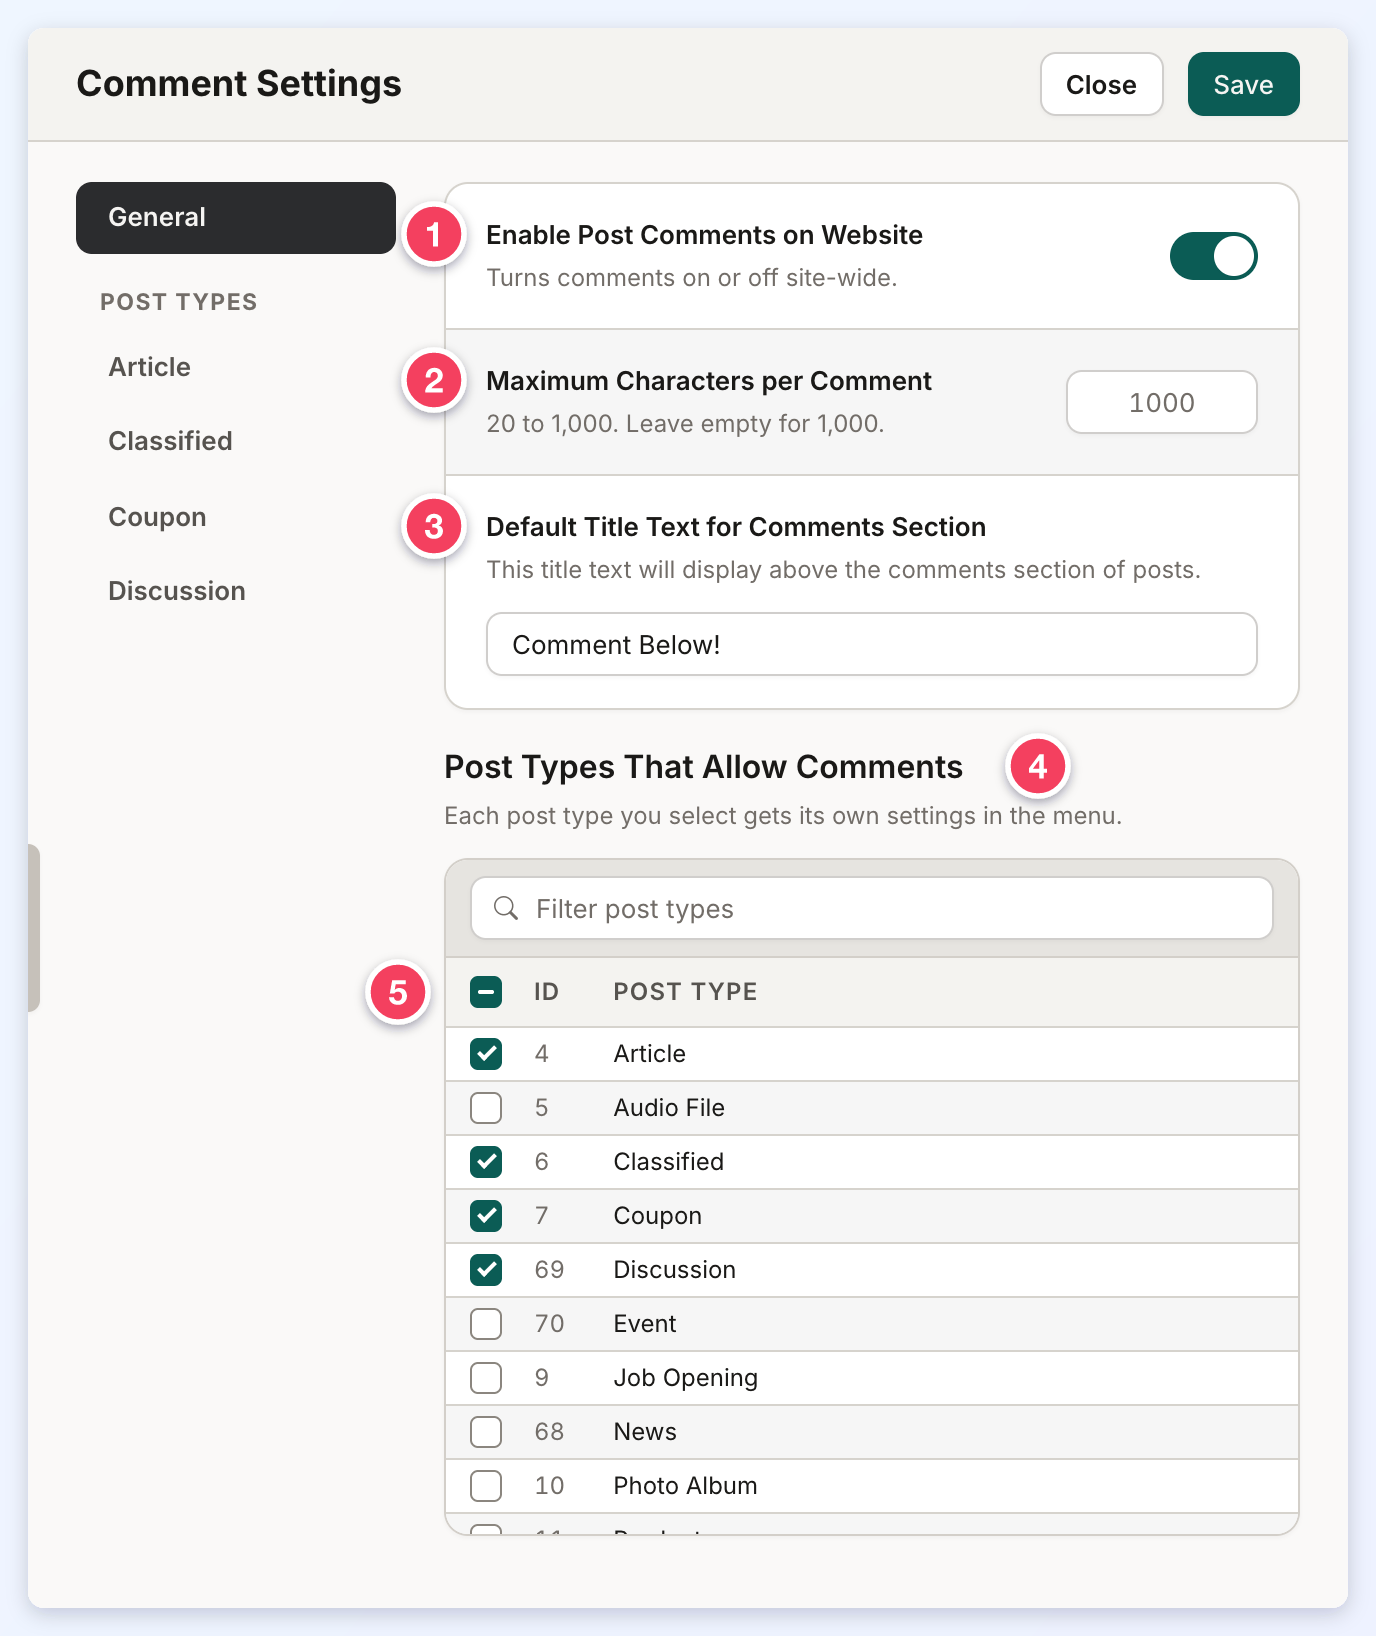
- Enable Post Comments on Website turns comments on or off for the entire website. The other settings, and the post types in the menu, appear only while it is on.
- Maximum Characters per Comment sets the longest comment a member can submit, from 20 to 1,000 characters. Leave it empty for 1,000.
- Default Title Text for Comments Section is the heading shown above the comments section of posts.
- Post Types That Allow Comments lists every post type. Tick the post types that show a comments section. Type in Filter post types to find a post type by name or ID.
- The checkbox in the table heading ticks or clears every post type shown.
Each post type ticked in the table gets its own entry under Post Types in the menu on the left, so every post type can be configured separately. A changed setting is marked with a dot next to its name until it is saved. Click Save at the top of the panel to keep the changes. Clicking Close with unsaved changes asks Discard Your Changes?: Keep Editing returns to the panel and Discard closes it without saving.
In-Depth Look at the Post Comment Settings
Click a post type under Post Types in the Comment Settings menu to see its settings, grouped into Moderation, Display, Editing and Deleting, Star Ratings and Comment Likes. The numbers in the screenshot match the numbered sections below.
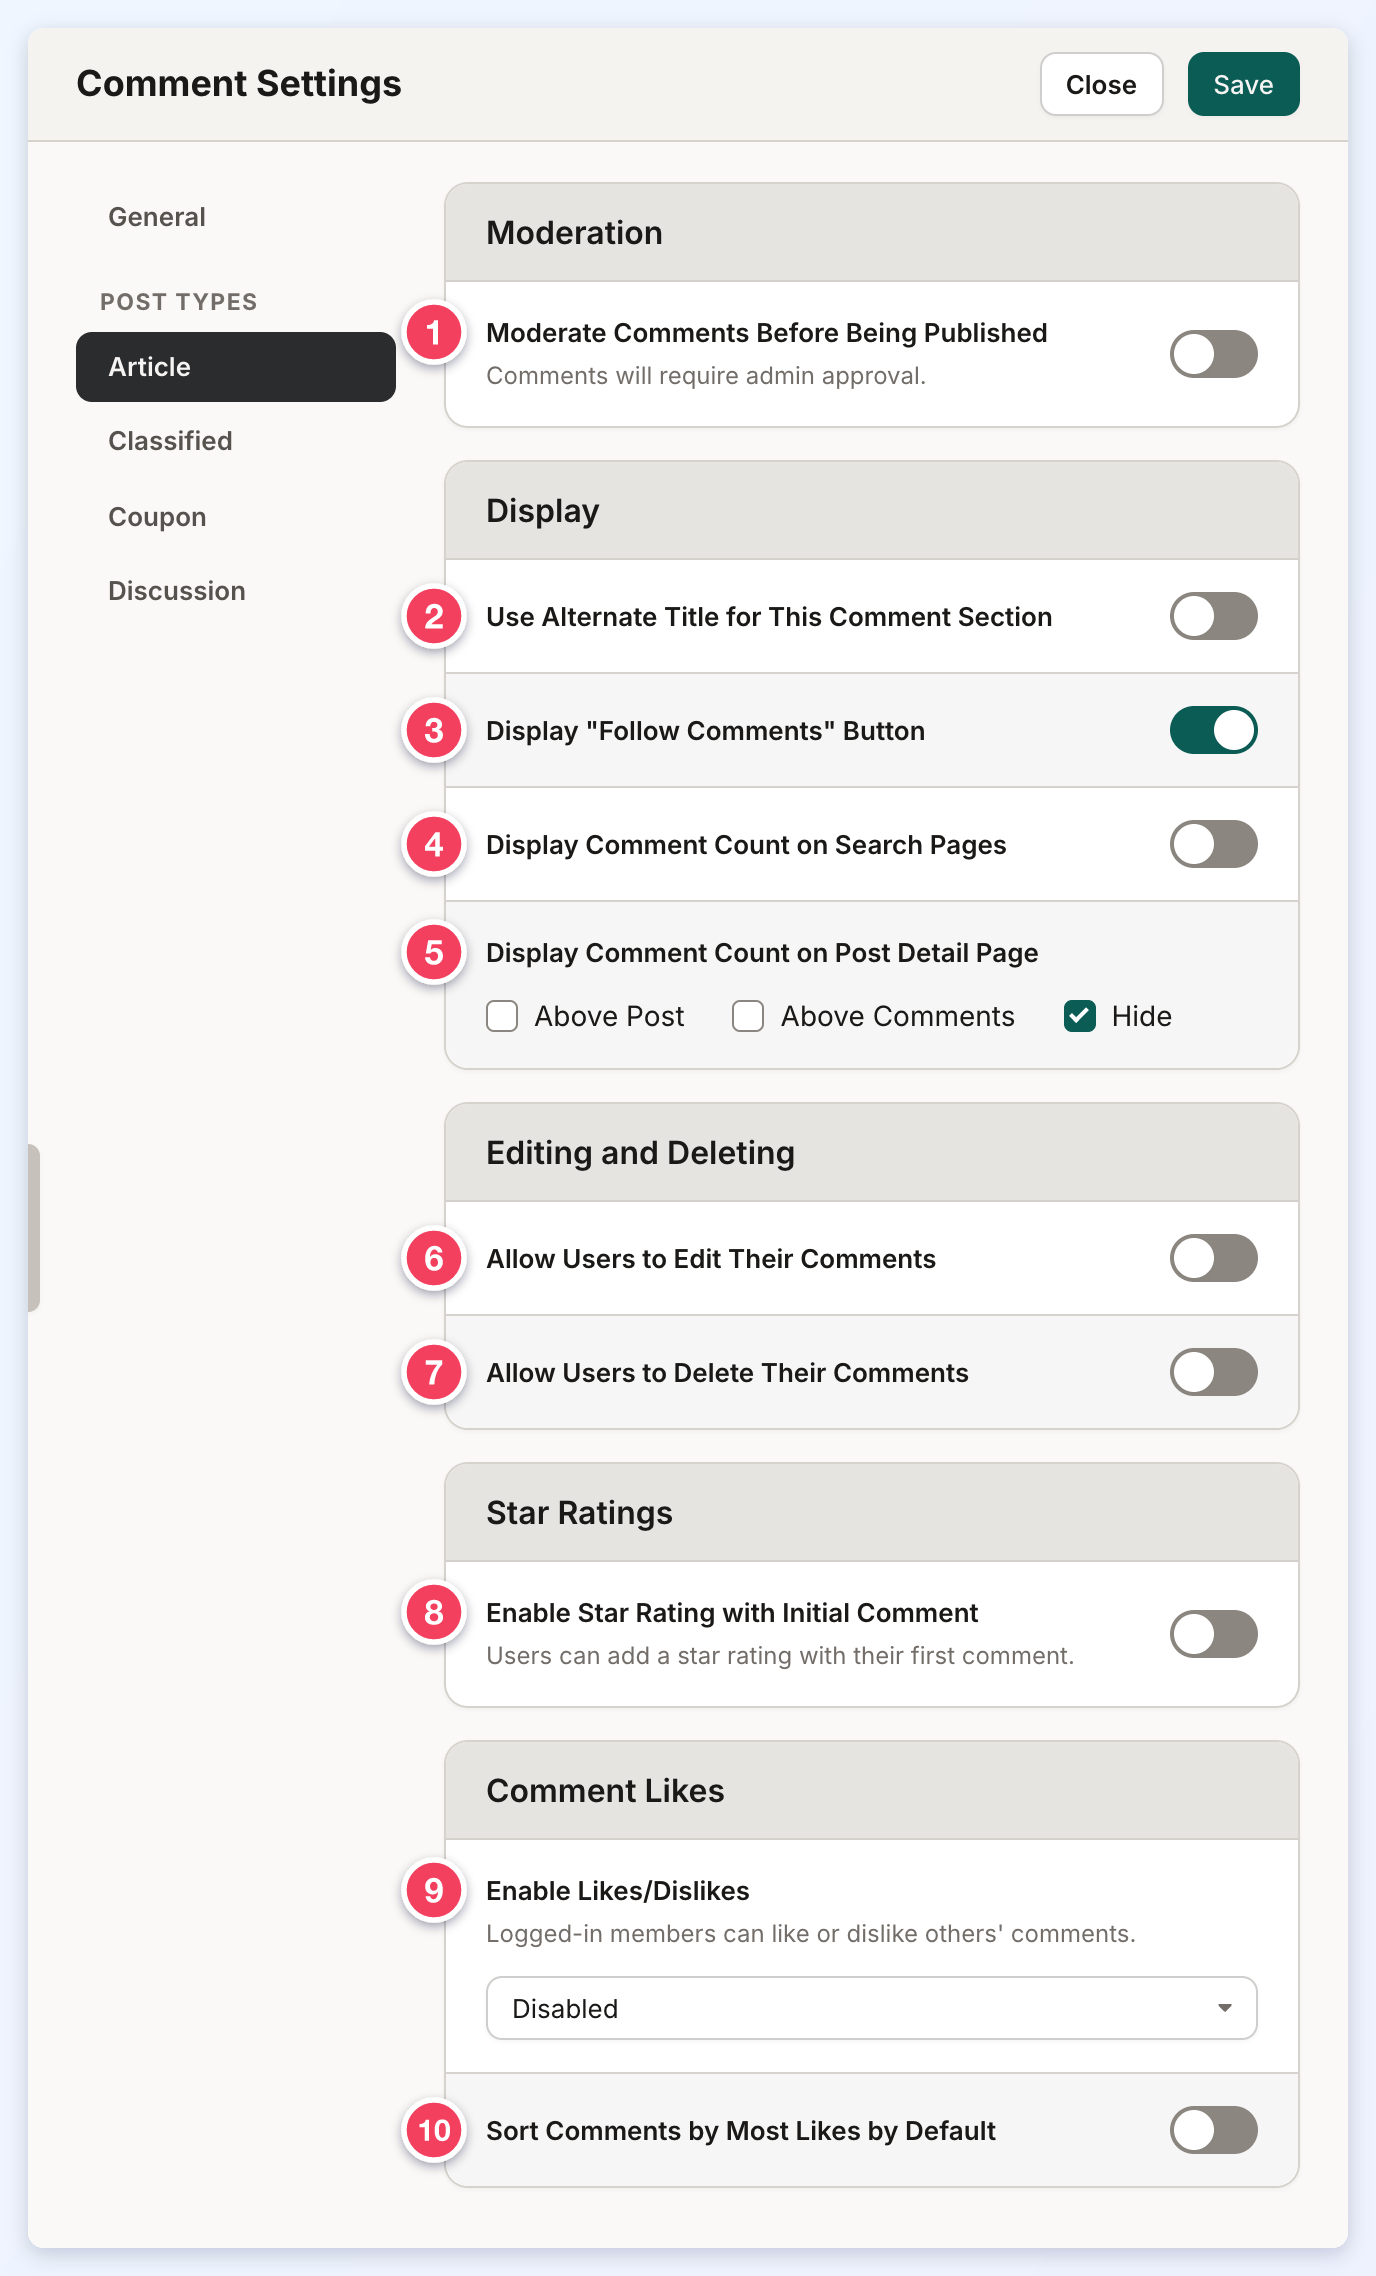
1. Moderate Comments Before Being Published
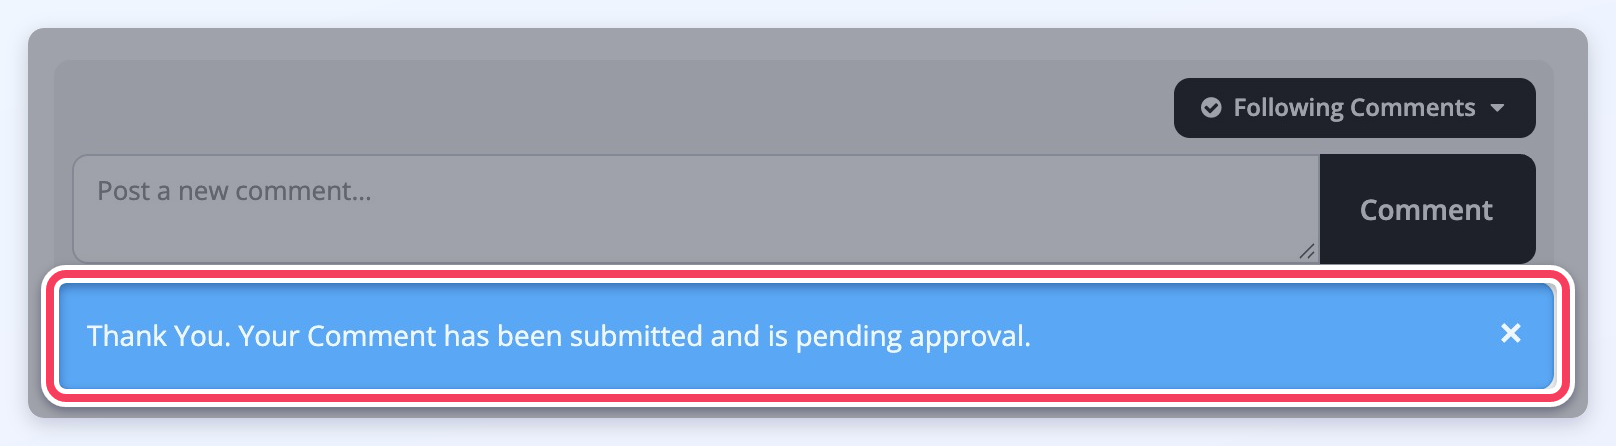
Comments require admin approval before they appear on the post. After submitting a comment, the member sees a message that the comment is pending approval:
Pending comments are approved or declined in Interactions » Post Comments, explained in the Backend/Admin Functionality section below.
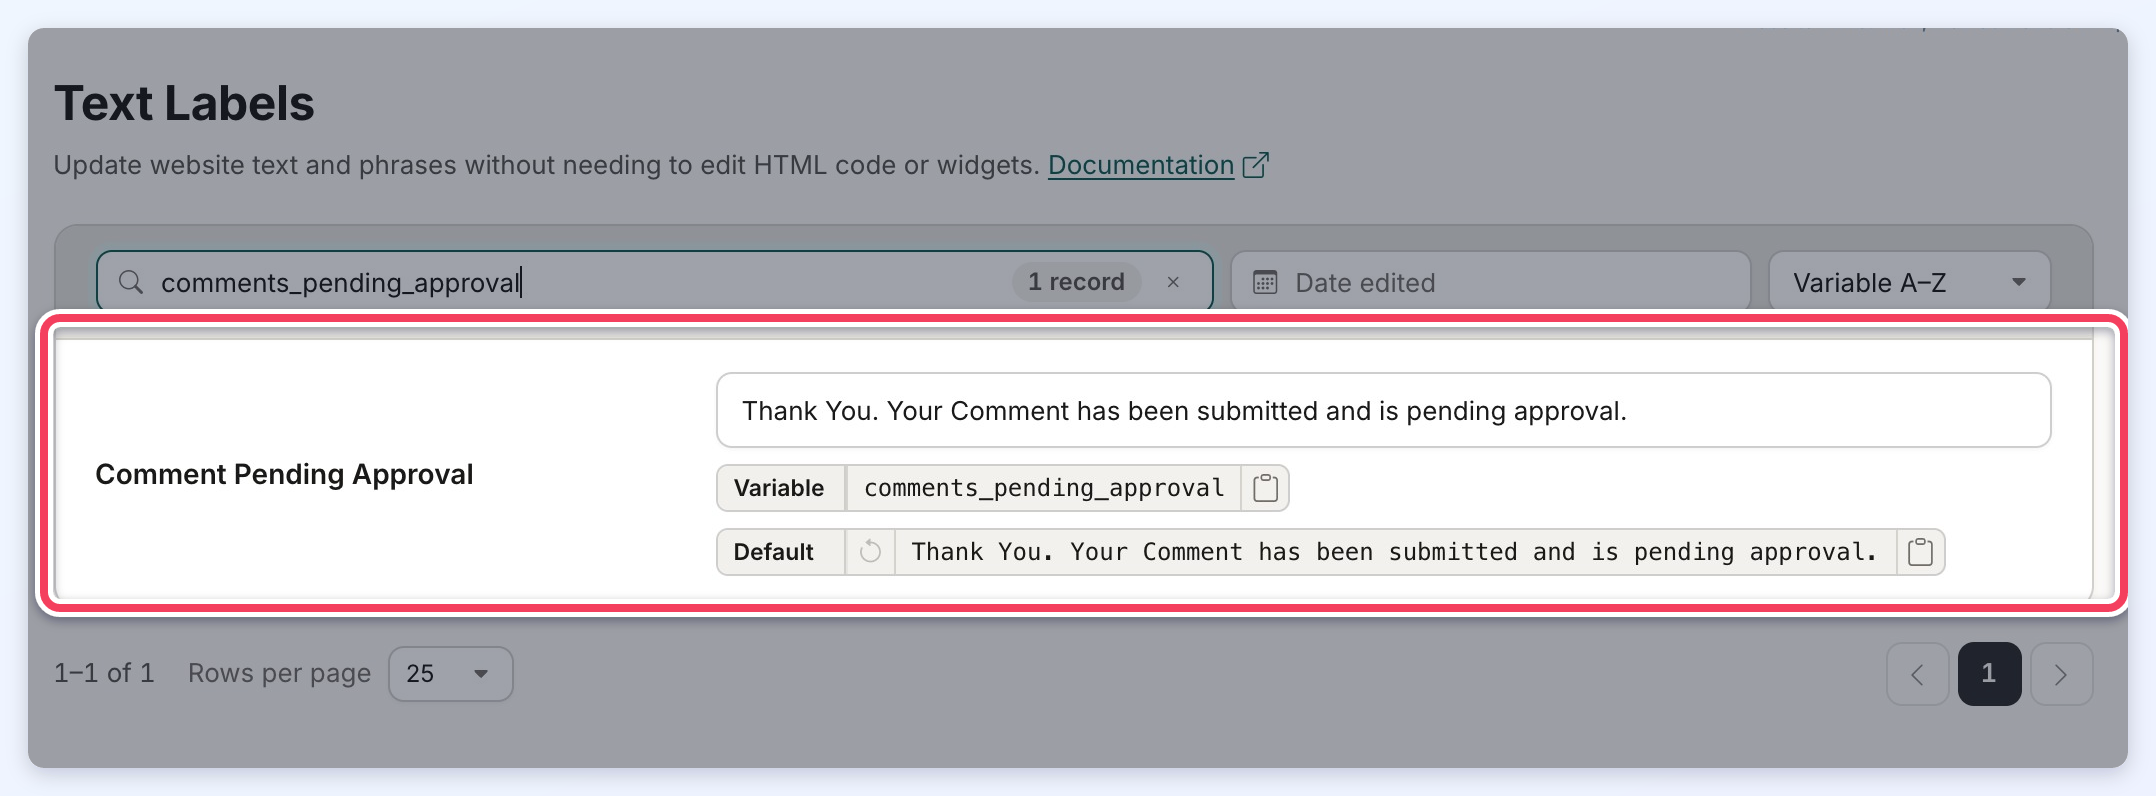
The message wording can be changed in Settings » Text Labels by searching for the variable comments_pending_approval:
2. Use Alternate Title for This Comment Section
Replaces the default comments section title with a different title for this post type only. Leave it off to use the Default Title Text for Comments Section. This is where the title appears on the post:

3. Display "Follow Comments" Button
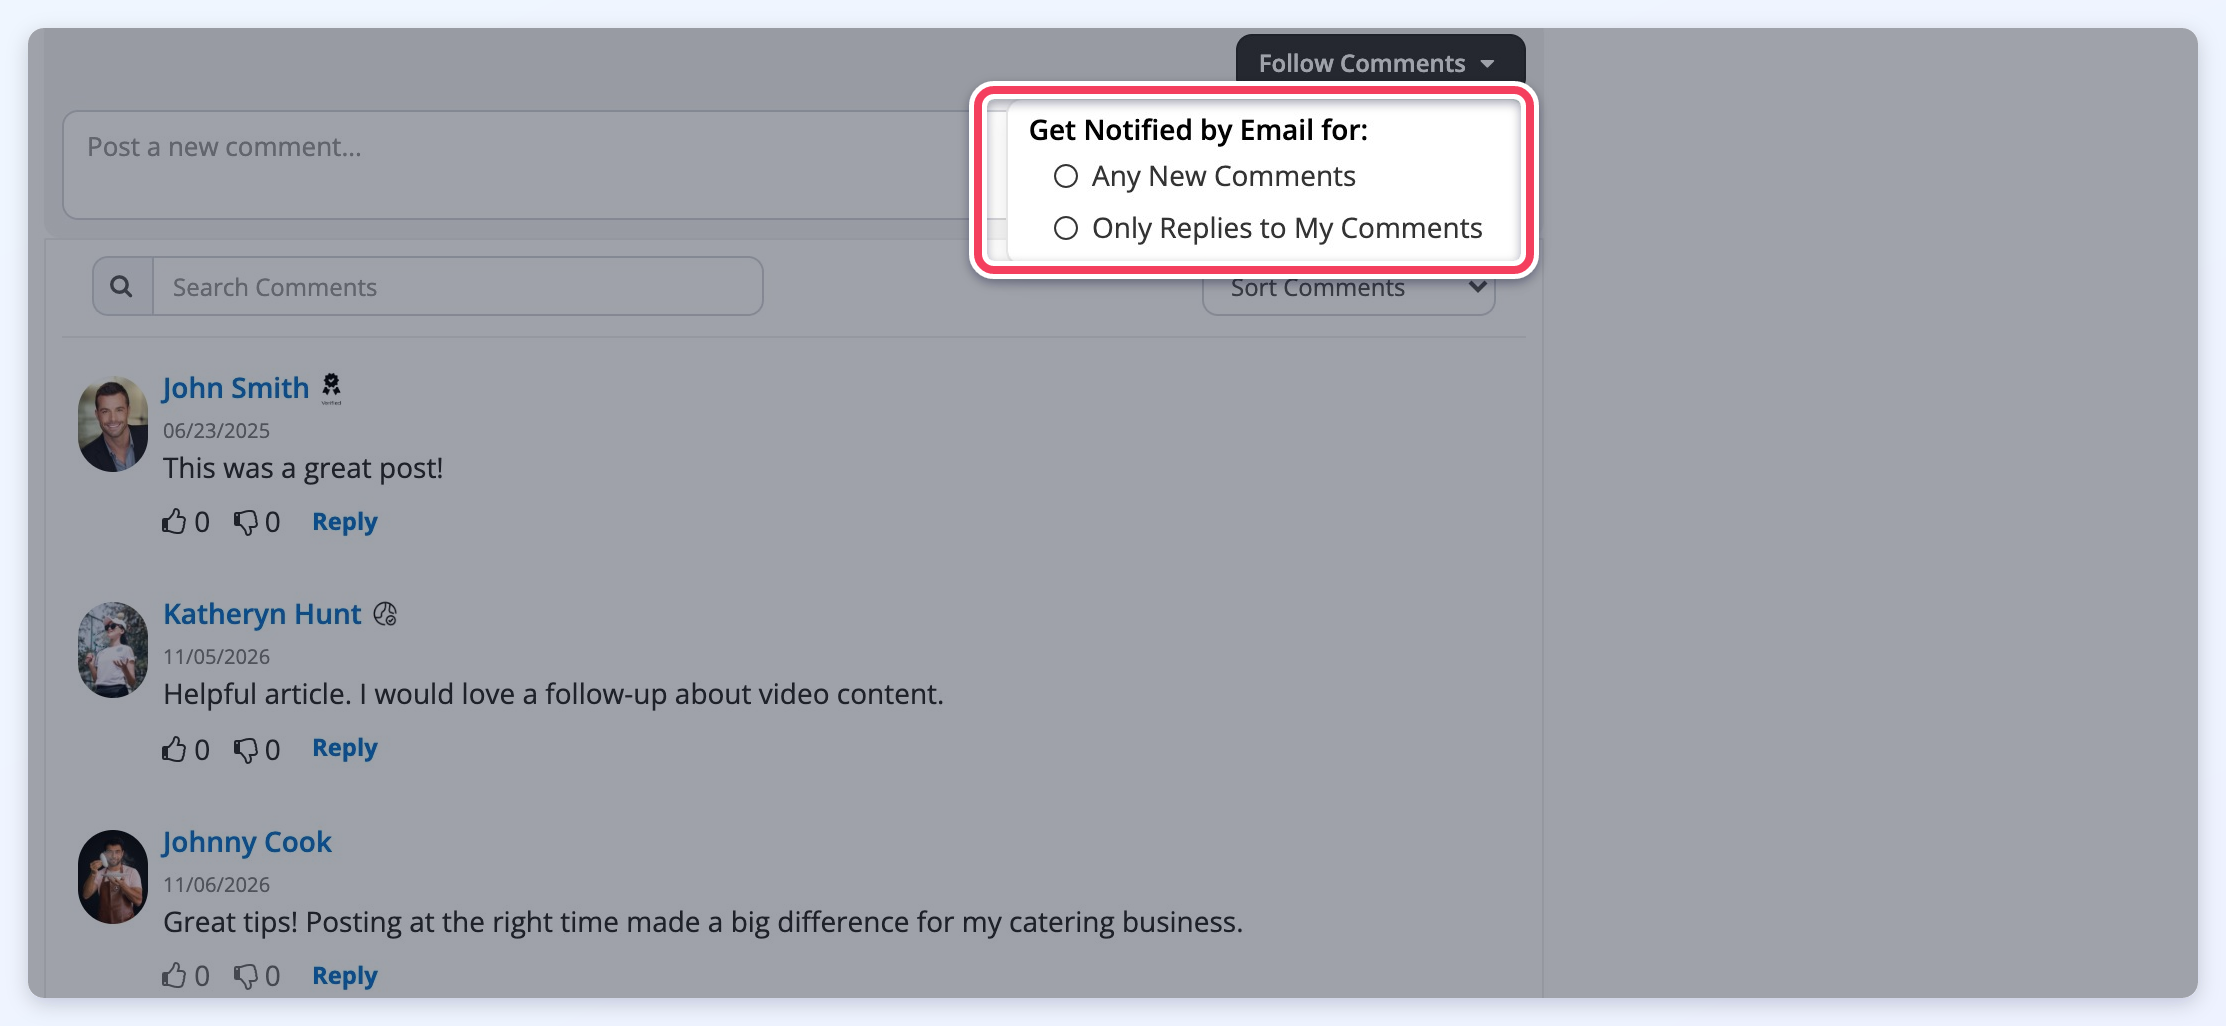
Shows a Follow Comments button above the comment box. A member who follows a post receives an email notification linking to each new comment, similar to private chat email notifications.

Clicking the button opens the notification options. More details are in the "Follow" Comments Notifications section below.
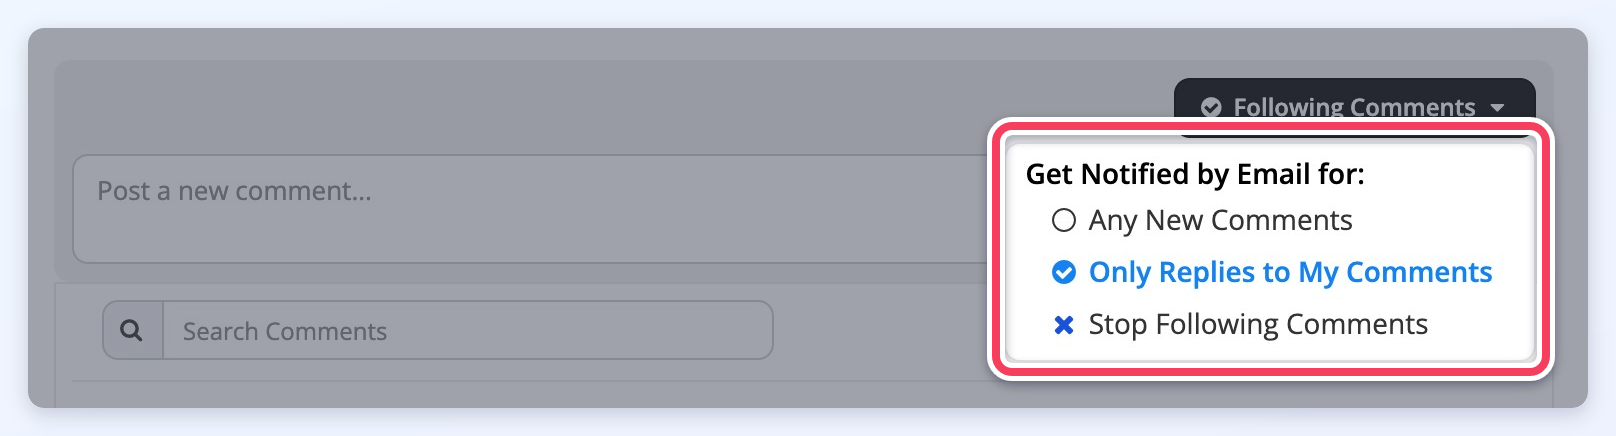
Once a member follows the post, the button reads Following Comments and adds the Stop Following Comments option, which turns notifications off again.
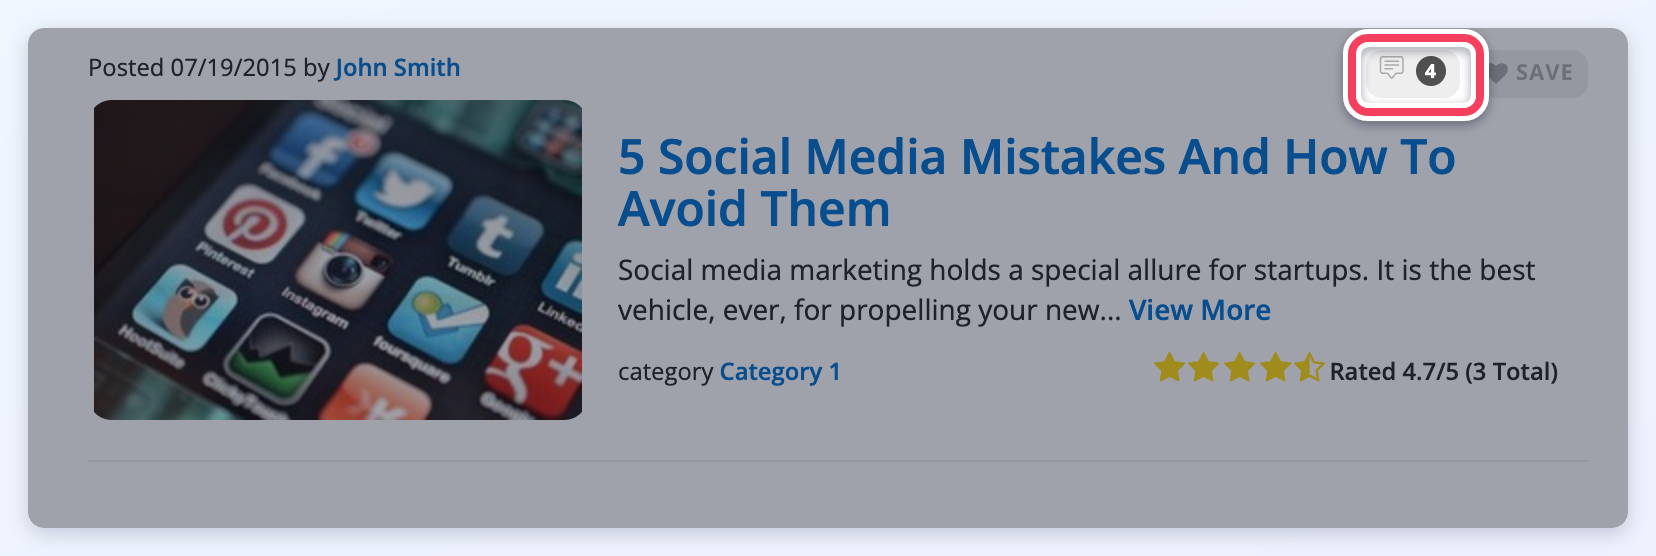
4. Display Comment Count on Search Pages
Shows the number of comments next to each post in the post type's search results:
5. Display Comment Count on Post Detail Page
Shows the number of comments on the post itself. Tick where it appears:
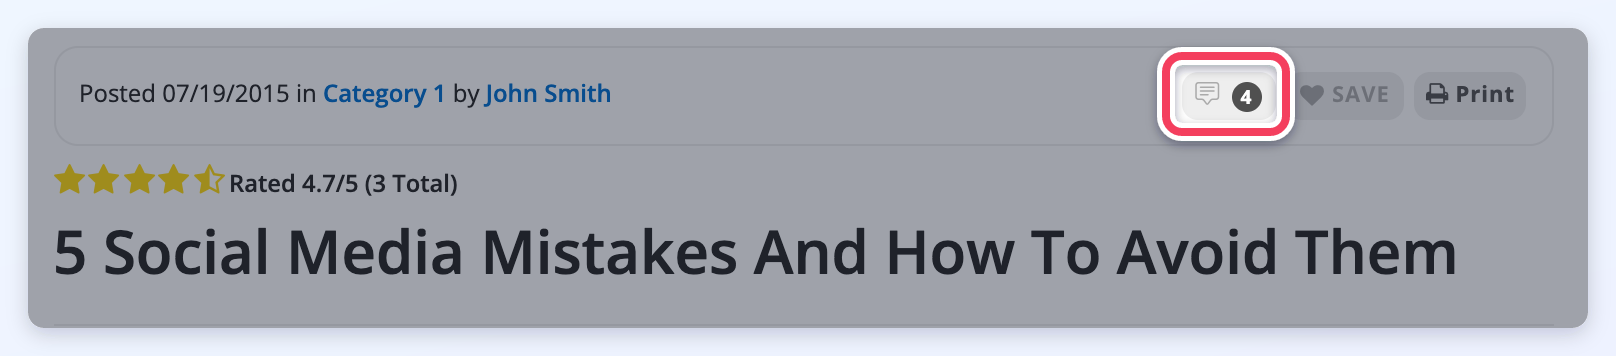
- Above Post: a comment count icon next to the post's Save and Print buttons.
- Above Comments: a count label under the comments section title.
- Hide: no comment count on the post.
Tick both Above Post and Above Comments to show the count in both places. Hide is ticked when neither place is, and ticking it clears both.
Above the post:
Above the comments section:

6. Allow Users to Edit Their Comments
When enabled, members see an edit (pencil) icon on their own comments.

Turning it on shows Maximum Days to Edit, which limits how long after posting a comment can be edited. Leave it blank or enter 0 for no limit.
7. Allow Users to Delete Their Comments
When enabled, members see a delete (trash) icon on their own comments. Deleting a comment also deletes its replies, and the likes and dislikes on them.

Turning it on shows Maximum Days to Delete, which limits how long after posting a comment can be deleted. Leave it blank or enter 0 for no limit.
8. Enable Star Rating with Initial Comment
When it is on, members can select a 1-5 star rating with their first comment on a post. The Star Ratings group appears only when the Star Ratings For Posts add-on is active. Turning this setting on shows three more settings, Users Can Only Rate a Post One Time, Display Star Rating on Search Pages and Display Star Rating on Post Detail Page, which are explained in Star Ratings For Posts.
9. Enable Likes/Dislikes
Lets logged-in members like or dislike comments from other members. Select one of:
- Disabled (the default): no like or dislike buttons are shown.
- Likes Only: each comment shows a thumbs-up button with its count.
- Likes & Dislikes: each comment shows thumbs-up and thumbs-down buttons with their counts.
On the post, every comment and reply shows its like and dislike counts (1). A solid thumb marks the vote the viewing member has already cast (2).
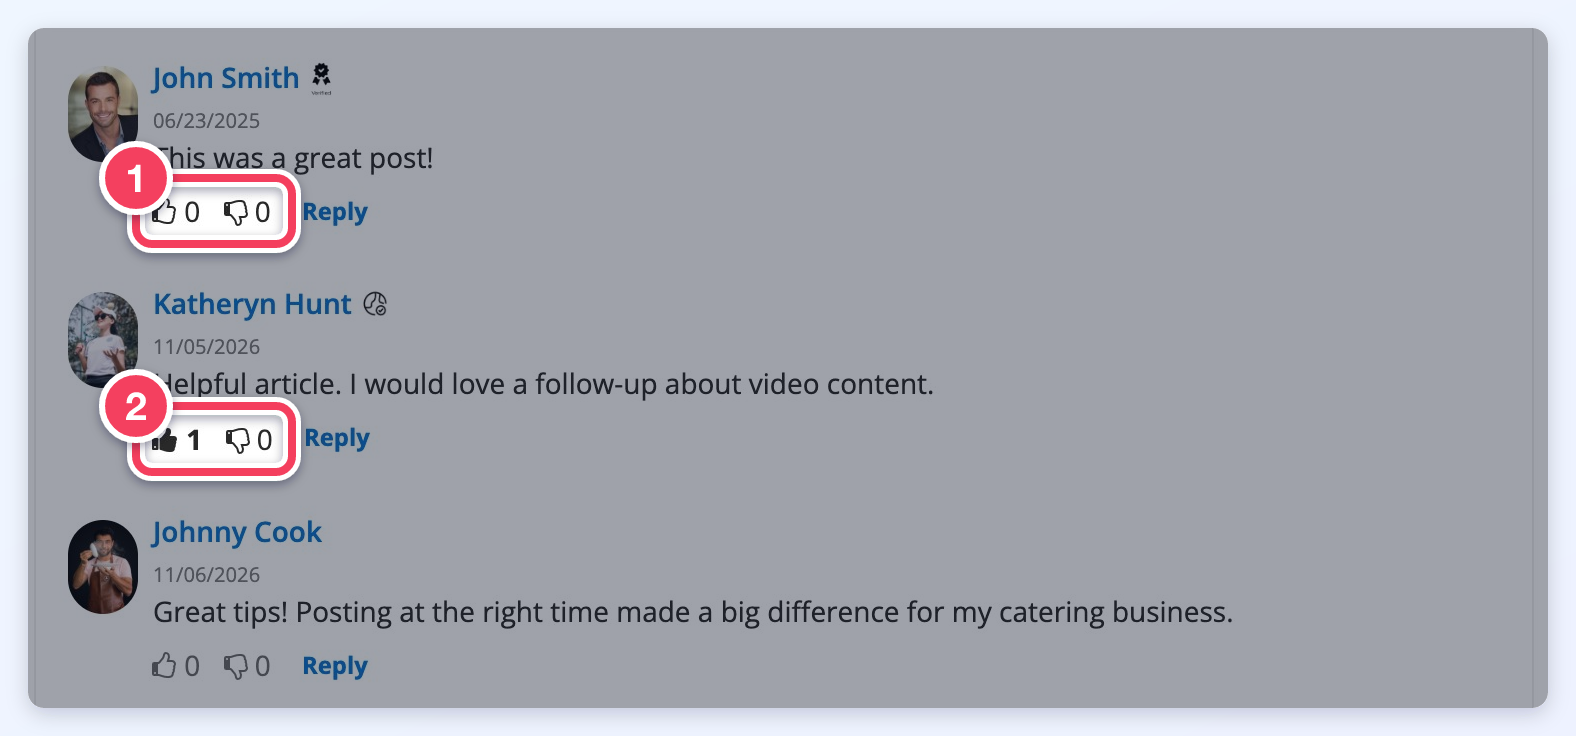
How voting works:
- A member clicks the thumbs-up to like a comment or the thumbs-down to dislike it. Each member has one vote per comment: clicking the other thumb switches the vote, and clicking the same thumb again removes it.
- Members cannot vote on their own comments. Their own comments show the counts with dimmed buttons that cannot be clicked.
- Visitors who are not logged in see the counts, and clicking a thumb opens the login window.
- Only active members can vote.
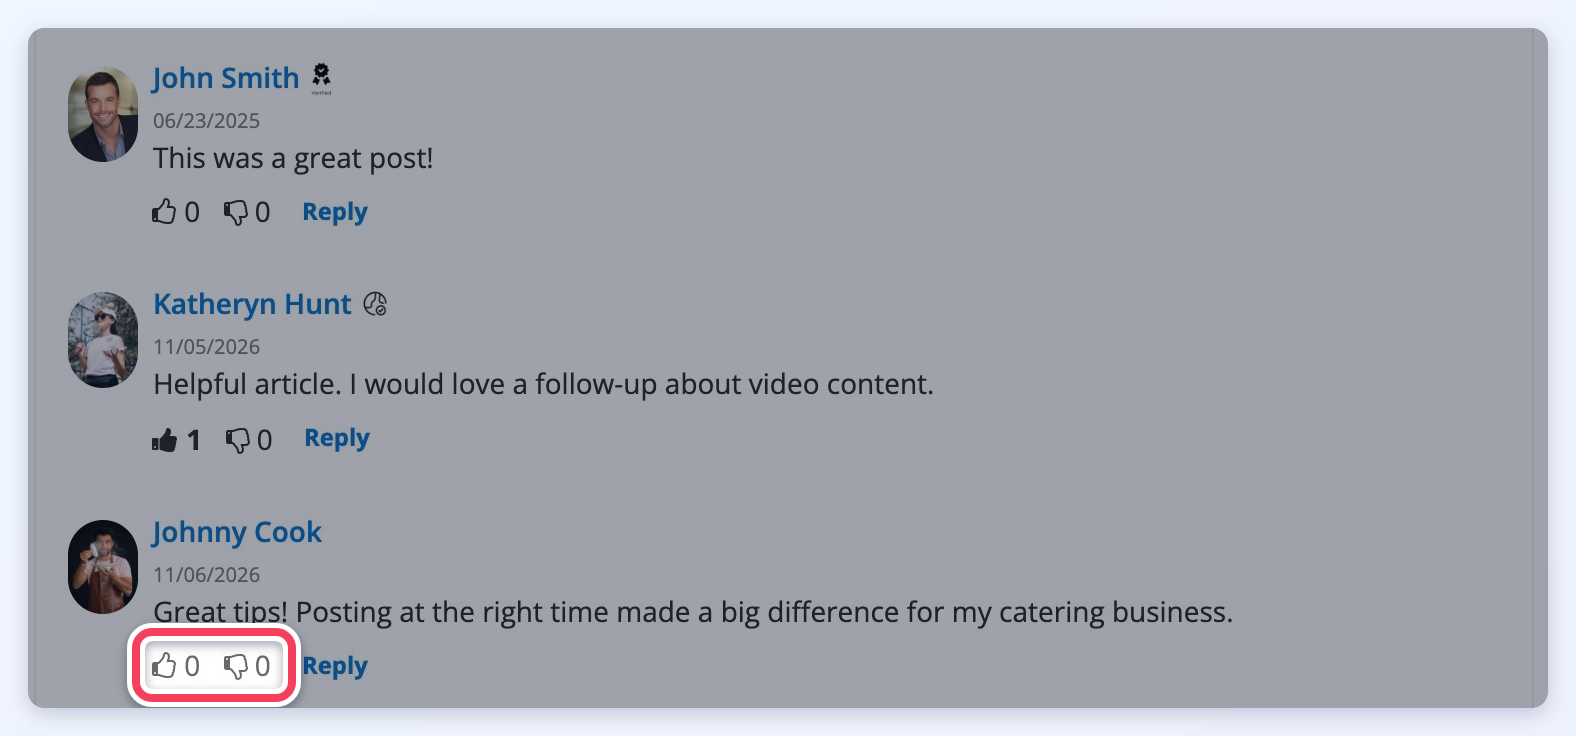
Liking a comment and then sorting by Most Likes:
10. Sort Comments by Most Likes by Default
When on, the post's comments load sorted by Most Likes instead of oldest first. This only applies while Enable Likes/Dislikes is set to Likes Only or Likes & Dislikes. Visitors and members can still pick another order from the sort menu.
Showing Member Profile Badges on Post Comments
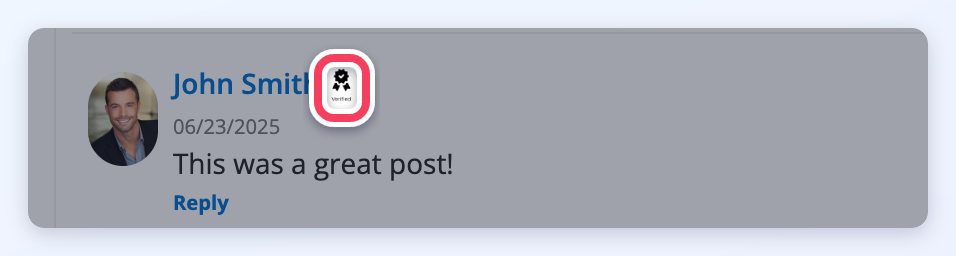
If the Member Profile Badges Add-On is enabled on the website, the commenter's badges display next to their name:
Filter Post Comments via Keyword Search
Type any word in Search Comments to filter the comments. Only comments containing the word stay listed, with the word highlighted.
Available Sort Order Options for Comments
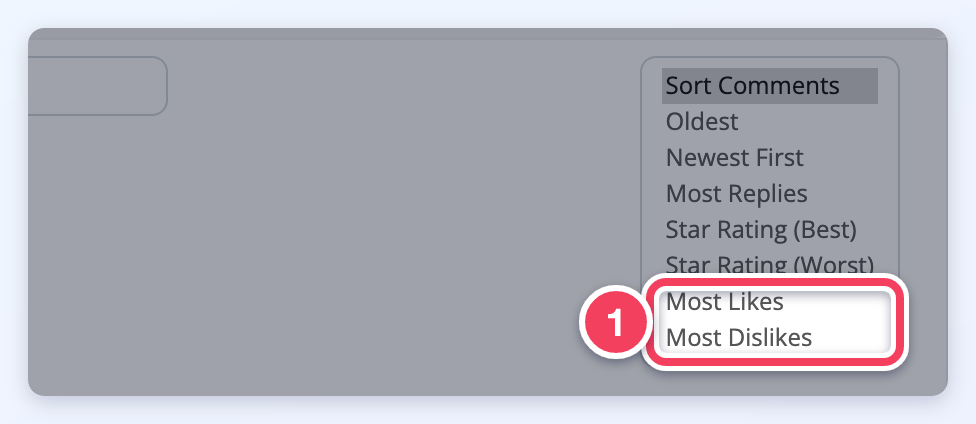
The sort menu next to Search Comments offers Oldest, Newest First, Most Replies, plus Star Rating (Best) and Star Rating (Worst) when the Star Ratings For Posts add-on is active. When Enable Likes/Dislikes is on for the post type, it also offers:
- Most Likes: comments with the most likes first.
- Most Dislikes: comments with the most dislikes first. This option appears only with Likes & Dislikes.
Comments with the same number of likes or dislikes are listed oldest first.
Backend/Admin Functionality
All comments are managed in Interactions » Post Comments. The newest comments are listed first, with the member who commented, the comment, the post, the status, the date submitted and the commenter's IP address. Click a column heading to sort by it.
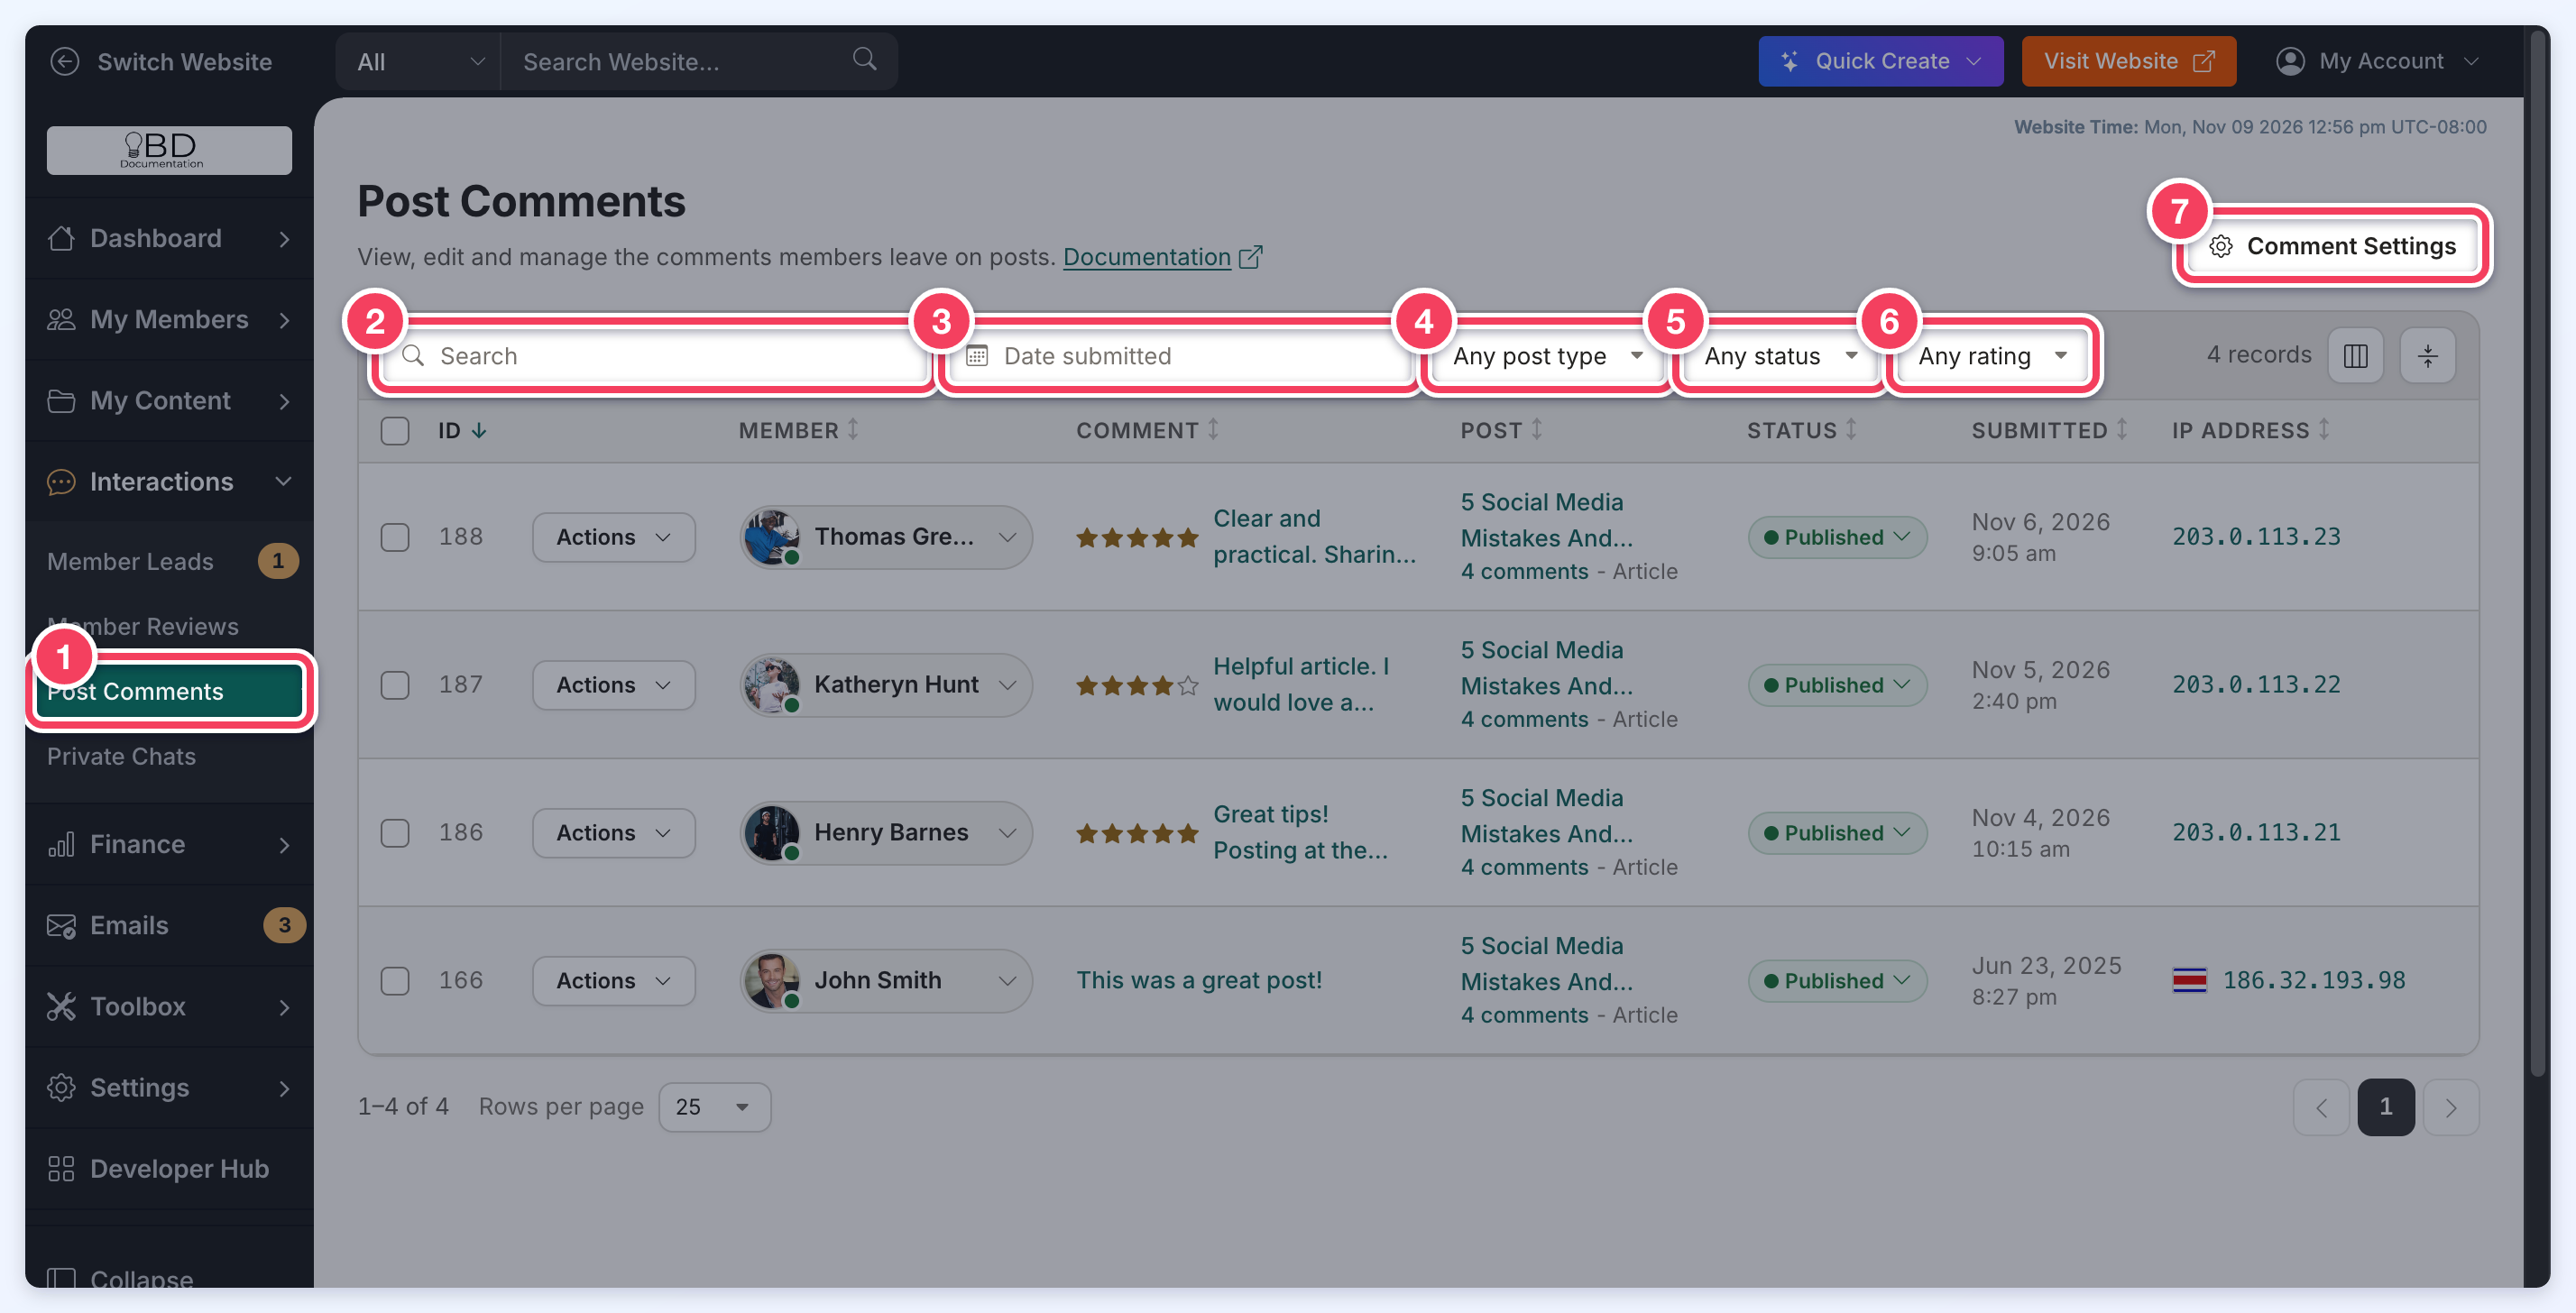
- Post Comments in the Interactions menu opens the page.
- Search finds comments by comment text, post title, member name or email, ID, IP address or date.
- Date submitted shows only the comments submitted between two dates.
- Any post type filters the list by one or more post types.
- Any status filters the list by status: Published, Declined or Pending.
- Any rating filters the list by star rating. This filter appears when the Star Ratings For Posts add-on is active.
- Comment Settings opens the settings explained in Enabling the Add-On above.
Two shortcuts in the list also filter it: click the comment count under a post (EG 5 comments) to show only the comments on that post, and click an IP address to show every comment from it. The post filter shows as a button with the post's title above the list; click it to show the comments on every post again.
Comment Actions
Click Actions on a comment (1) to open its menu (2):
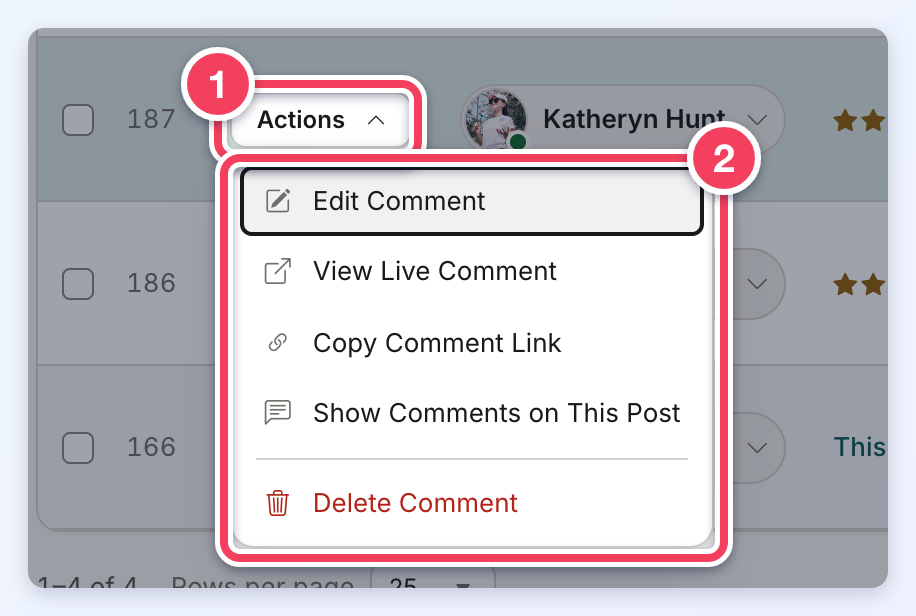
- Edit Comment opens the comment, explained in View and Edit a Comment below.
- View Live Comment opens the comment on the post, and Copy Comment Link copies its address. Both appear only for comments that are published and shown on the website.
- Show Comments on This Post filters the list to the comments on the same post.
- Delete Comment deletes the comment and any replies to it, after a confirmation. This cannot be undone.
Change a Comment's Status
Each comment has one of three statuses:
- Published: the comment shows on the post.
- Pending: the comment is waiting for approval and does not show on the post. Comments land here when Moderate Comments Before Being Published is on for the post type.
- Declined: the comment was rejected and does not show on the post.
To change a status, click the comment's status in the list and choose the new one. The Change Comment Status window opens with that status selected. When publishing a comment that was not published before, Send email notifications? asks whether to email the members who follow the post: Do not send email notifications (the default) or Email the members who follow this post. Click Update Status to save, or Cancel to keep the current status.
Changing the status never changes the comment's submitted date.
View and Edit a Comment
Click a comment's text in the list (or Edit Comment in its Actions menu) to open it in a side panel. The panel shows the member who commented, the commenter's IP address, the comment's status and the date it was submitted, followed by the conversation the comment belongs to.
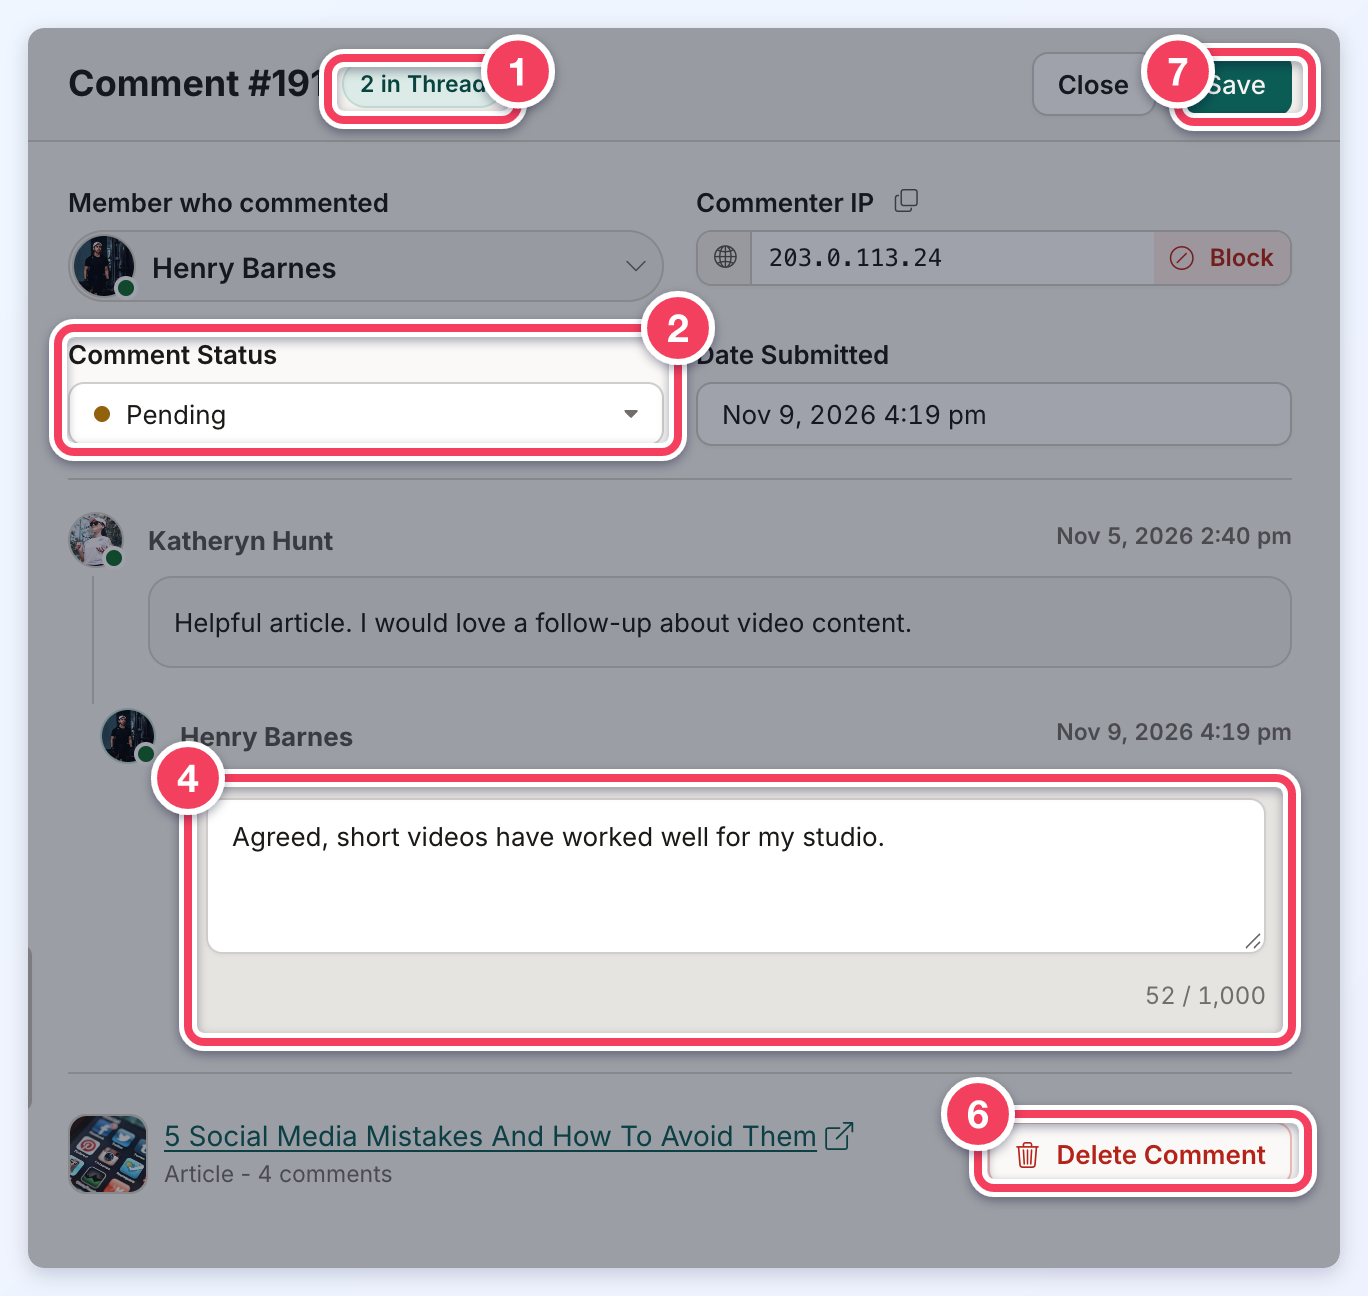
- N in Thread shows how many comments are in the conversation, counting the first comment and every reply.
- Comment Status changes the status of the comment.
- Send email notifications? appears when the status changes to Published, with the same two choices as above.
- The comment's text can be edited in place. The counter below it shows the length against the Maximum Characters per Comment. Revert appears after an edit and undoes it.
- Show All N Comments in Thread appears when the conversation holds more comments than this comment's own line, and shows the whole conversation, not only the comments this one replies to. Click Show Only This Comment's Line to go back. Very long conversations show their first 300 comments, plus this comment's own branch.
- Delete Comment deletes the comment and any replies to it, after a confirmation.
- Save saves the text and status changes. The panel stays open, so more changes can be made.
Items 3 and 5 appear only in the situations described, so the screenshot does not mark them.
When a published comment is shown on the website, a View Live Comment button appears below the text. The post's title at the bottom of the panel opens the post.
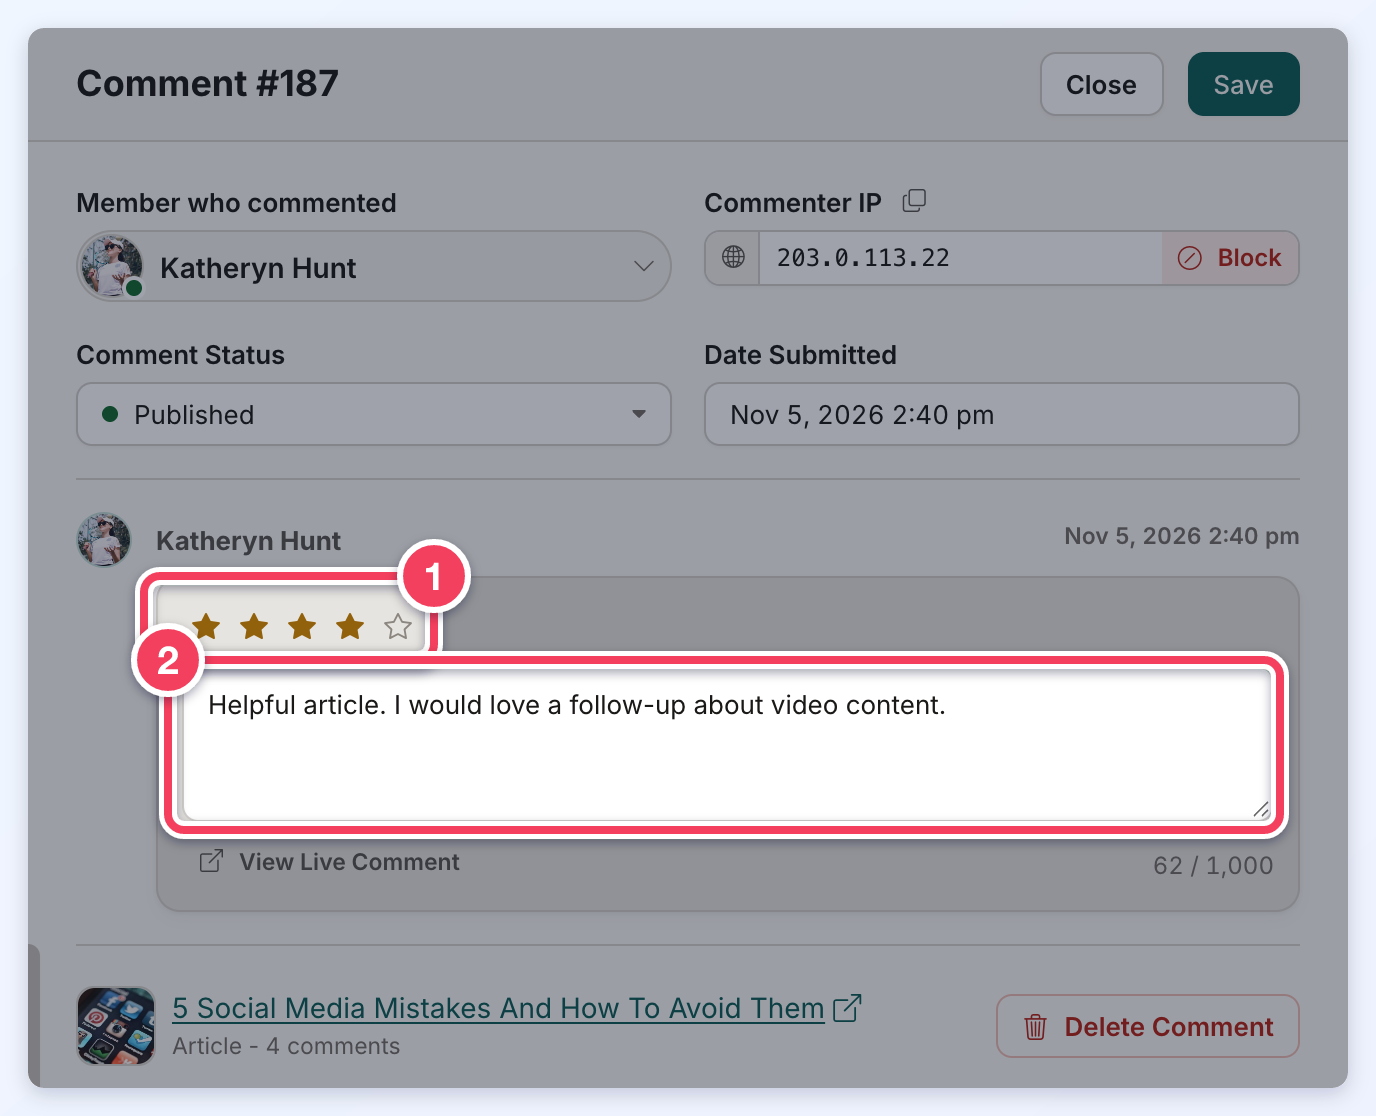
When the Star Ratings For Posts add-on is active, a comment submitted with a star rating shows its stars above the text (1). Click a star to change the rating, then click Save. The text (2) is edited the same way as any comment.
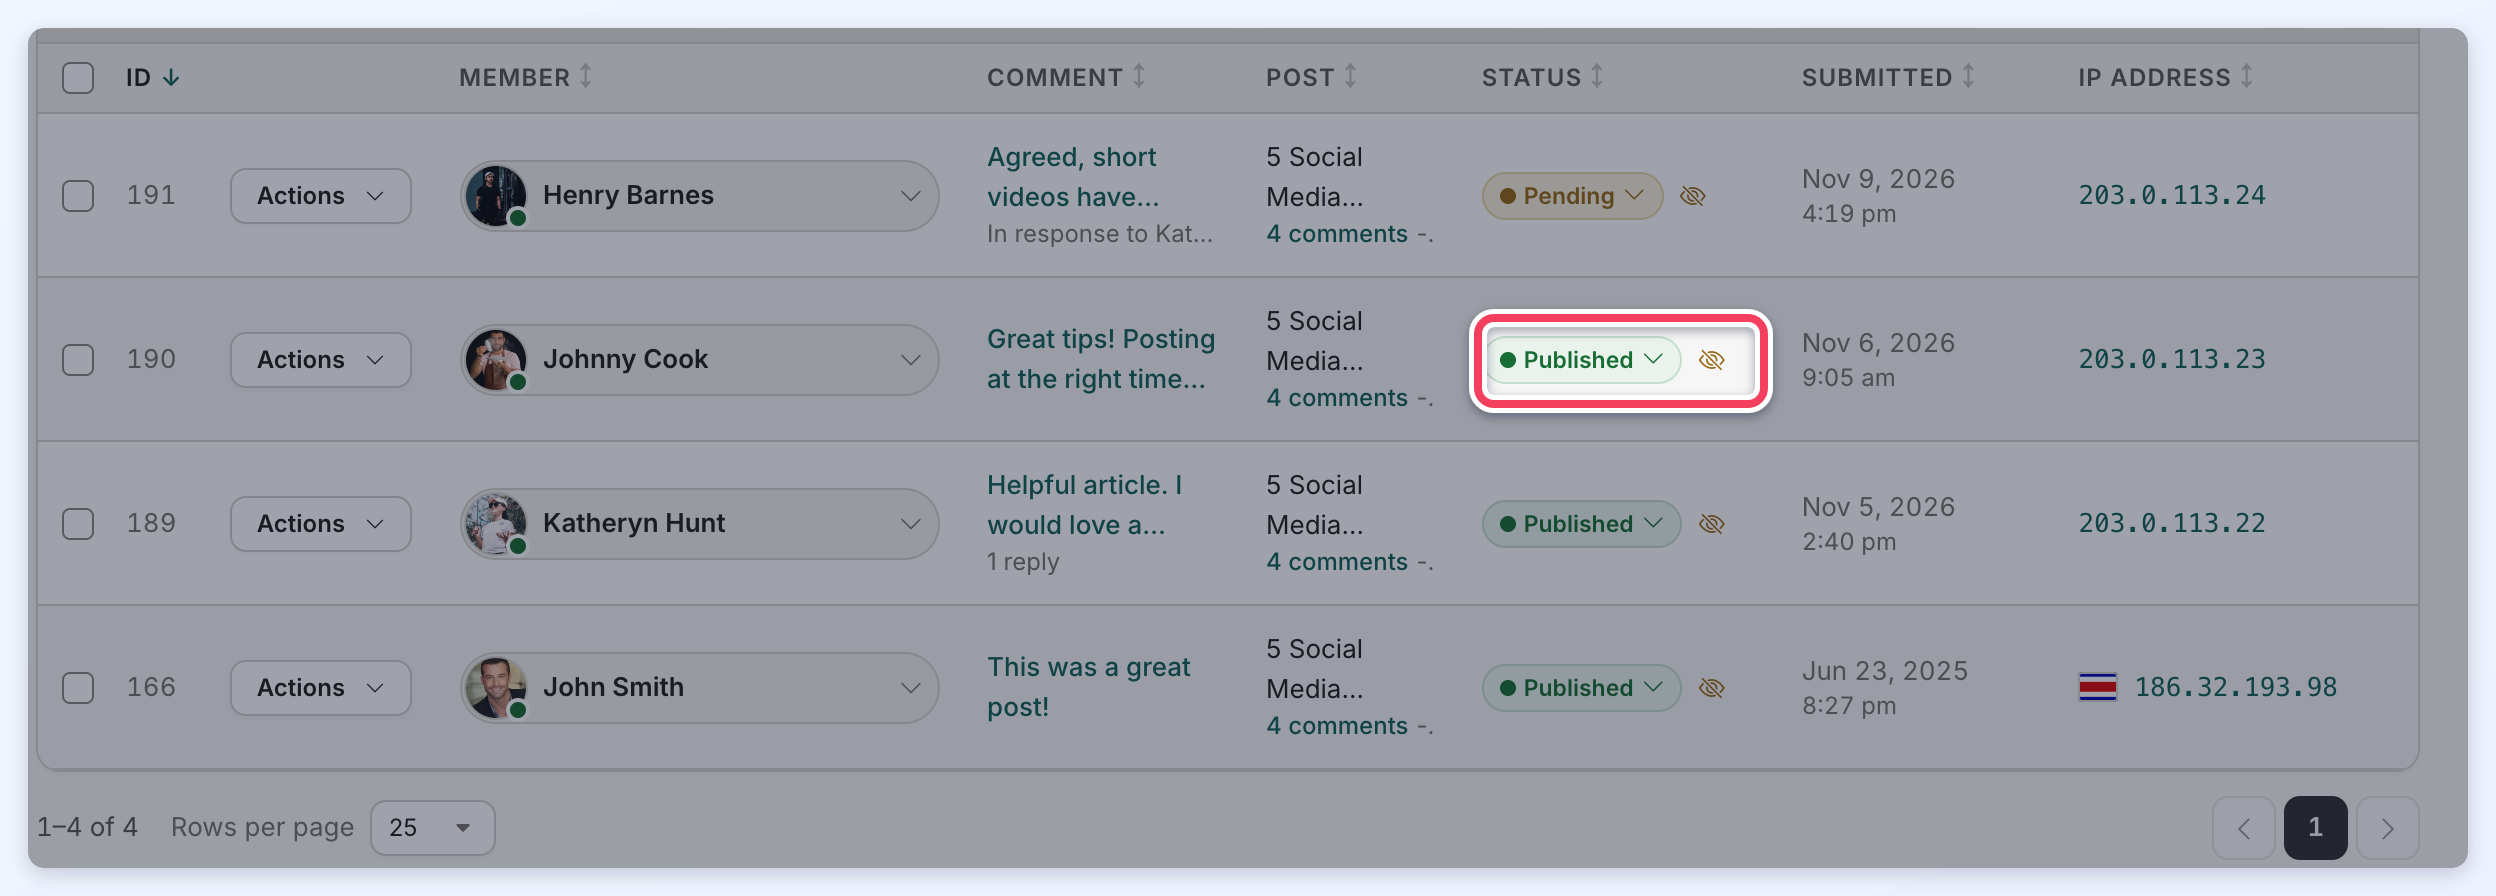
Comments Not Shown on the Website
A comment stays hidden on the website when its post is hidden. The list marks these comments with a crossed-out eye next to the status:
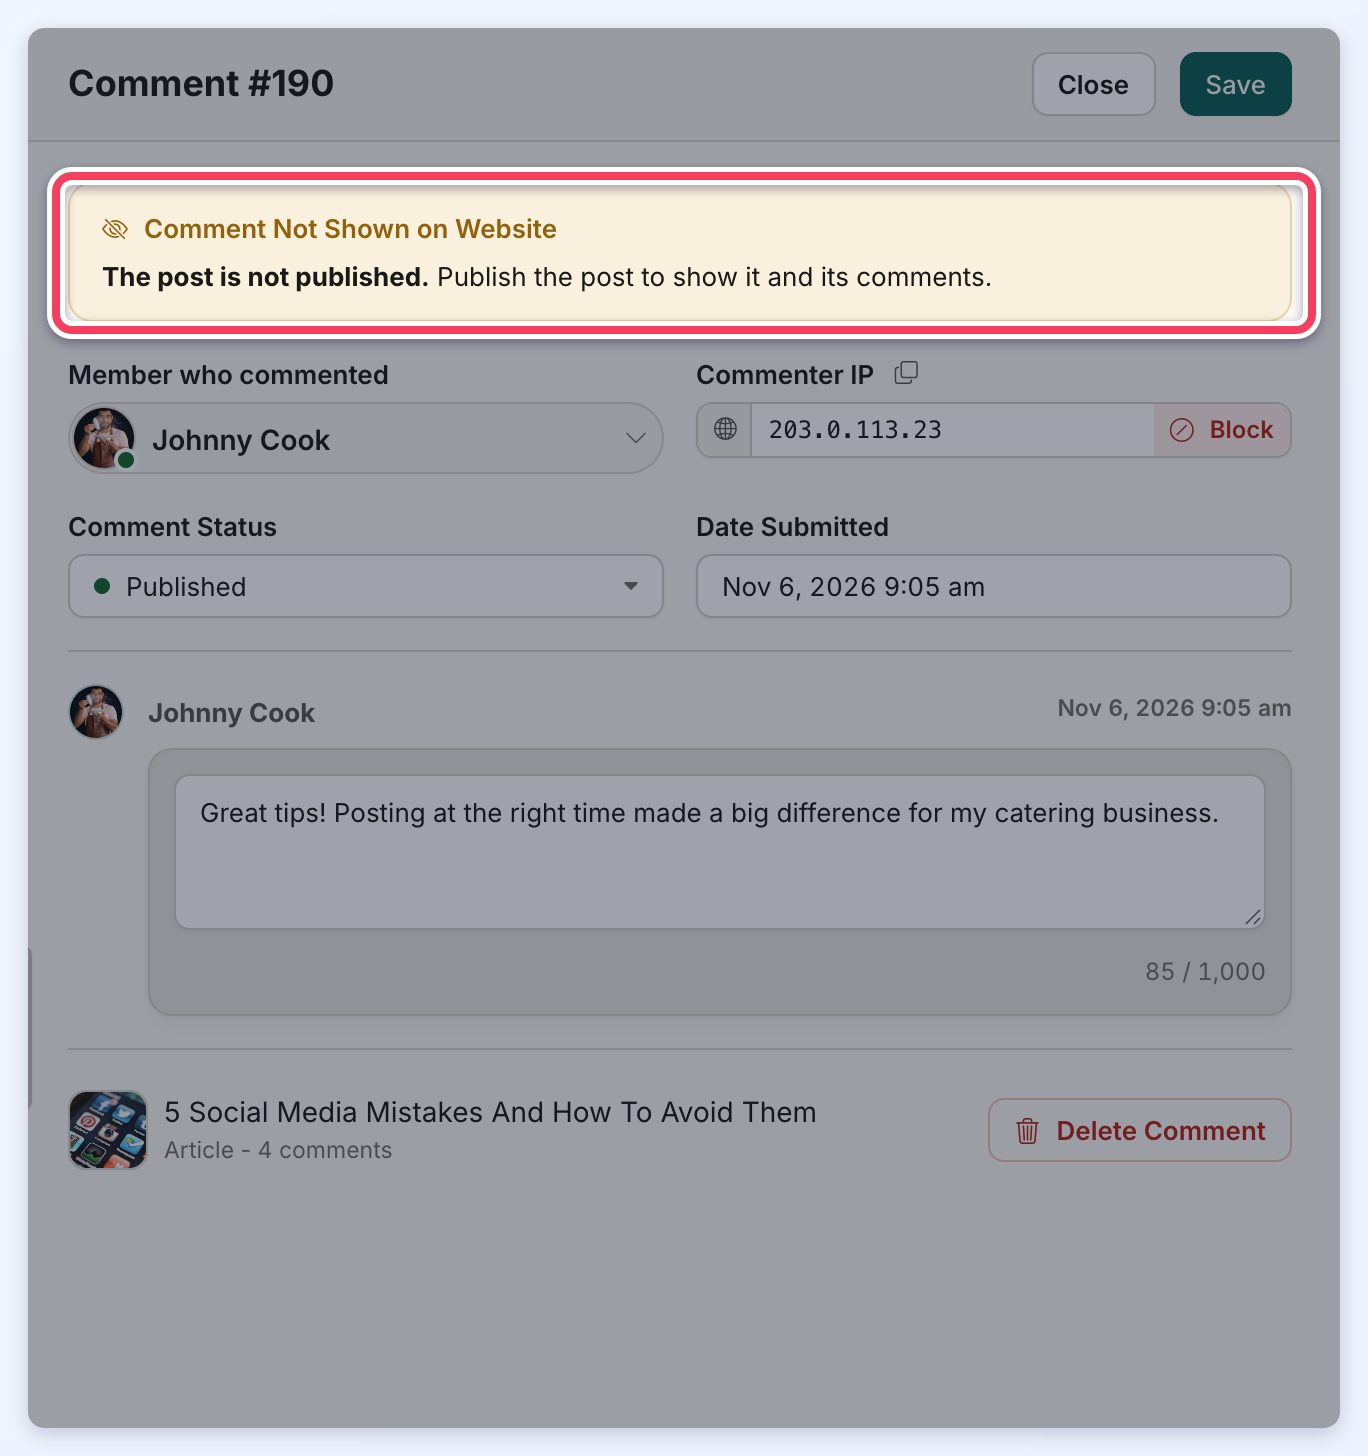
Opening the comment shows a Comment Not Shown on Website notice with the reason and how to fix it:
- The post is not published. Publish the post to show it and its comments.
- The status of the member who posted it is not Active. Set the member to Active to show the post and its comments.
- The membership plan of the member who posted it does not include this post type. Add the post type to the plan, or move the member to a plan that has it.
Change or Delete Several Comments at Once
Tick the checkboxes of the comments to change. A bar replaces the column headings, showing how many comments are selected. Choose Change Status or Delete in Select Action, then click Continue:
- Change Status opens the Change Comment Status window for all the selected comments, including the Send email notifications? choice when publishing.
- Delete deletes the selected comments and any replies to them. When two or more comments are selected, the confirmation asks to type the number of comments before deleting. This cannot be undone.
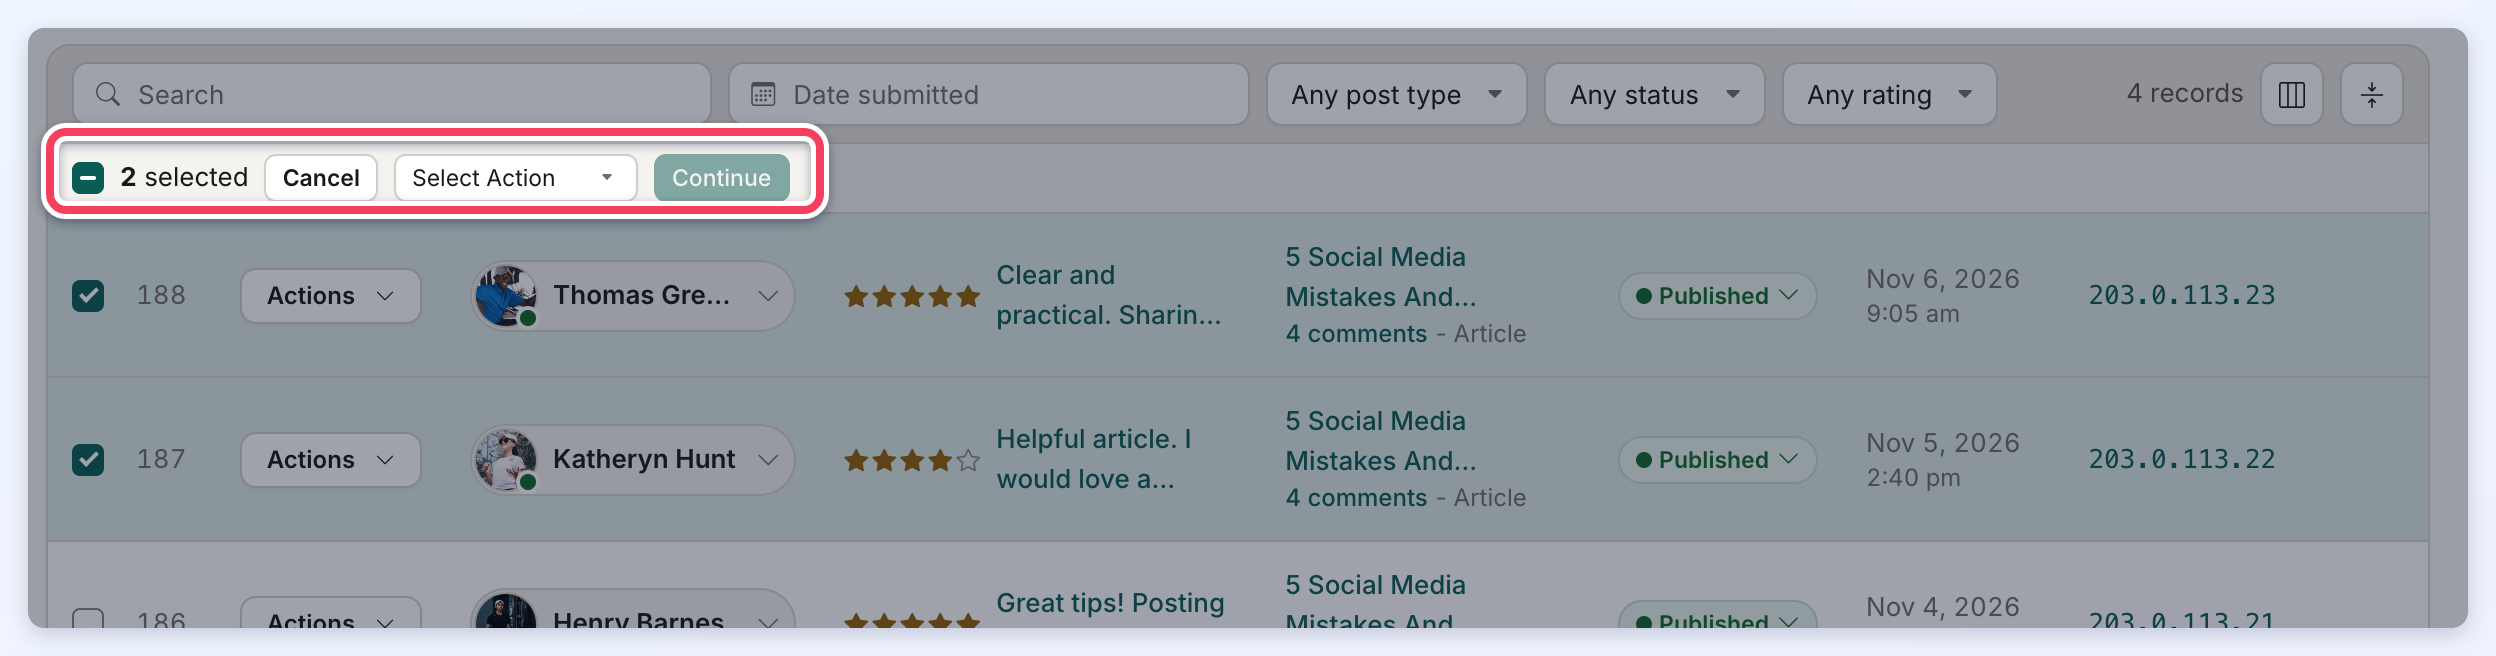
Click Cancel in the bar to clear the selection. When every comment on the page is ticked and more comments match the filters, a link appears to select all of them.
NOTE: Members must be active to post a comment. If a member whose account is not active tries to comment, an error message explains that the account must be active:

"Follow" Comments Notifications
When Display "Follow Comments" Button is enabled, members choose how to be notified by email:
- Any New Comments: an email for every new comment on the post.
- Only Replies to My Comments: an email only when someone replies to the member's own comment.
- Stop Following Comments: turns notifications off. This option appears once the member is following the post.
Each choice asks for confirmation before it is saved:
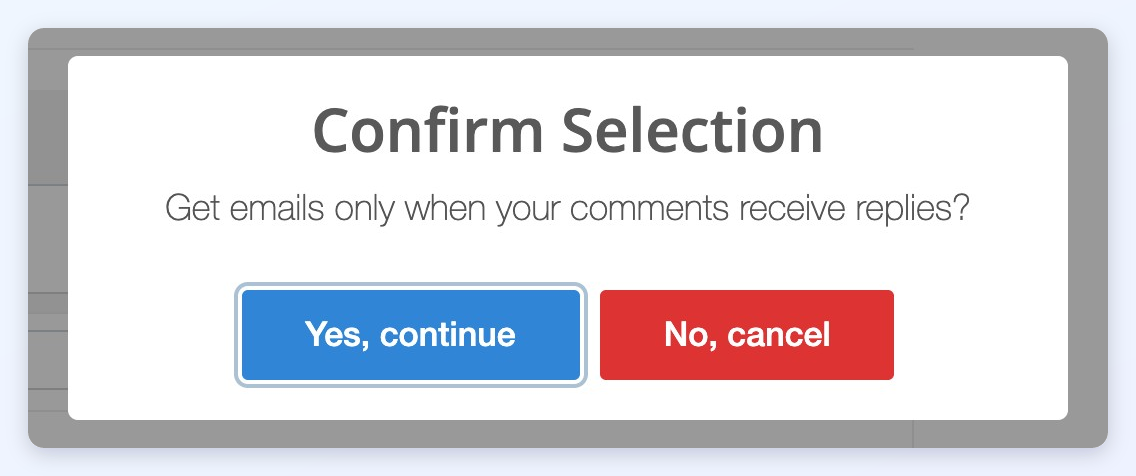
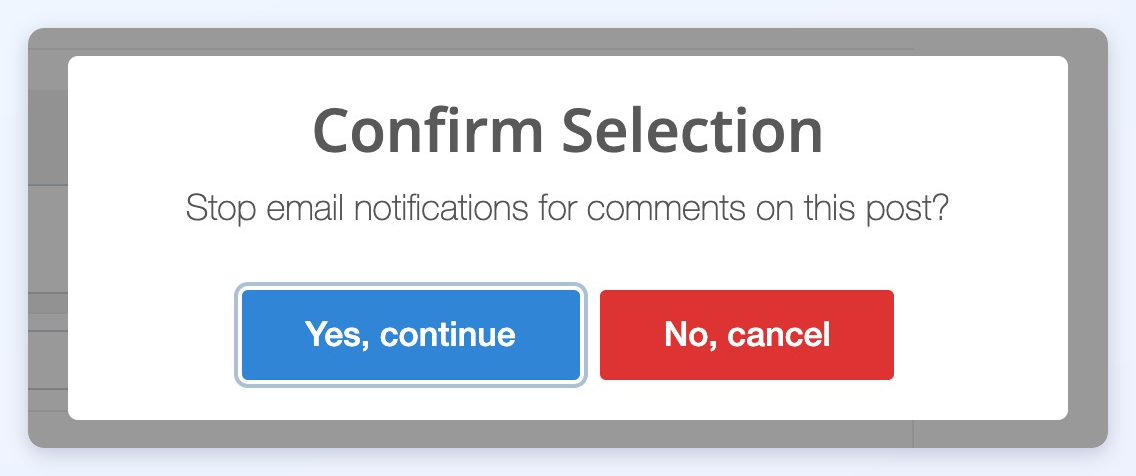
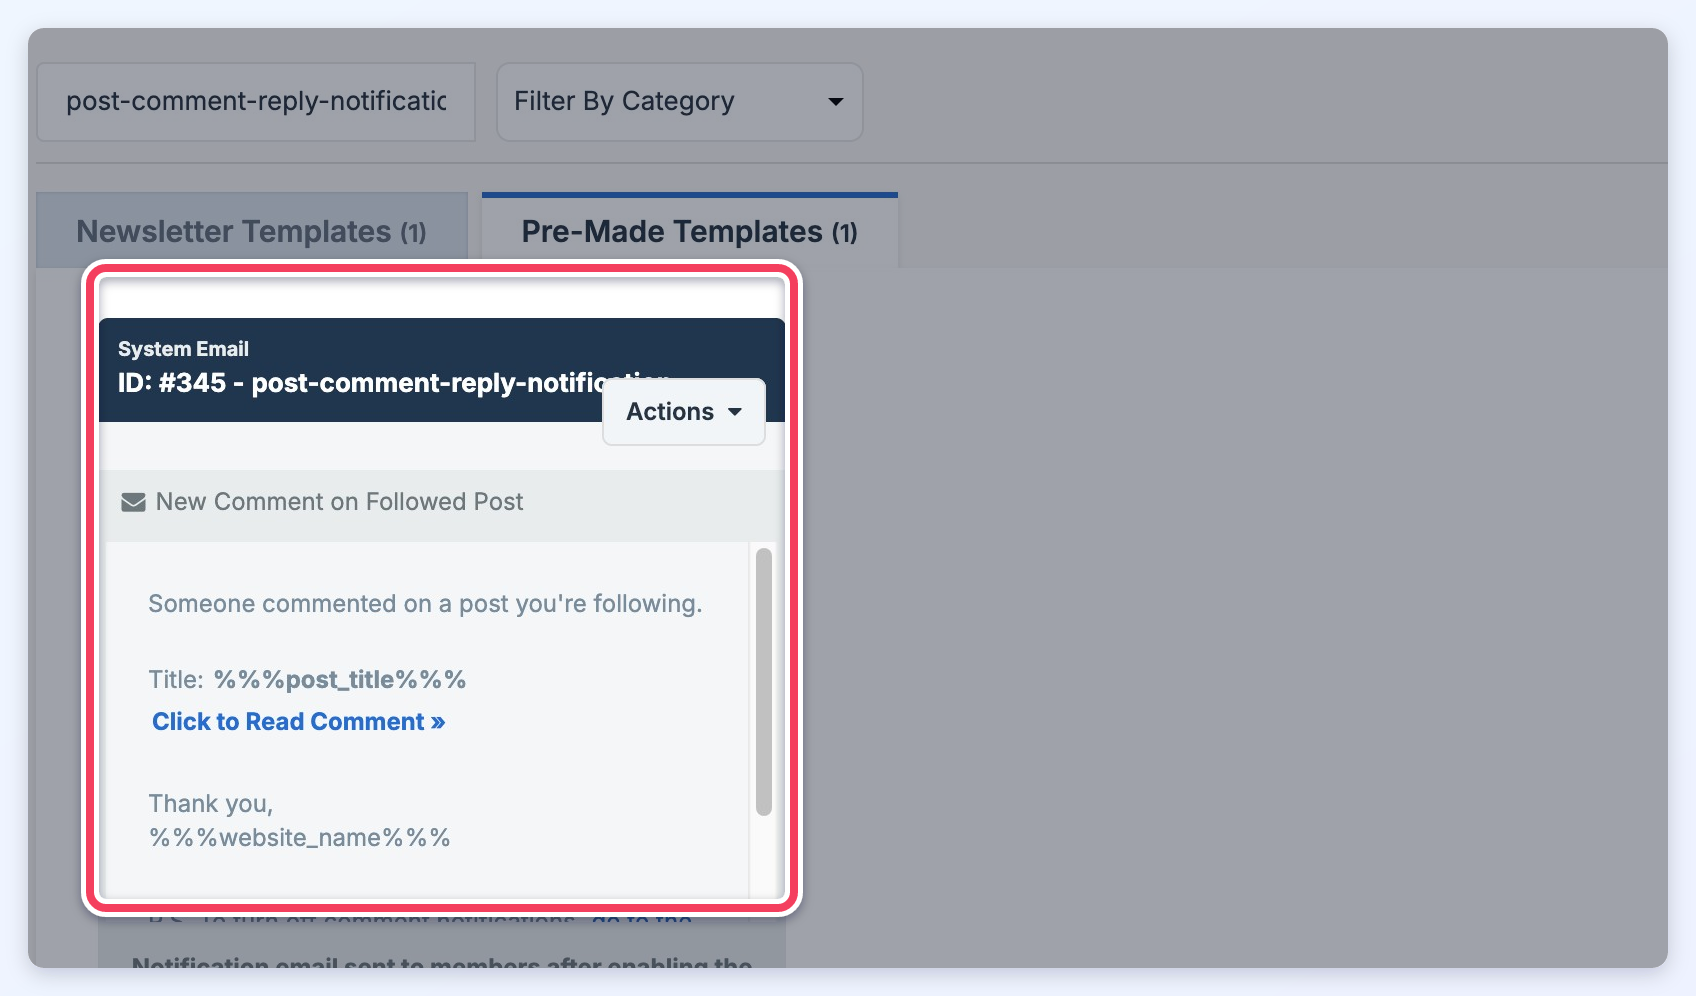
A comment held for moderation does not send a notification when it is submitted. The system email sent to followers can be edited:
- Go to Emails » Email Templates.
- Search for post-comment-reply-notification.
- Open the template from its Actions menu.
More information: How to Edit Email Templates
