Settings » General Settings » Brand Images Tab
Link: https://support.brilliantdirectories.com/support/solutions/articles/12000043370
The Brand Images tab of the General Settings page holds the logos and the default images the website uses: the logo in the header and in emails, the favicon, the image shared on social media, and the images shown for members and posts that have none of their own.
Open it from Settings » General Settings, then click the Brand Images tab. The tab is split into four sections, listed in the side menu: Logos, Browser and Sharing, Default Images and Badges and Icons. The layout of the page and how changes are saved are explained in Settings » General Settings Tab.
How Each Image Card Works
Each image has its own card:
- The card's title names the image. Click the question mark beside it for a one-line reminder of where the image shows.
- Under the title, Ideal gives the recommended size in pixels. A card that accepts only some file types lists them too, EG JPG only.
- An empty card shows Upload Image. A card with an image shows a preview, Replace to pick a different image, and a red X to remove it. Both upload and replace open the file manager, where an image can be uploaded or picked from the ones already there.
- Click Save in the bar at the top of the page to save the change.
Useful tip: to crop or resize an image, use the free online tool linked at the top of the Logos section.
Logos
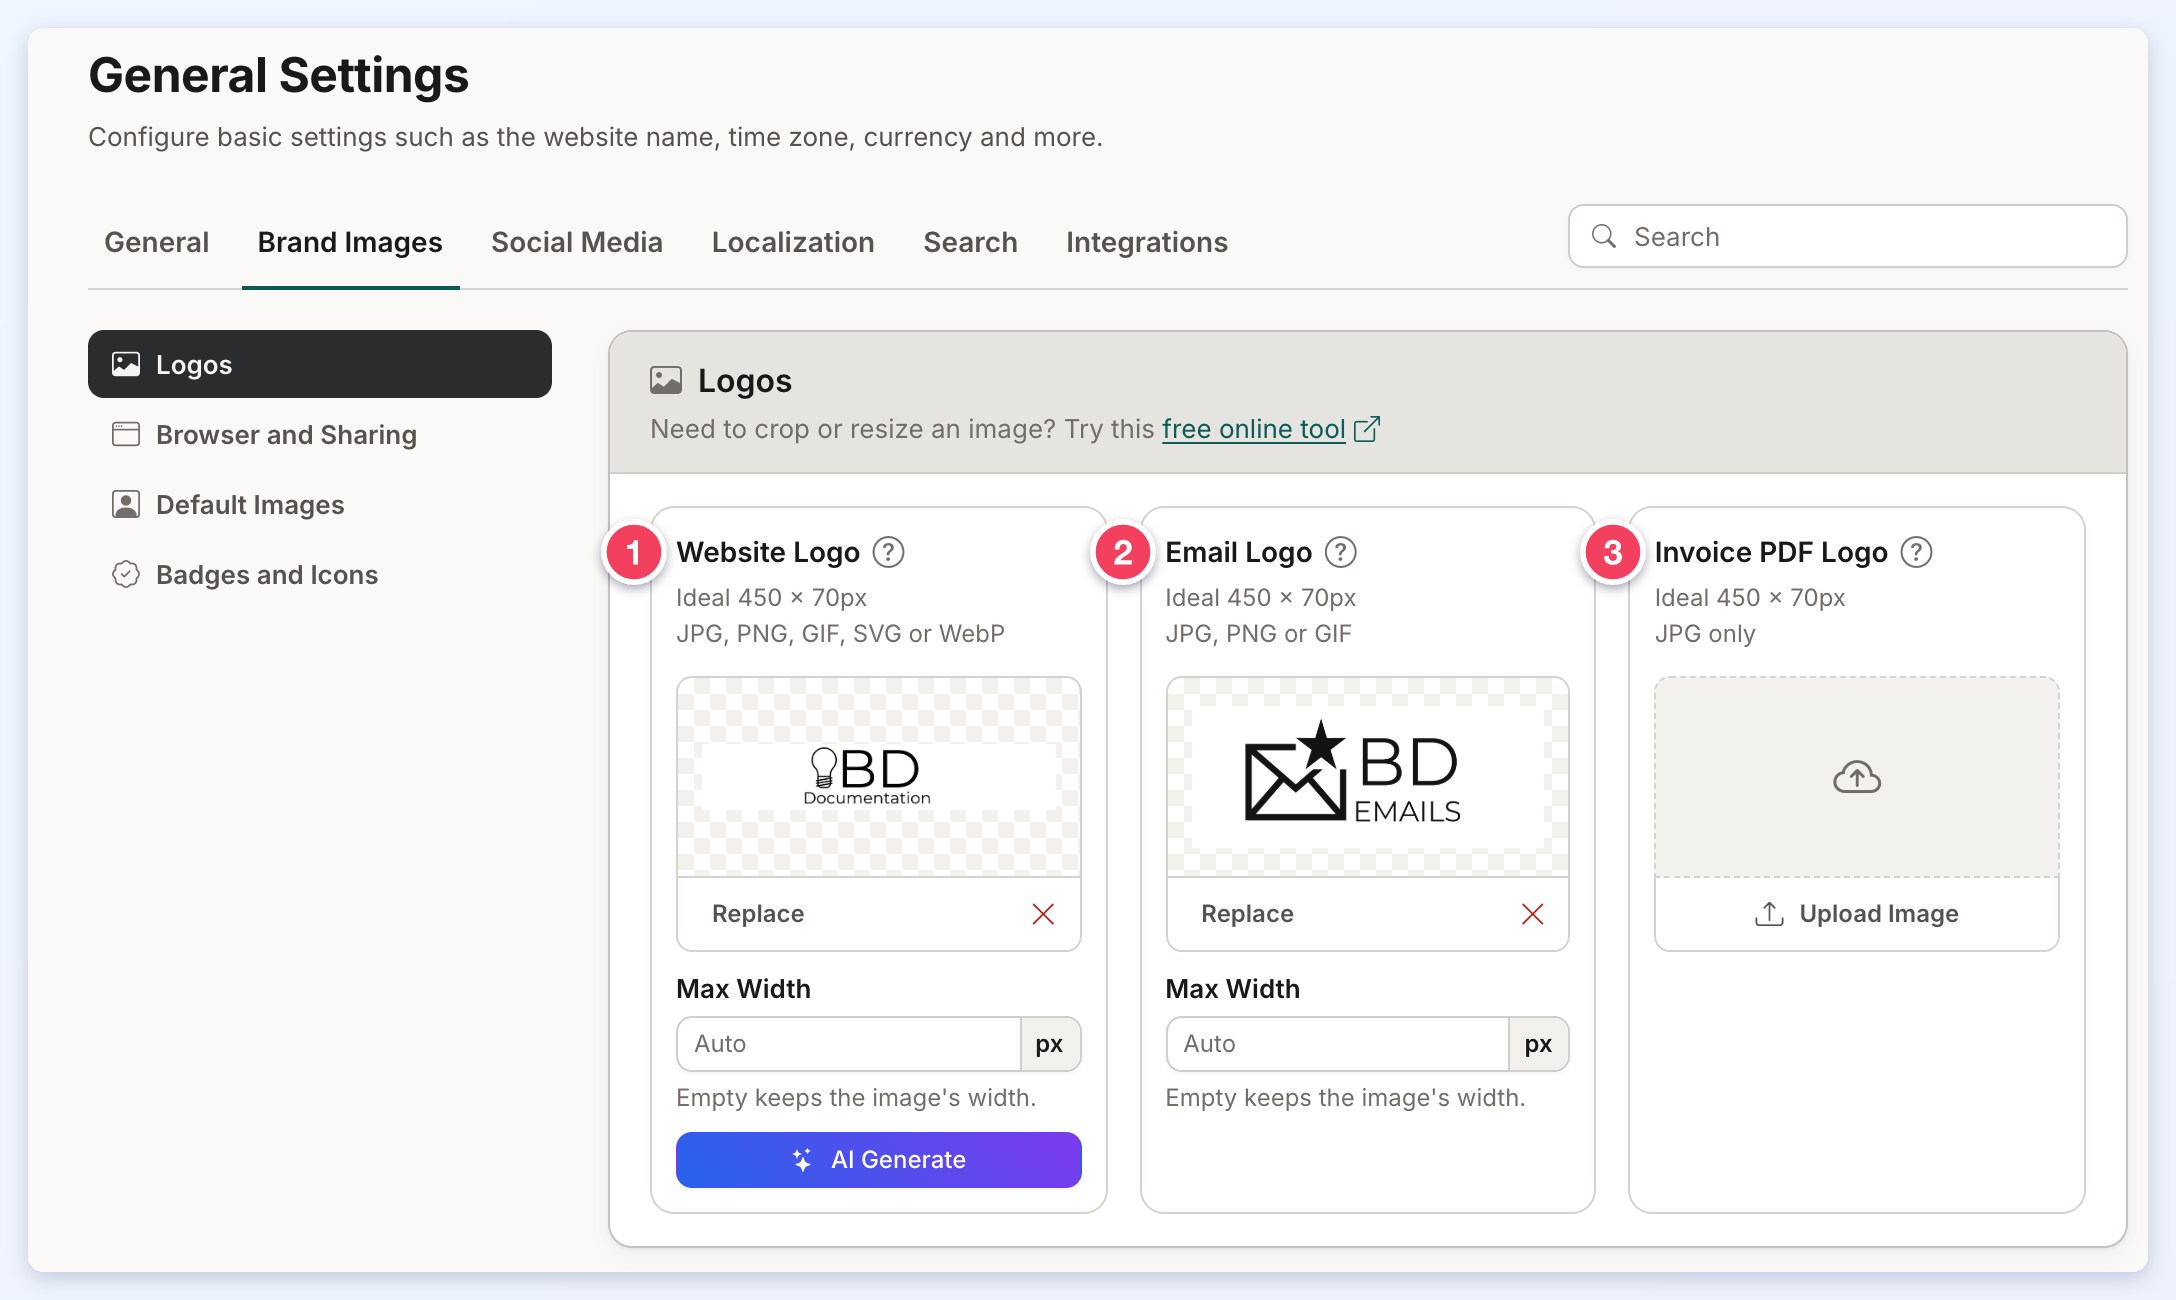
- Website Logo: the main logo, shown in the website header. Ideal 450 x 70px. Accepts JPG, PNG, GIF, SVG or WebP files.
- Max Width: the largest width, in pixels, the logo shows at on the website. Leave it empty to keep the image's own width.
- AI Generate: creates logo ideas from the brand's preferences. More details: Setup Wizard - Website Logo AI Generator.
- Email Logo: a separate logo for the email templates, both automated emails and email campaigns. Leave it empty to use the website logo. Ideal 450 x 70px. Accepts JPG, PNG or GIF files. It has its own Max Width setting, which works the same way as the website logo's.
- Invoice PDF Logo: a separate logo for PDF invoices. Leave it empty to use the website logo. Ideal 450 x 70px. Accepts JPG files only. This card shows only when the Download Invoices add-on is active.
The website logo in the header of the website:

Browser and Sharing
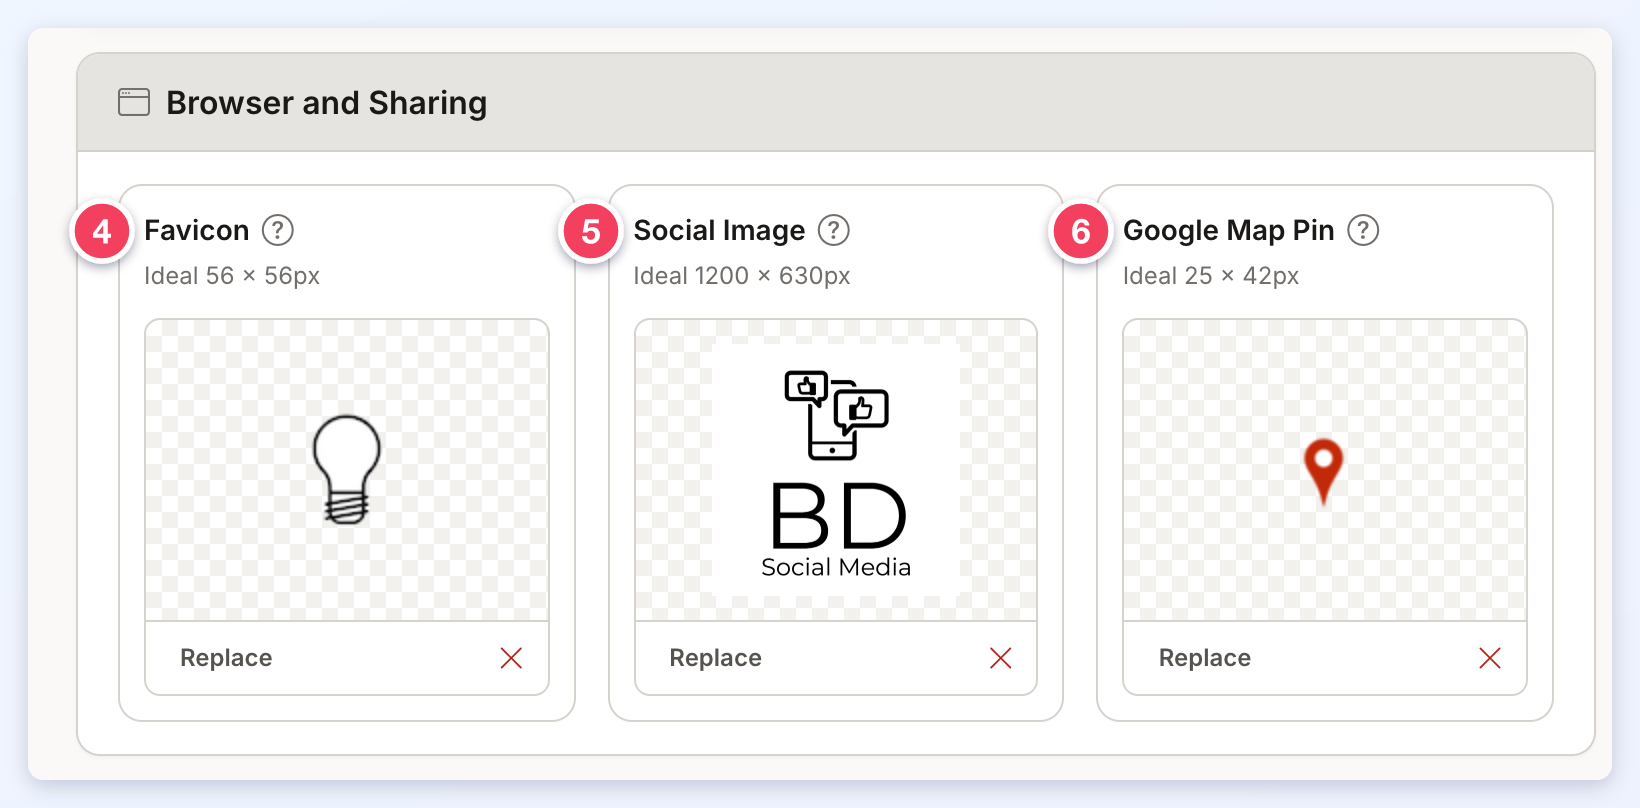
- Favicon: the small icon in the browser tab and in bookmarks, used across the whole website. Ideal 56 x 56px.
- Social Image: the image social media sites show when a page of the website is shared and the page has no image of its own. Ideal 1200 x 630px. More details: How to Set a Default Social Media Image.
- Google Map Pin: replaces the red pin on the website's maps, on the front end and in member dashboards. Ideal 25 x 42px.
Default Images
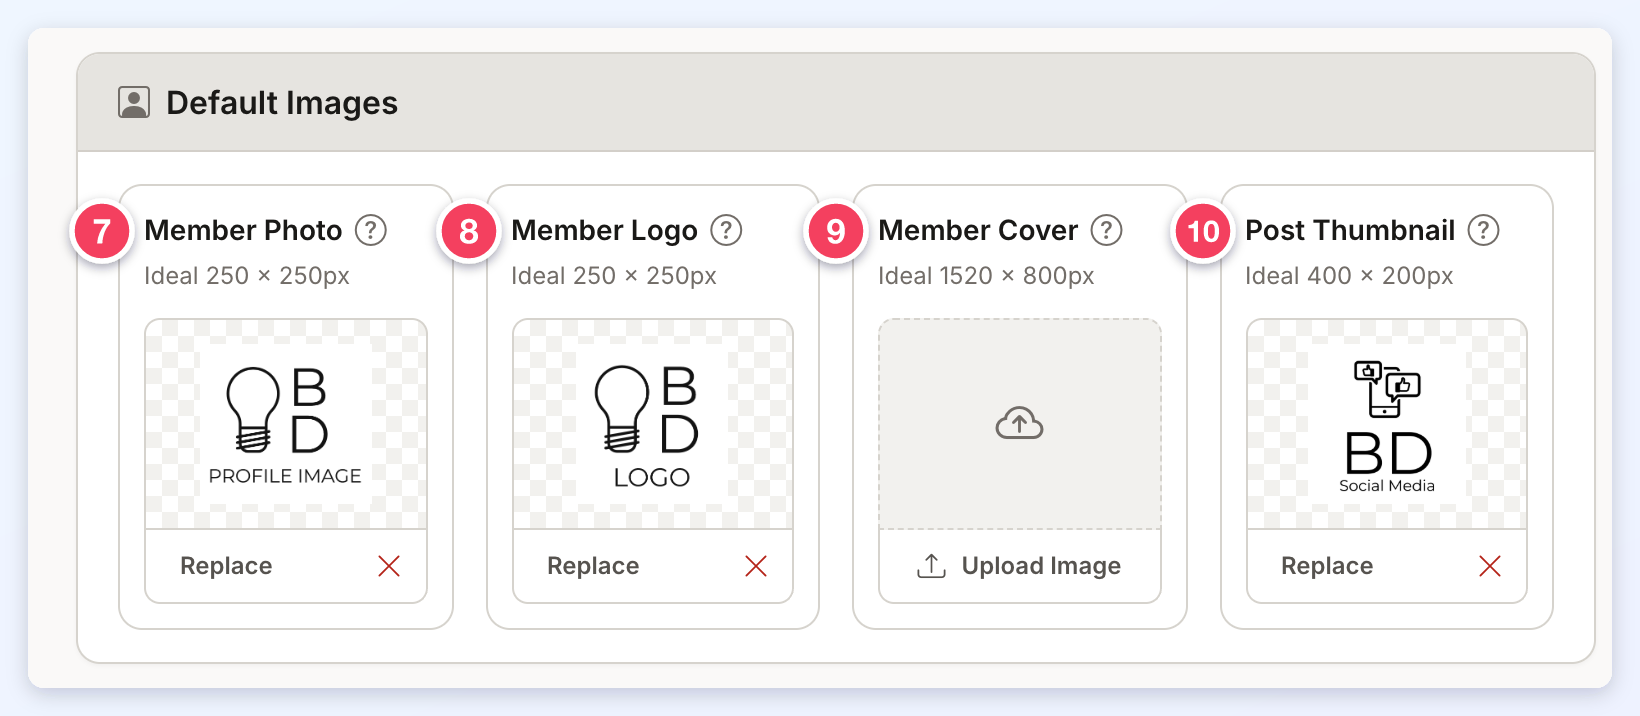
- Member Photo: shows for members who have not added their own photo. Ideal 250 x 250px.
- Member Logo: shows for members who have not added their own logo. Ideal 250 x 250px.
- Member Cover: shows for members who have not added their own cover photo. The ideal size follows the website's cover photo size. This card shows only when the Profile Cover Photo add-on is active.
- Post Thumbnail: the thumbnail for posts that do not have their own image, EG in post search results. Ideal 400 x 200px.
Badges and Icons
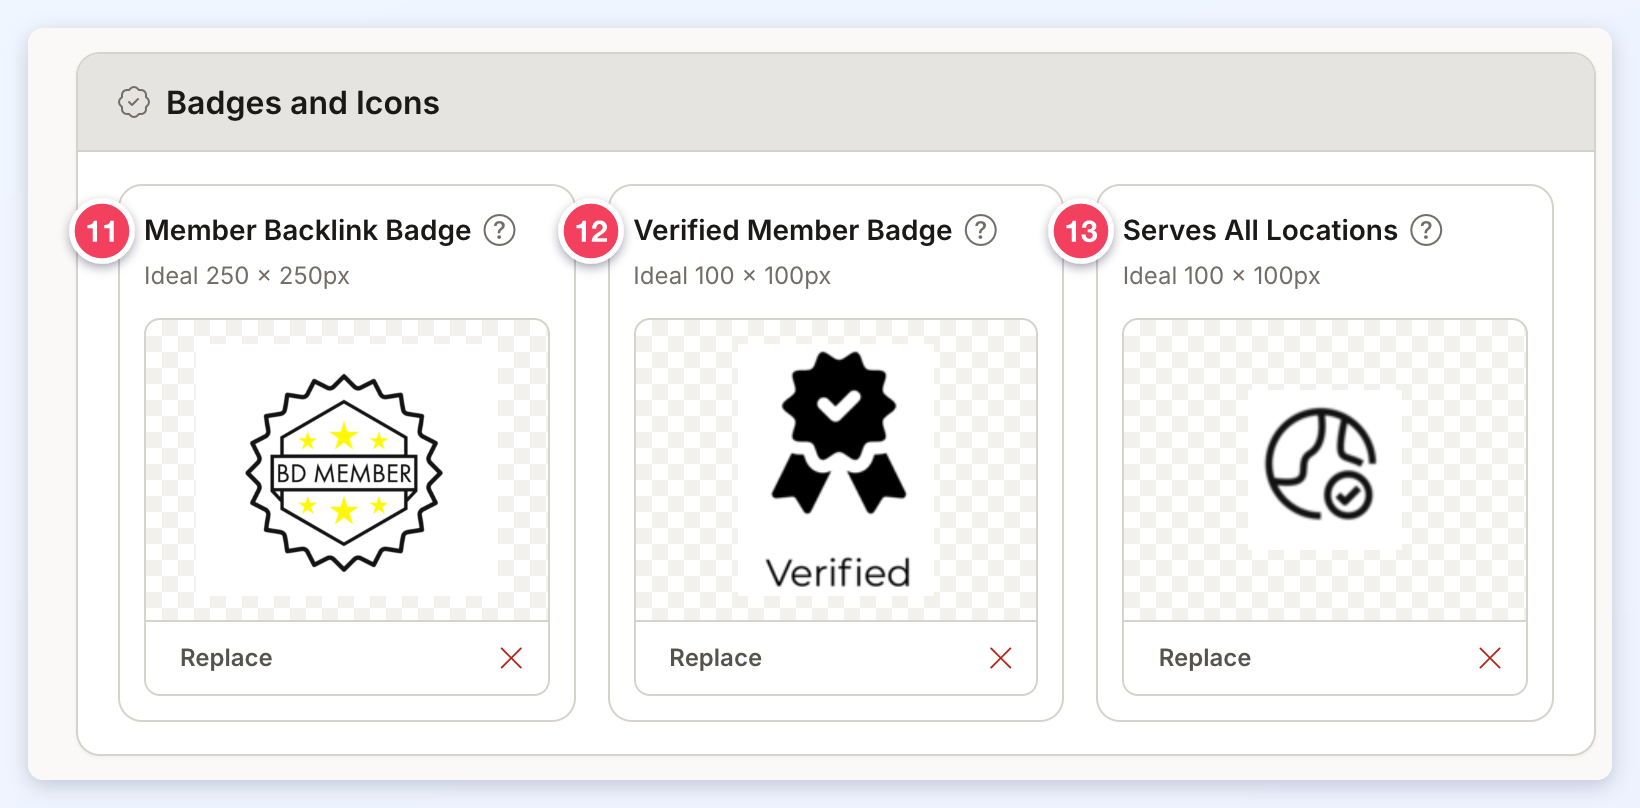
- Member Backlink Badge: members add this badge to their own website from their member dashboard, and it links back to their profile on the website. It advertises that they are a member, which adds credibility to their company and promotes the website at the same time. Ideal 250 x 250px.
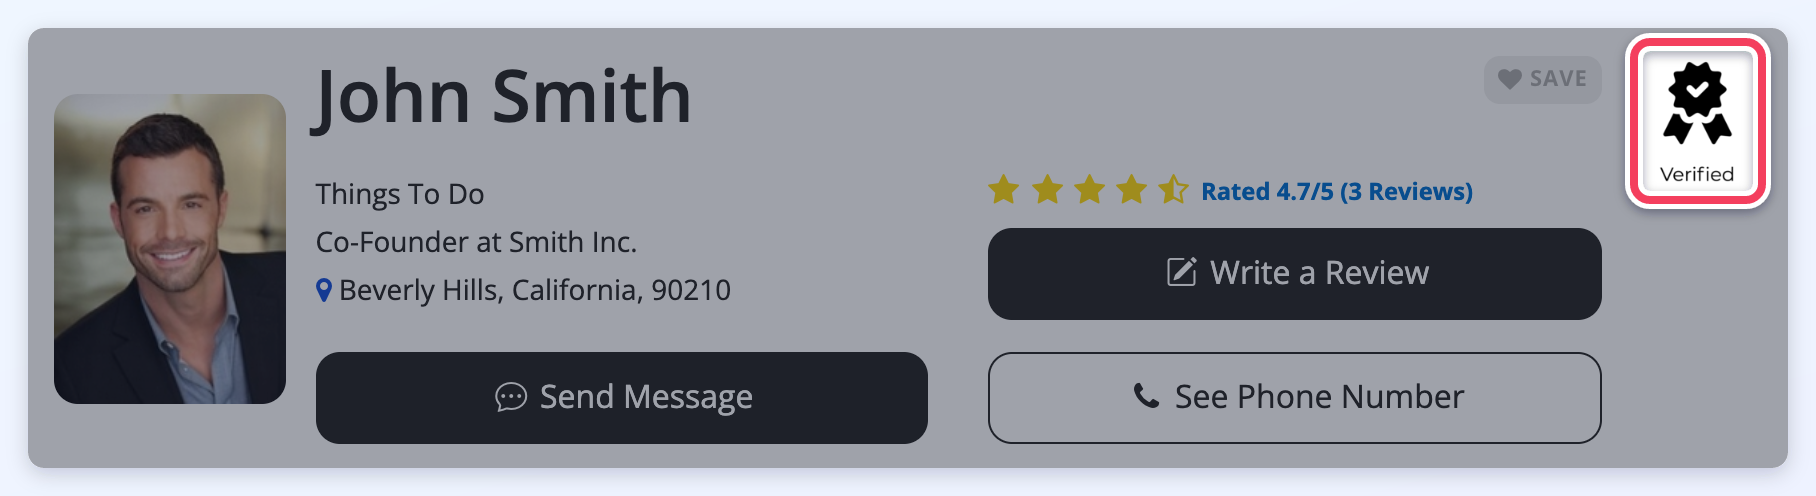
- Verified Member Badge: shows on the profiles of members marked as verified. Ideal 100 x 100px.
- Serves All Locations: shows on the profiles of members set to serve all locations. Ideal 100 x 100px. This card shows only when the Multi-Location Listing add-on is active. A member is set to serve all locations with List in All Locations in Quick Edit Module For Members. Such a member shows in search results whatever location is searched, even outside their country.
The verified member badge on a member's profile: